Image Installation and Re-imaging into USB Drive


Description

A bootable USB drive lets you boot a Control Box with a new robot image in either PolyScope 5 or PolyScope X if the robot's internal storage is damaged.


Installing image using balenaEtcher
If your USB flash drive was previously formatted as a Windows partition, it is fully erased and the partition type is changed to ext3 and ext4, making it unreadable in Windows. If Linux file system support is not installed, you cannot access the USB flash drive.
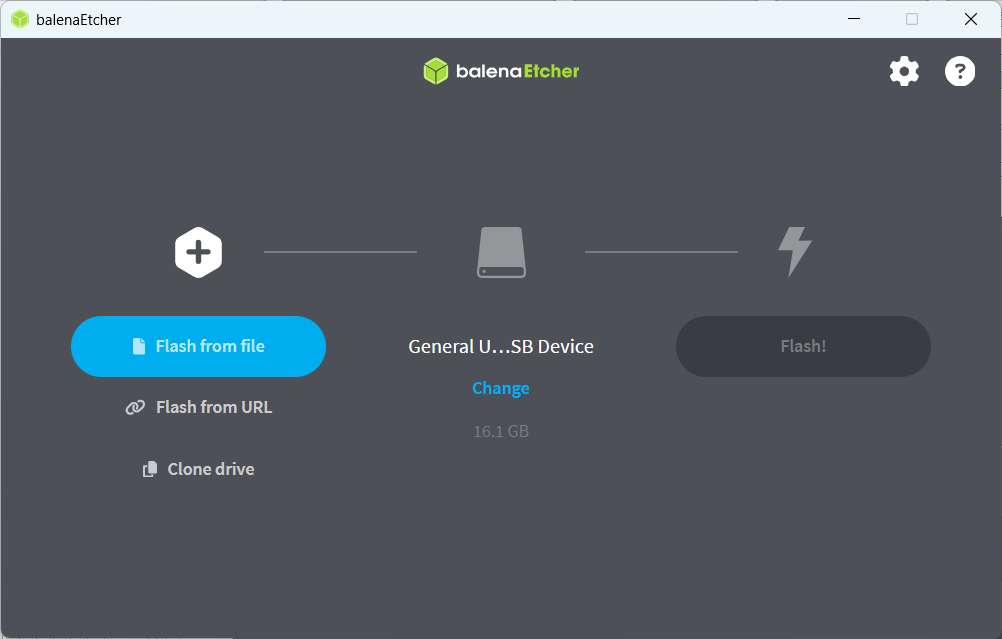
  1. On your desktop, double-click balenaEtcher to open it.

  2. Insert a USB flash drive into your computer if it is not already inserted.

Robot Image into USB
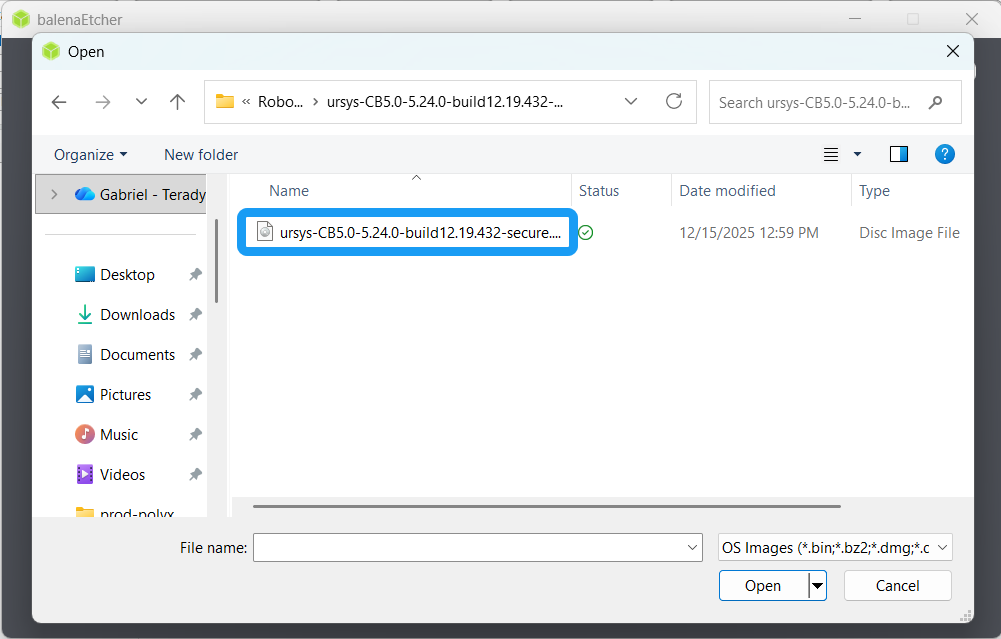
  1. Click the blue Flash from file button. A pop-up dialog box appears where you can locate the folder that contains the downloaded robot image file.

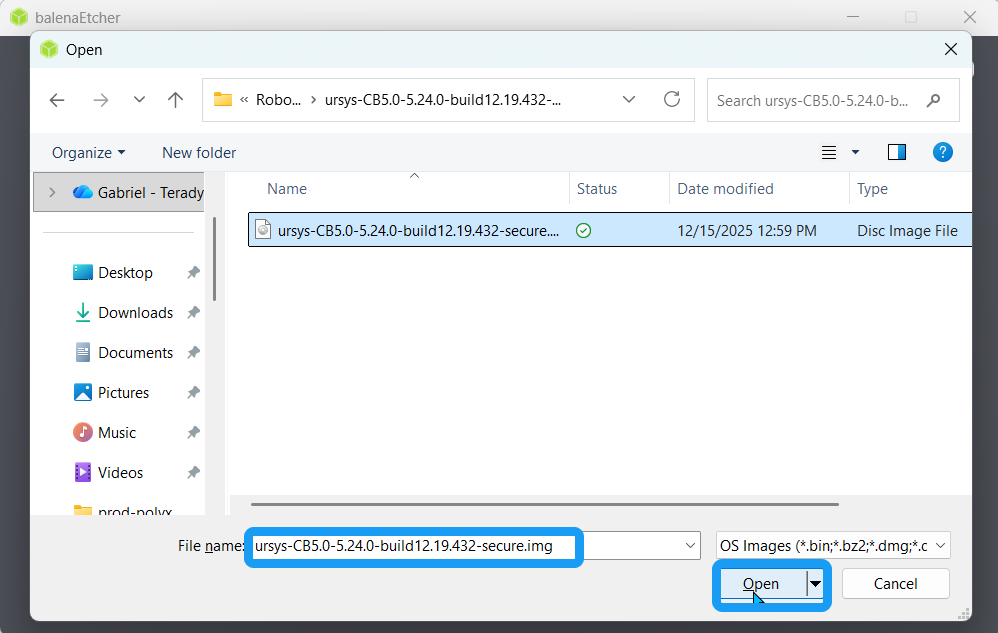
  2. Choose the relevant robot image (.dmg) file. Click Open.


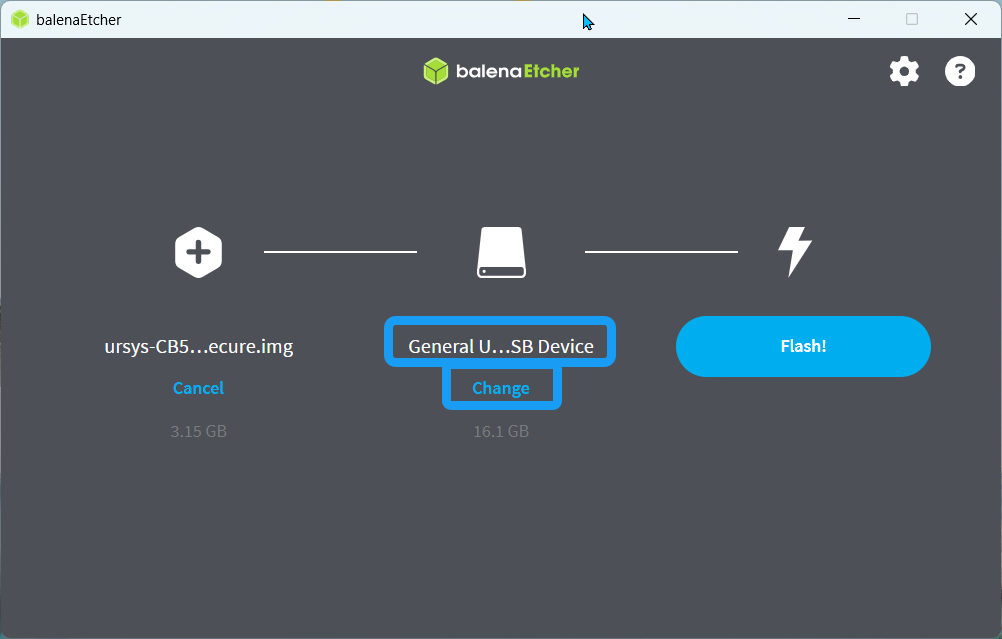
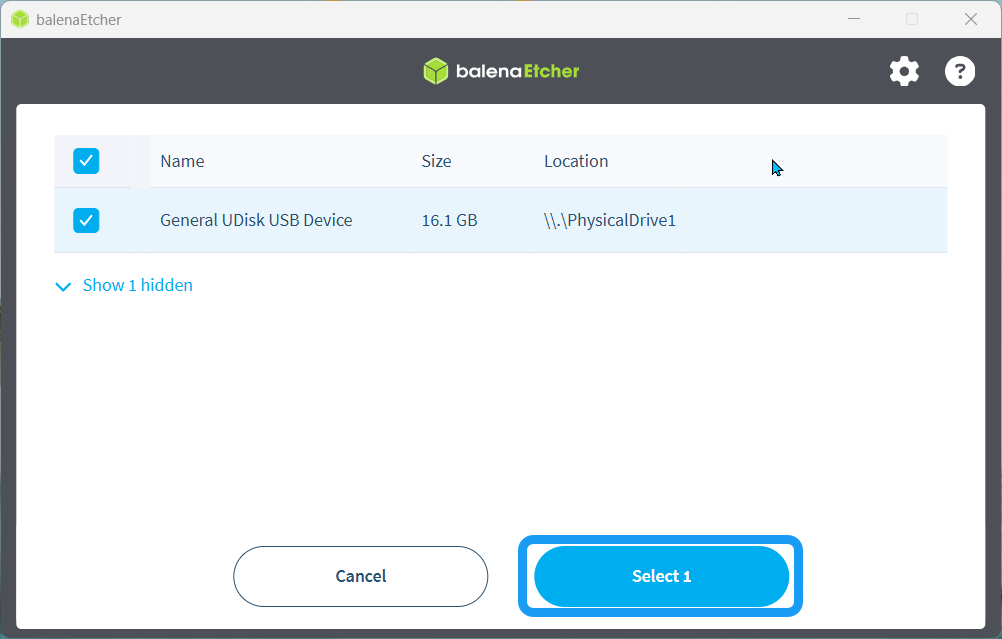
  1. The partitioned USB flash drive is automatically selected as target.

  2. To confirm that the partitioned USB flash drive is selected, click Change under it. A pop-up dialog box appears that shows your inserted USB flash drive checked and selected. Click Select.


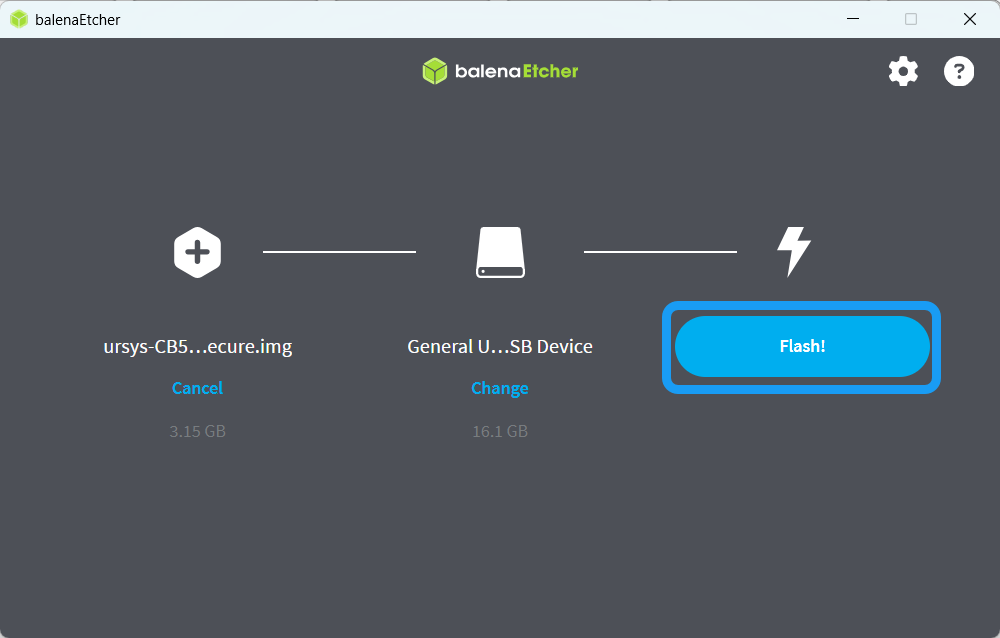
  1. Click the activated blue Flash! button.

    Do not remove the USB drive while flashing, and avoid moving the computer so the USB drive stays seated in its port.
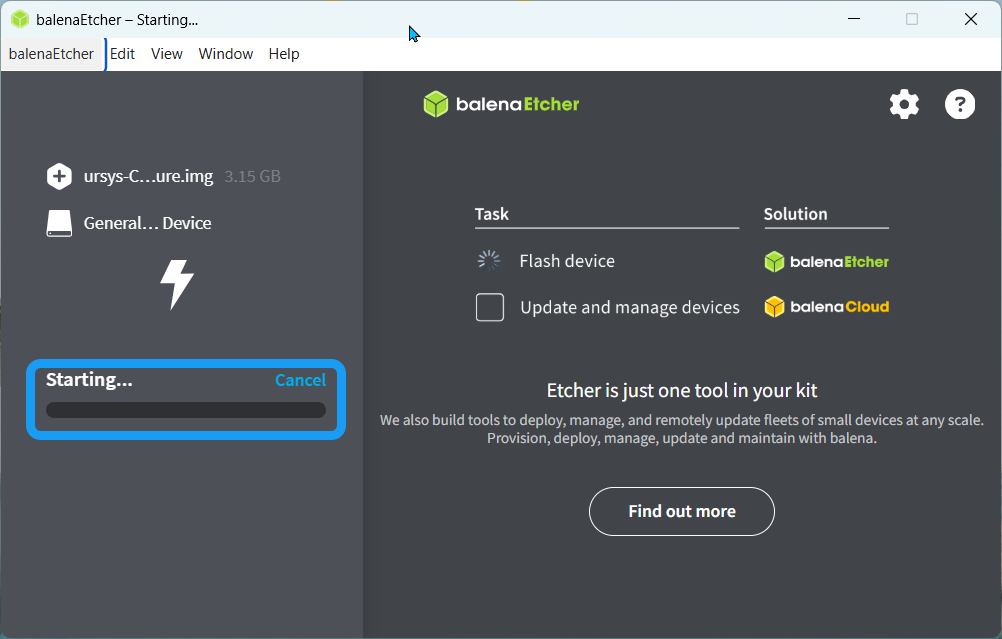
  2. A pop-up screen shows that the flashing process is starting.


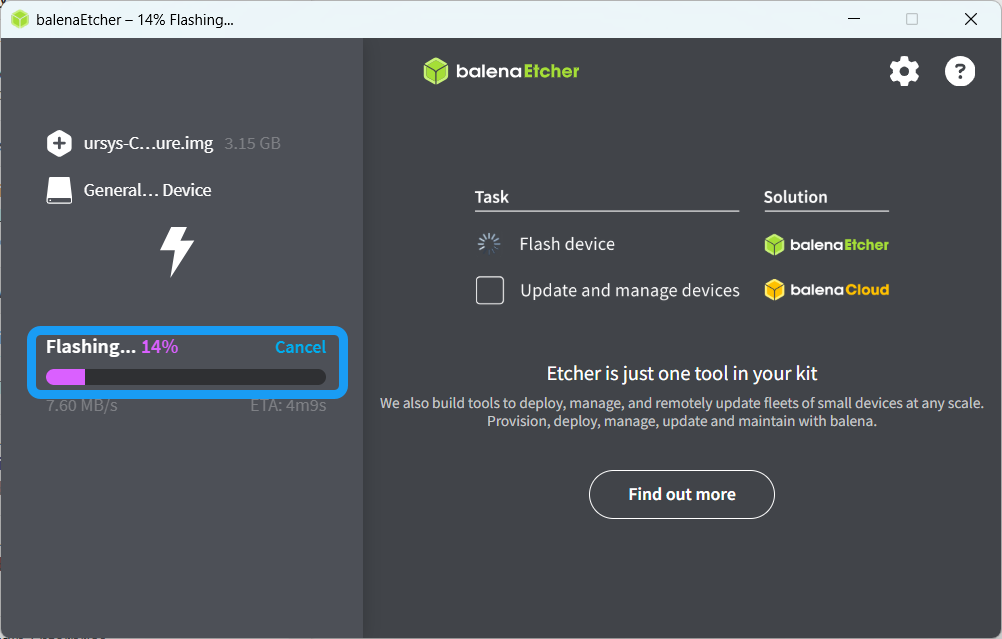
  1. The flashing process screen appears. Wait until flashing reaches 100 percent.

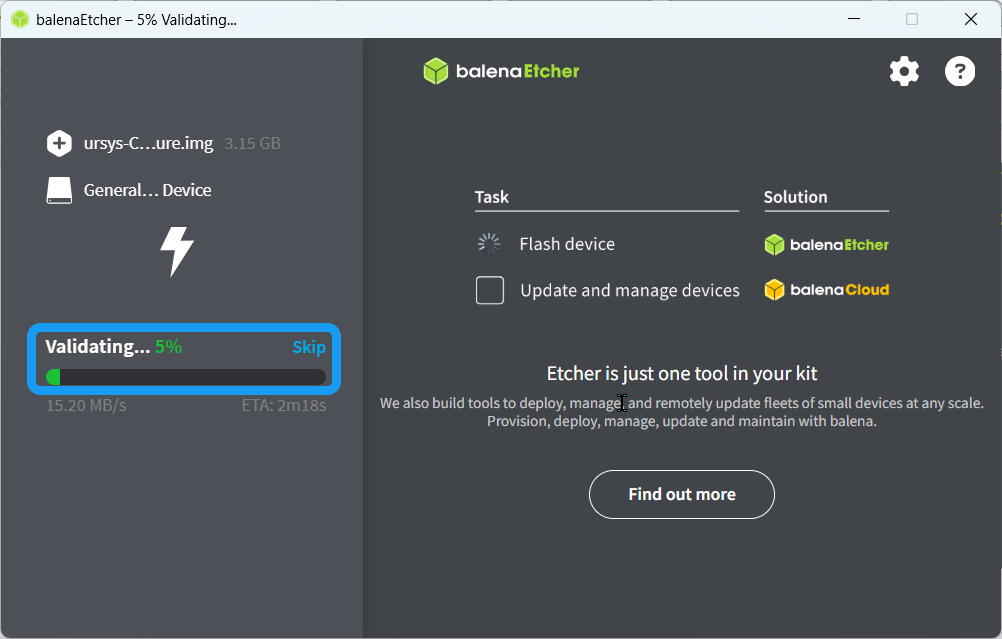
  2. When flashing is complete, a screen shows the percentage of the validation process. Wait until validation completes.

 
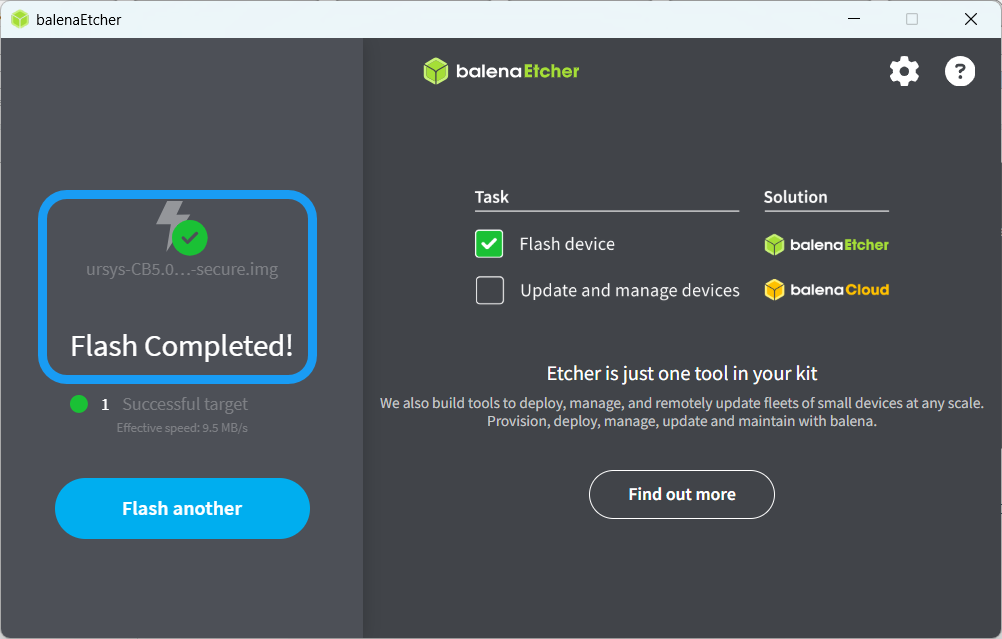
  1. When validation is complete, a screen confirms that USB flashing is complete. A Windows Explorer notification appears stating that balenaEtcher has successfully flashed a file to the USB drive.

  2. Close the program and remove the USB flash drive.