Attaching the Calibration Connector

Description

The Calibration Connector attaches the two robot arms via the tool flanges.


To attach the Calibration Connector
  1. Verify both robot arms are correctly attached to the Calibration Horse.

  2. Follow the instructions on the Operator Screen to reach the Bracket mounting step.

  3. Tap Move Robots.

    The robot arms will move into a parallel position for connecting the Calibration Connector.

  4. Attach the Calibration Connector to the Leader robot.

    As both robots move to bring the tool flanges close to each other, the Follower robot enters Freedrive.

  5. Align the Follower robot's tool flange with the Calibration Connector.

  6. Use the four screws and washers to attach the Follower robot's tool flange to the Calibration Connector.


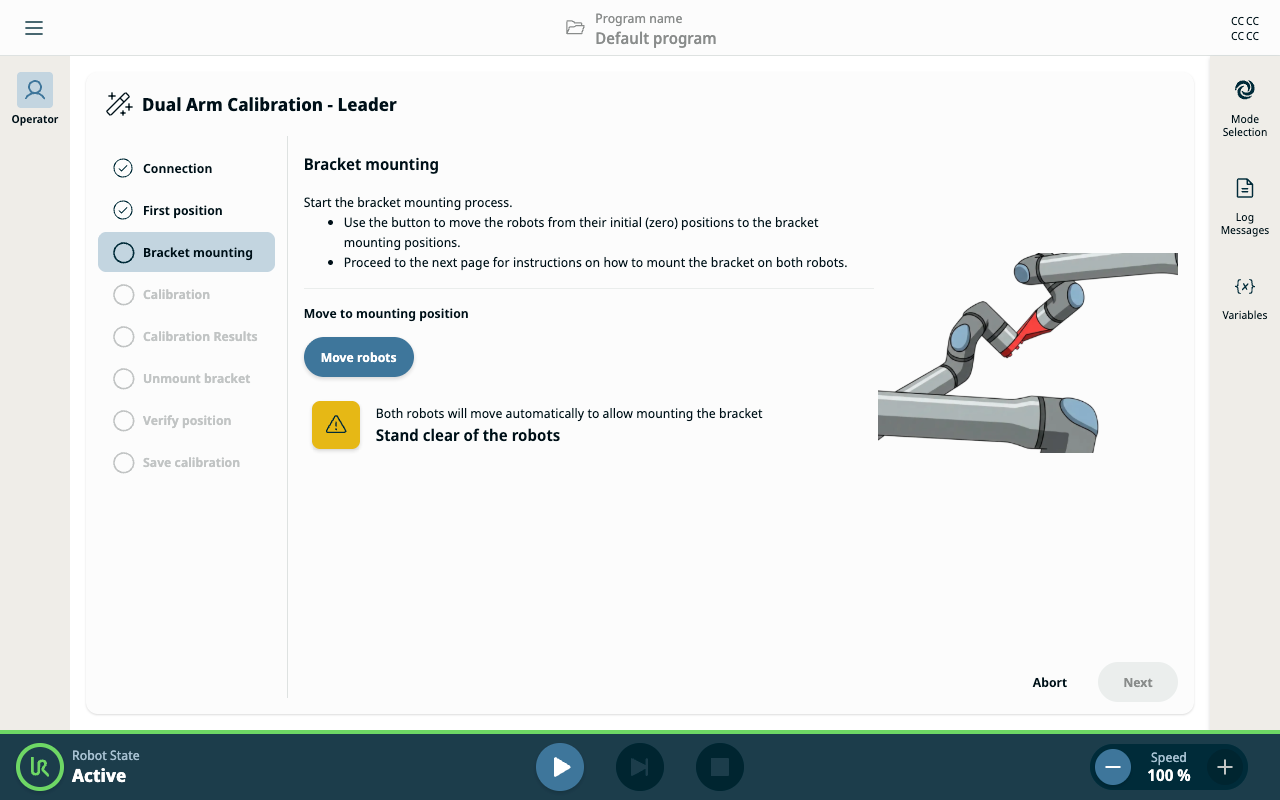
The following illustrations show the Calibration Connector in use

Calibration Connector attached to the Leader robot's tool flange (step 2).

Calibration Connector attached to the Leader robot's tool flange and the Follower robot's tool flange (step 5).