Mounting Description
| CB7 Core wall mount |
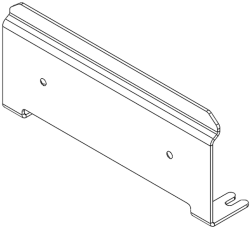
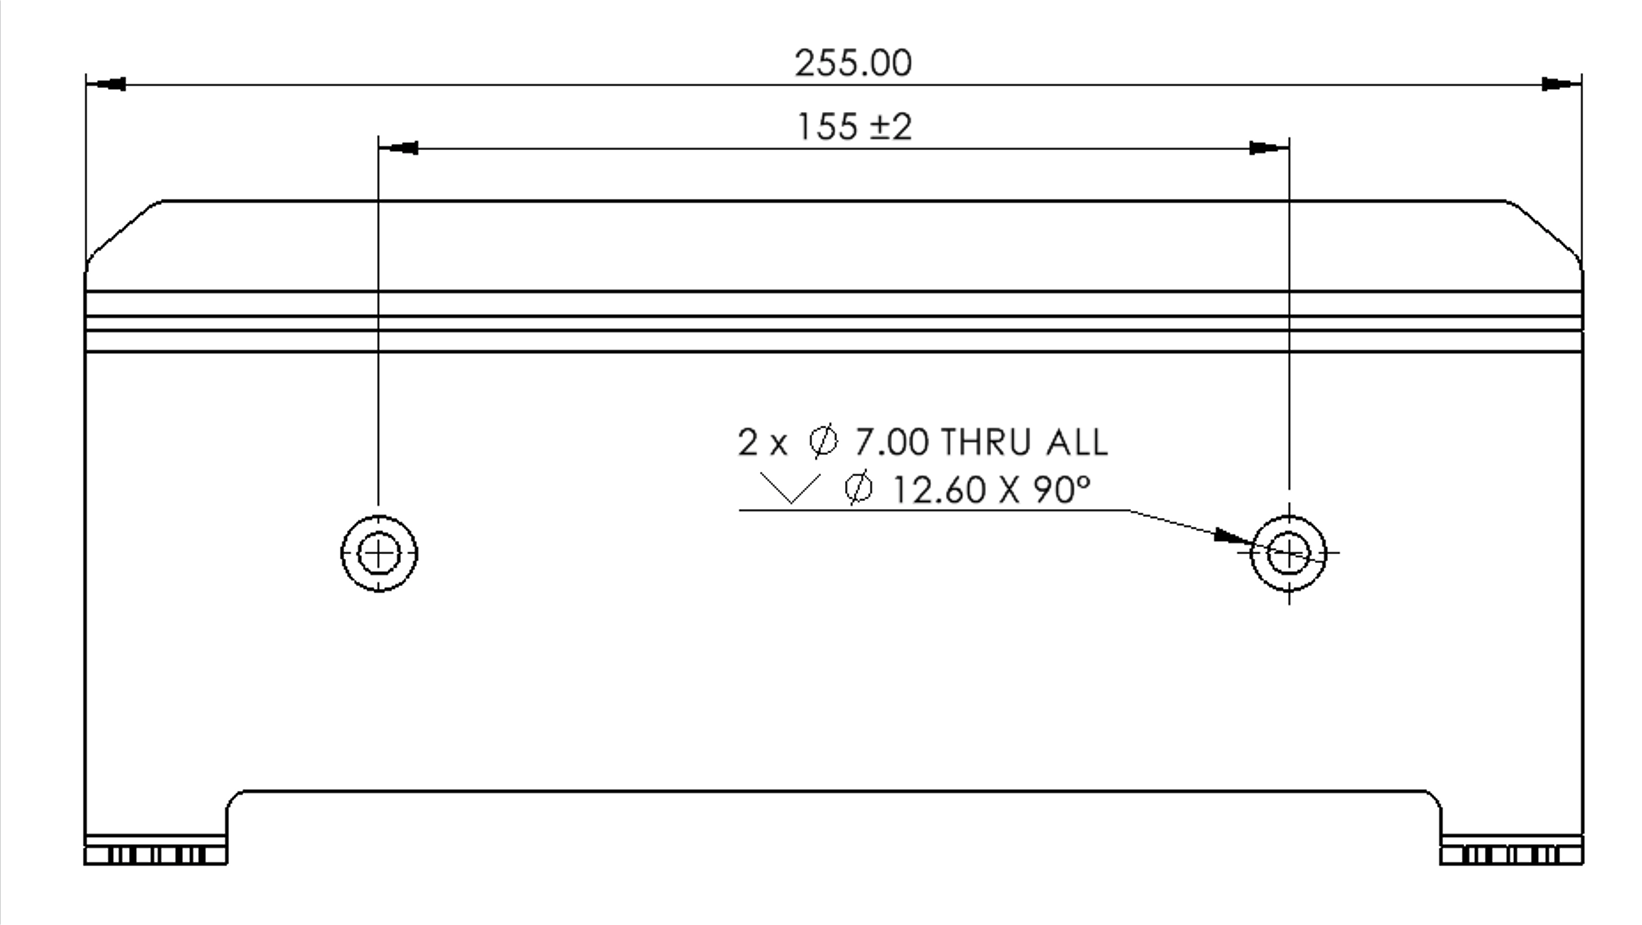
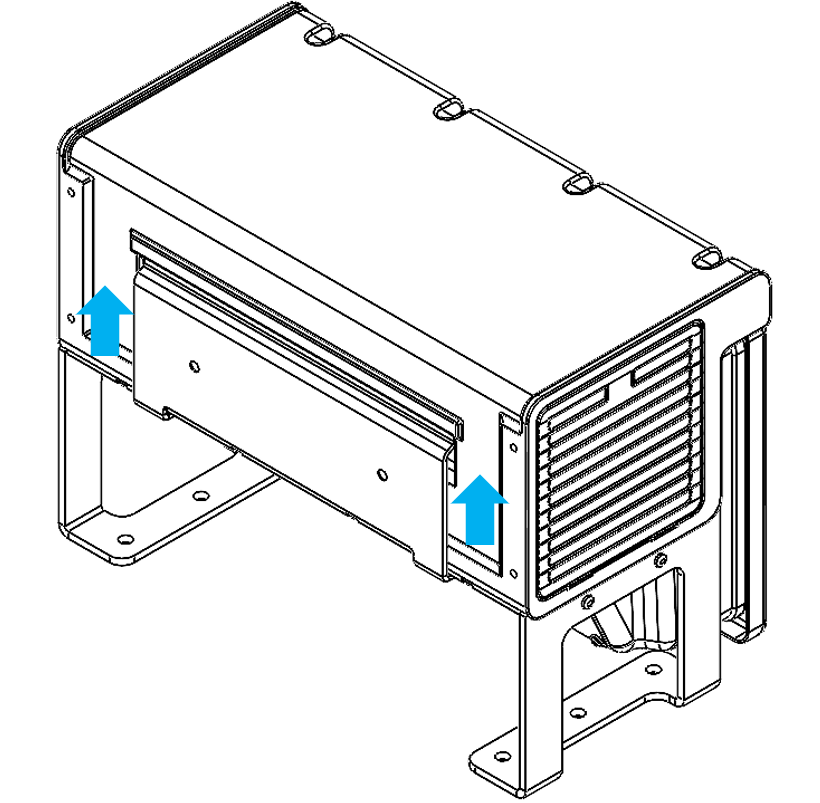
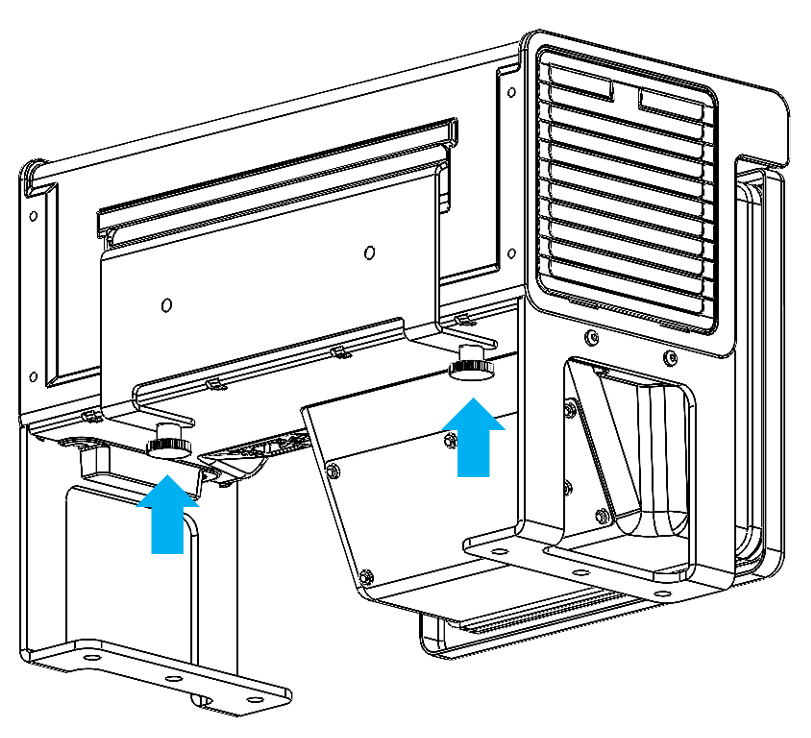
The CB7 mounting bracket is included when you purchase a robot system with a CB7 Core Compact and CB7 Core Compact 0.55m. The CB7 mounting bracket is included when you purchase a CB7 Core Compact and CB7 Core Compact 0.55m as a single component. The CB7 mounting bracket is not included when you purchase a robot system with a CB7 Core.
Unstable mounting can result in injury.
|
|
CB7 Core Compact / CB7 Core Compact 0.55 m mounting |
CB7 Core Compact is an AC-powered controller that mounts inside your electrical cabinet. It has no outer enclosure, so you install it directly in the cabinet.
CB7 Core Compact 0.55 m uses the same controller and includes a 550 mm longer robot-interface lead. The extra lead connects the robot interface from the internal controller board to the panel-mount connector on the exterior of the cabinet, allowing the robot arm cable to be connected and disconnected without opening the enclosure.
Both CB7 Core Compact variants support vertical and horizontal orientations. Use the mounting bracket the same way as for the CB7 Core. Access the Teach Pendant the same way on both Compact variants. Keep the robot arm and Teach Pendant (TP7) connectors pluggable and accessible from outside your electrical cabinet to support maintenance, hot-plugging, safety compliance, and integration with OEM and compact enclosures. Ensure there is enough space for cables and air circulation around the Control Box. Leave at least 50 mm of space around the air intake and outlets, and avoid recirculating air. |