Joystick Overlay

Description

The Joystick Overlay lets you jog the robot from the Teach Pendant touchscreen. To support the overlay, the header spans the full application width, and the control mode selector (Manual / Automatic / Remote) moves to the sidebar.


How to use the Joystick Overlay

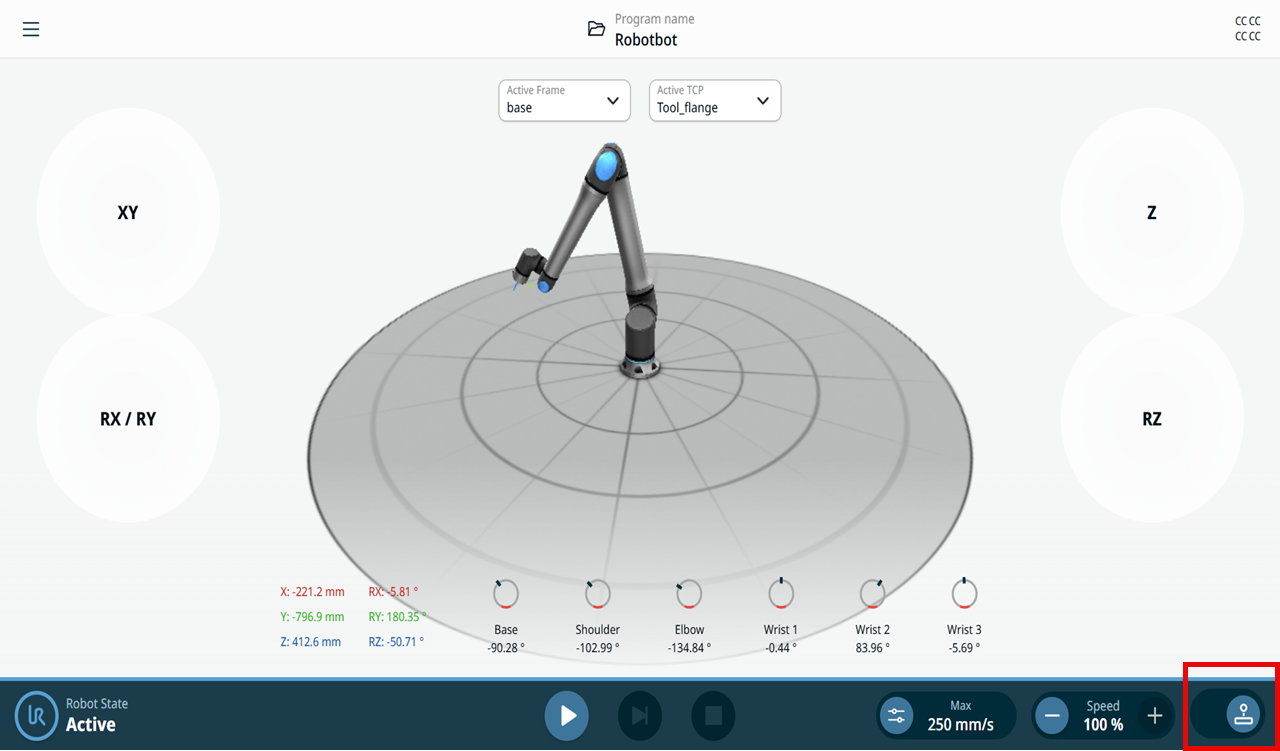
  1. Slide the Joystick button icon in the footer to the right to open a full-screen view with the 3D robot visualization and virtual joysticks.

    Joystick Overlay screen
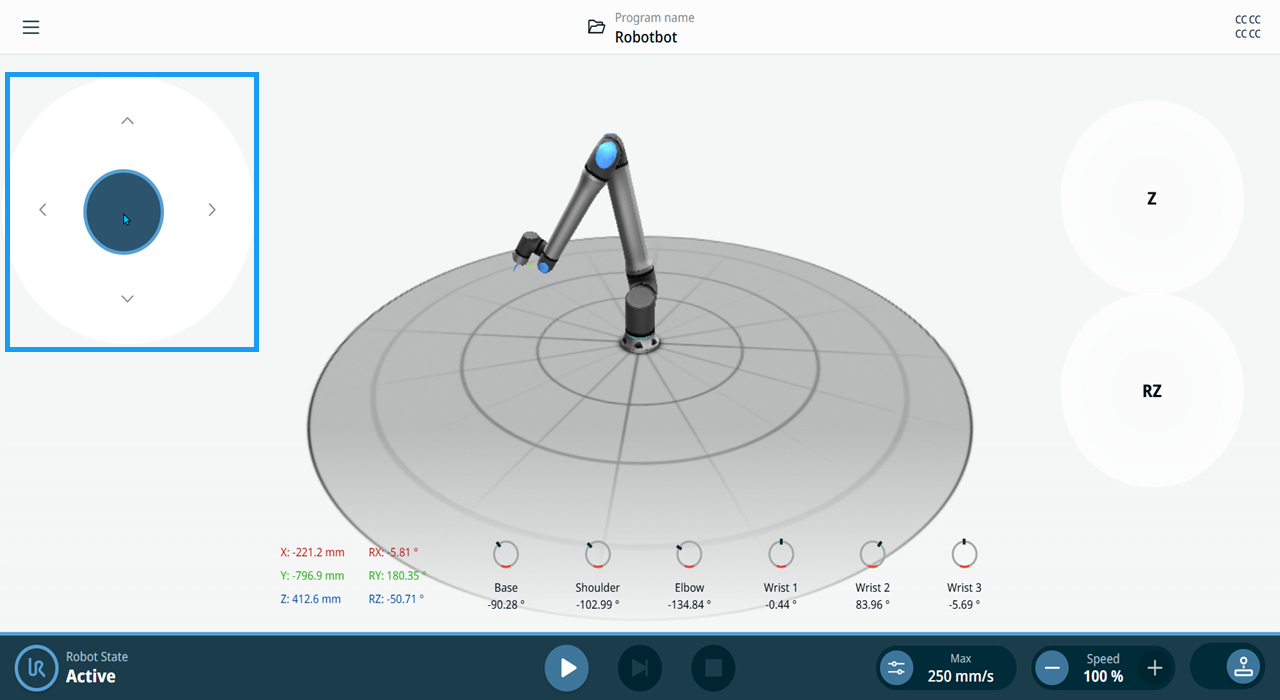
  1. Tap a joystick zone to spawn a virtual joystick, then drag it to move the robot.

  2. You can use multiple joysticks at the same time. Robot speed scales with how far you move each joystick from center.

    Joystick zones in XY, RX/RY, Z, RZ


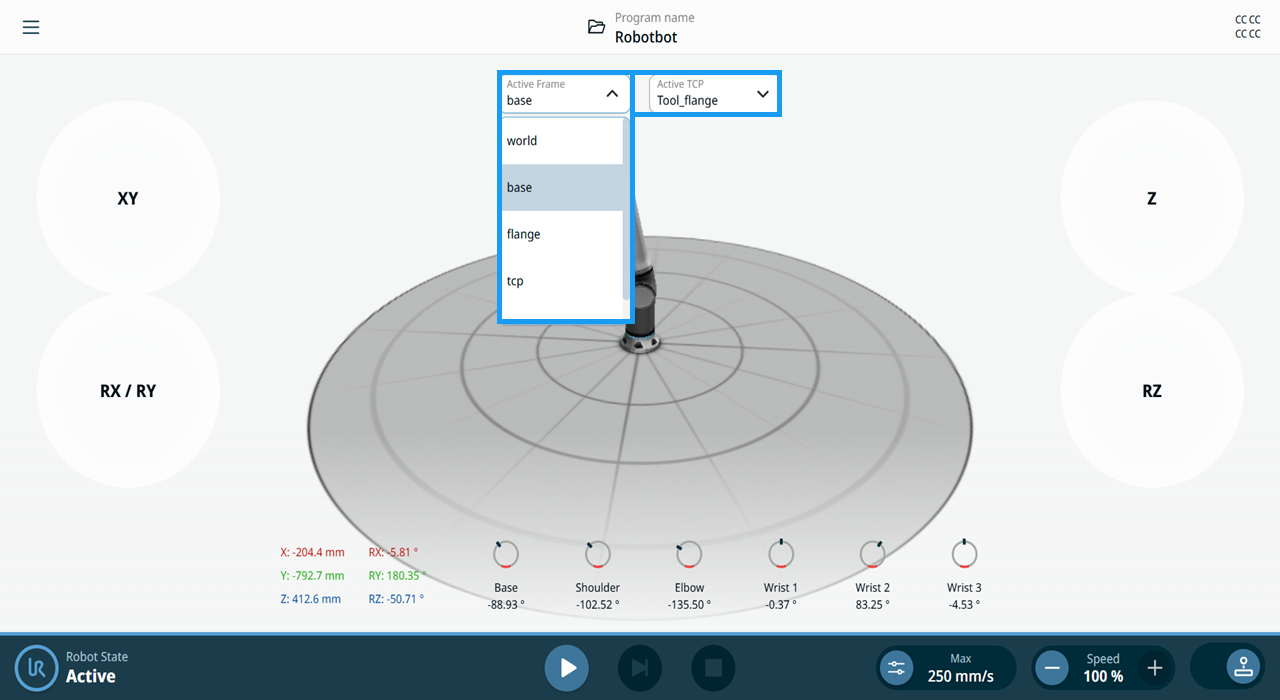
  1. Tap the Active Frame and Active TCP fields to change the active coordinate frame and TCP from within the overlay without leaving the screen.

    Read the pose and joint position values on the screen to position the robot precisely.

    Active Frame and Active TCP fields


Disabled states of the Joystick Overlay

The Joystick button is disabled in these states:

  • Editing the safety configuration

  • Running the robot in Automatic Mode

  • Editing a point

  • The robot is powered off

  • Freedrive is active

  • The Three-Position Enabling Device is not held in the center-on position

  • A safety fault is active