Boot Robot Using Robot Tools
| Description |
Robot Tools is a pre-boot tool for managing robot images and the data on the robot. Robot Tools can only use a USB drive to manage robot images. Other types of storage media are not supported.
You can use Robot Tools to install a robot image, create or restore a clone of the robot disk, or erase the robot disk. Install, restore, and erase operations overwrite data on the robot disk. Back up any data that you want to keep before you continue.
|
| Install without a Teach Pendant |
Robot Tools can install PolyScope X without a Teach Pendant (TP7). If no Teach Pendant is attached to the Control Box and the storage on the Control Box is blank, you can use Robot Tools to install PolyScope X.
Make sure that the storage is blank.
PolyScope X is now installed.
|
| Start the robot with Robot Tools |
To start Robot Tools:
|
||
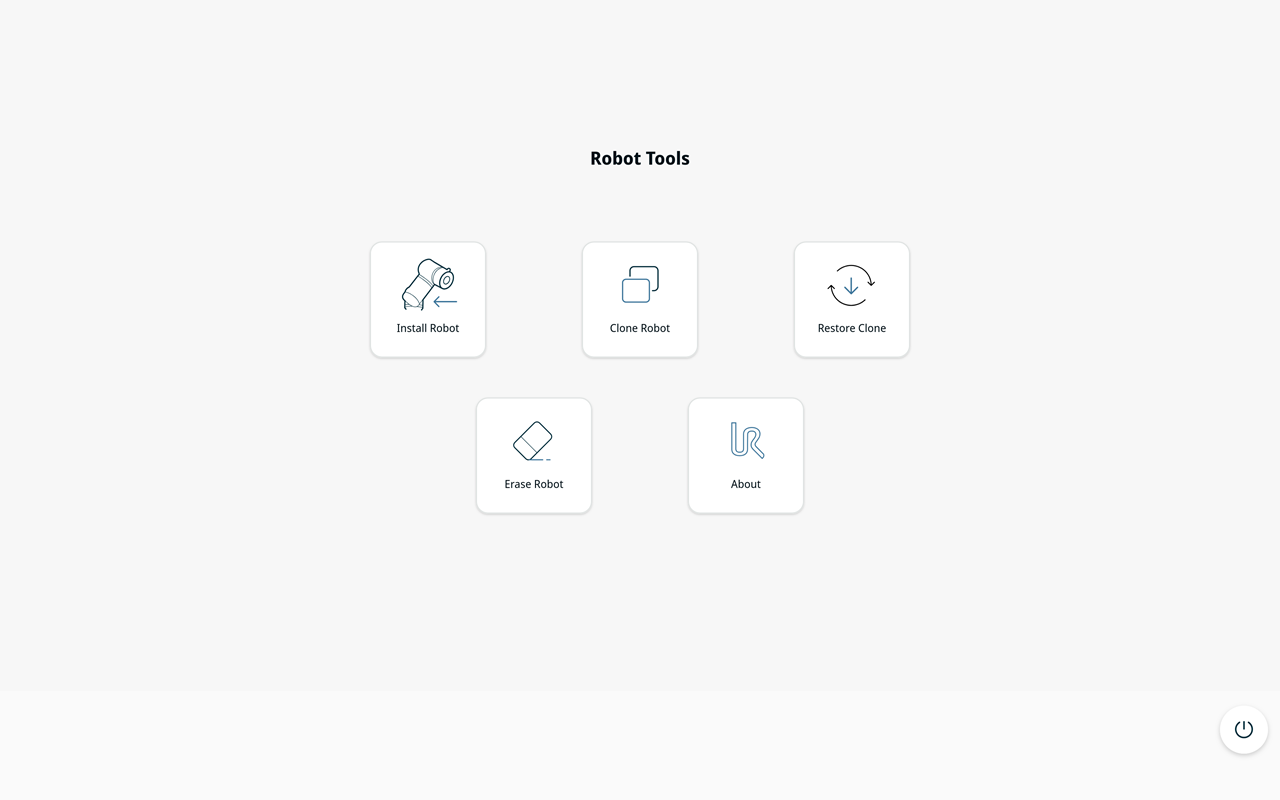
| Main screen |
Do not remove the USB drive or turn off the robot while an operation is in progress.
|
Install Robot
| Description |
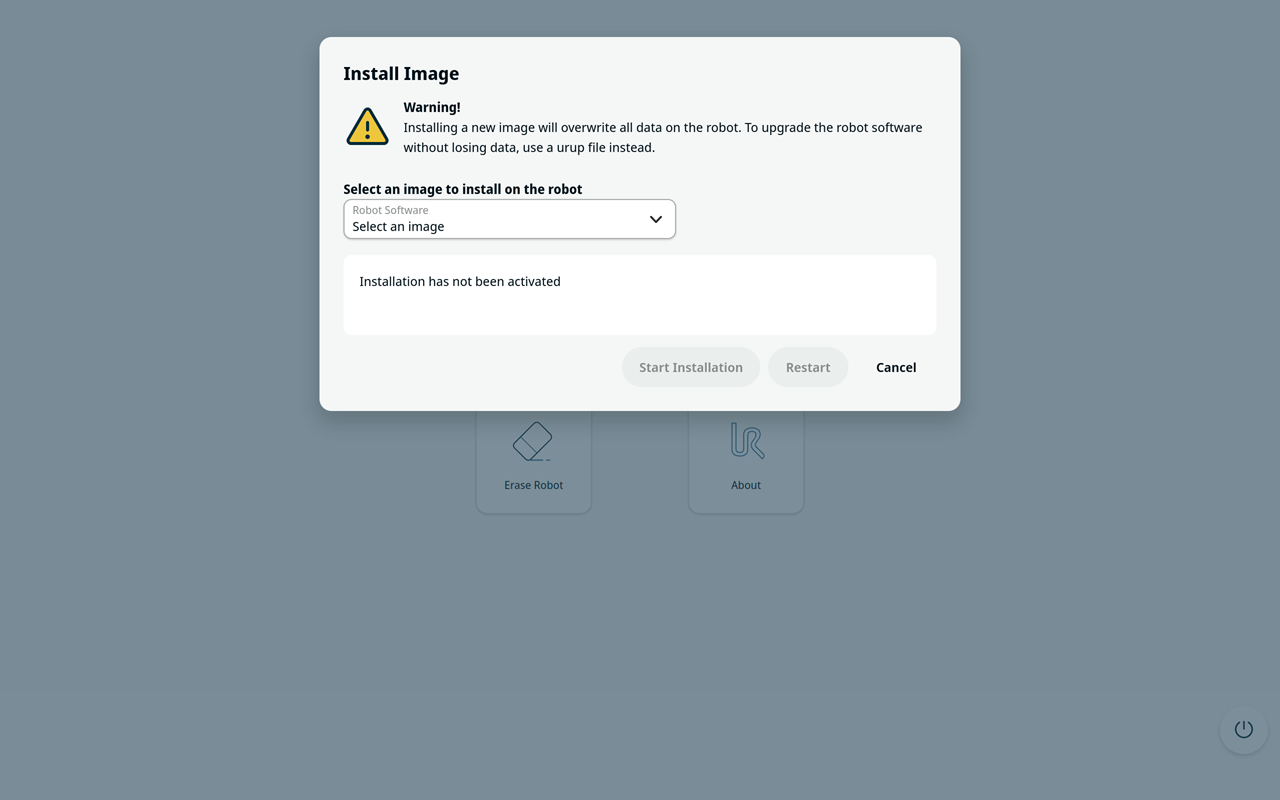
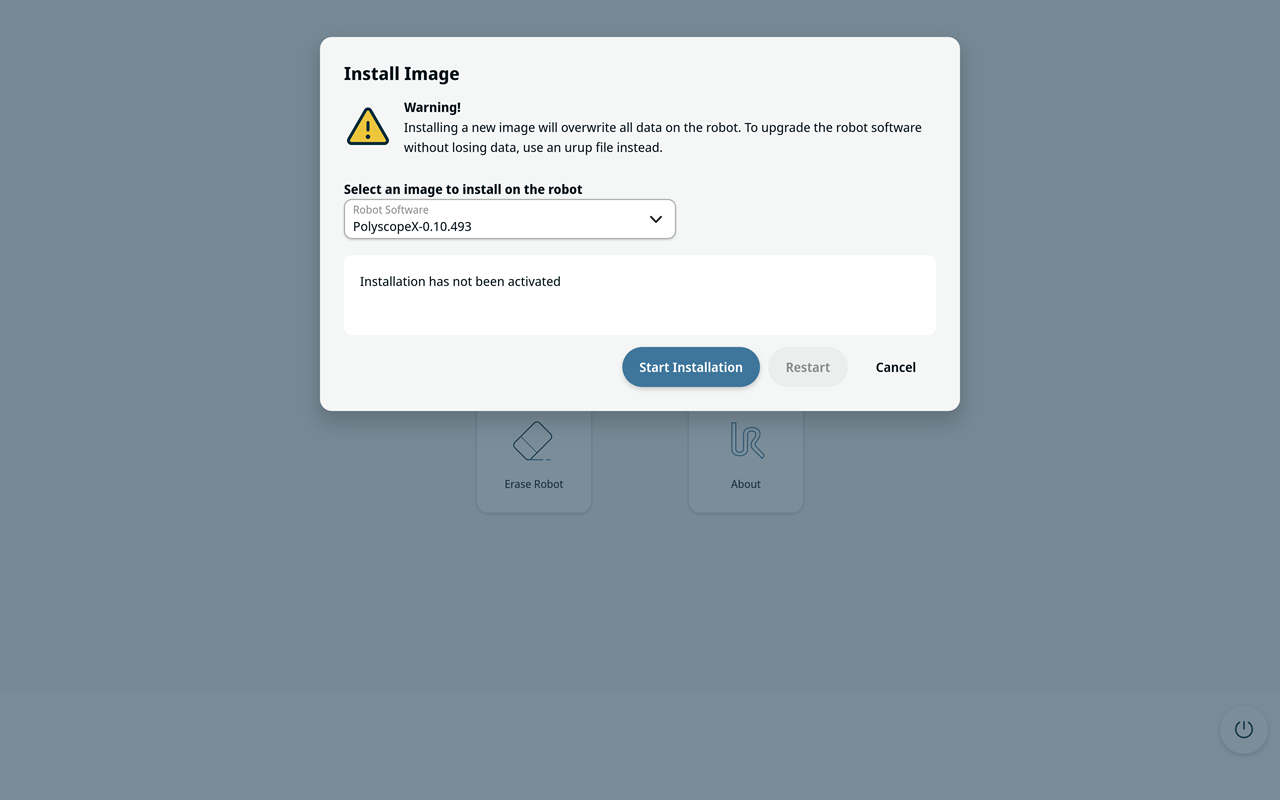
Use Install Robot to install a compatible robot image from the data partition of the USB drive. Insert the USB drive into the Control Box, then start Robot Tools. When you copy a robot image from your PC to the USB drive, you do not need to modify the image file. Installing a new image overwrites all data on the robot.
|
| Install Image |
Before the installation starts, select Cancel to return to the main screen without changing the robot disk.
|
| Automatic installation |
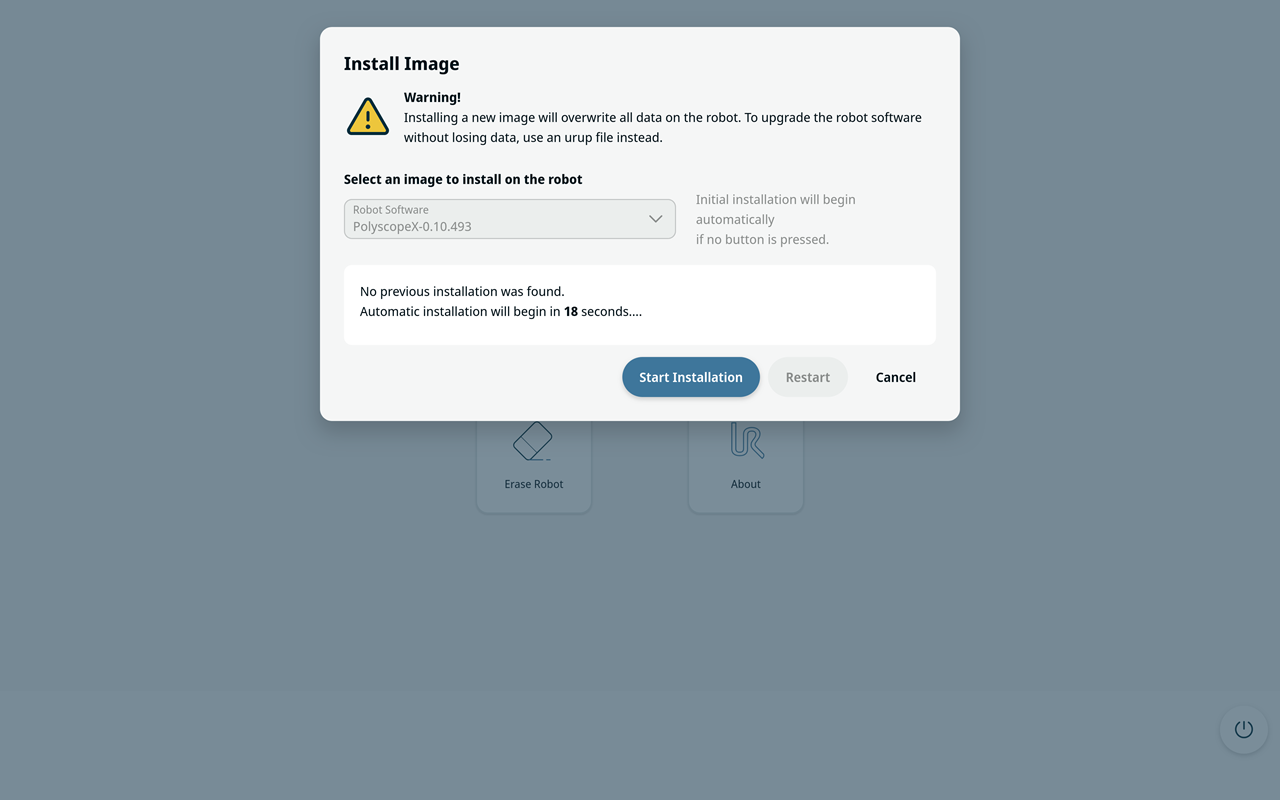
If the robot disk is blank and the USB drive contains one compatible robot image, the installation screen can open automatically and display a countdown. Select Start Installation to start immediately, or select Cancel to stop the countdown and return to the main screen.
The USB drive with Robot Tools contains a file named autoinstall. In this file, you can configure which image to install first during an automatic installation. This also works when the USB drive contains more than one image. If you delete the autoinstall file, automatic installation does not work.
For a comprehensive guide to using Robot Tools in PolyScope X, see Robot Tools.
|
Clone Robot
| Description |
Use Clone Robot to create an image of the robot's internal storage on the data partition of the USB drive. You can use this image to restore the robot to the saved state. Make sure that the USB drive has enough free space for the clone. Do not remove the USB drive while cloning is in progress.
|
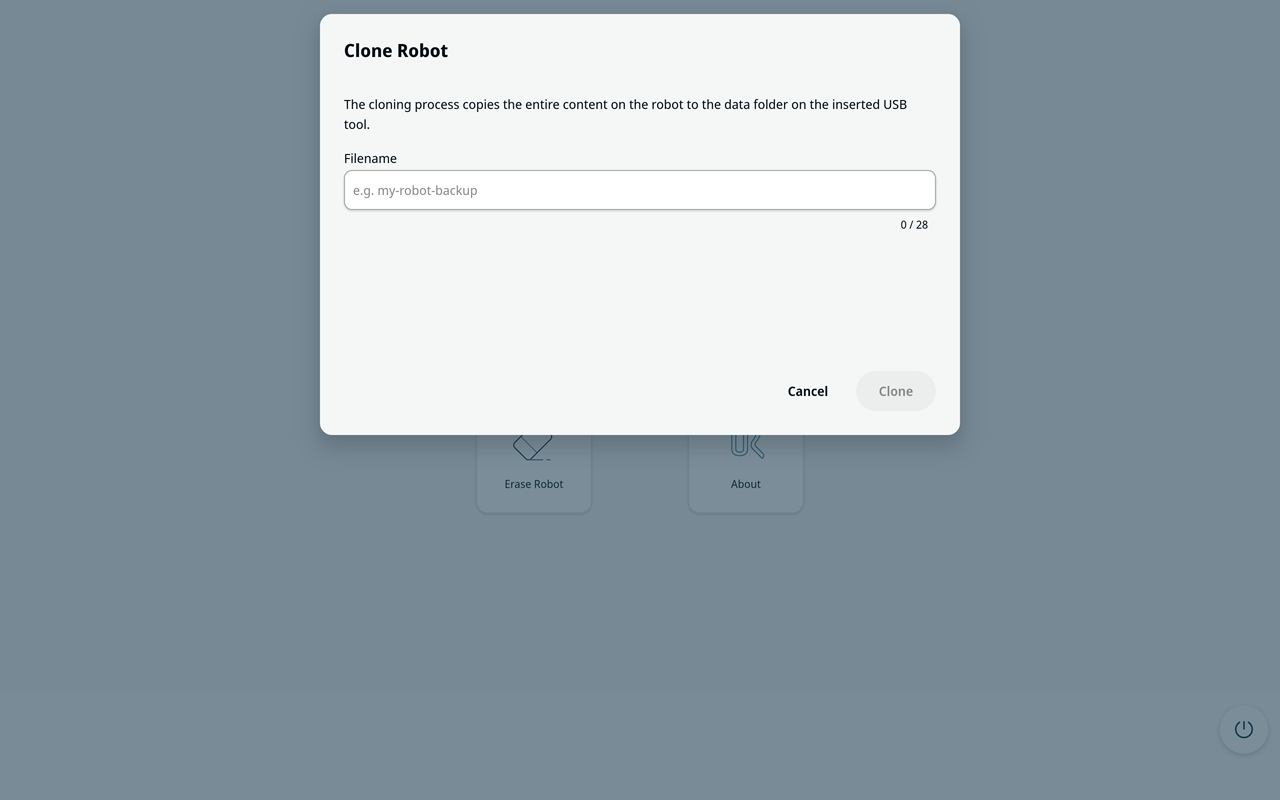
| Clone Robot |
Before cloning starts, select Cancel to return to the main screen without creating a clone. A robot clone is intended for backup and recovery. Do not use Clone Robot to manage software across a fleet of robots.
|
Restore Robot
| Description |
Use Restore Robot to restore a clone image from the USB drive to the robot disk. Restoring a clone overwrites the robot disk. All current data on the robot is lost.
|
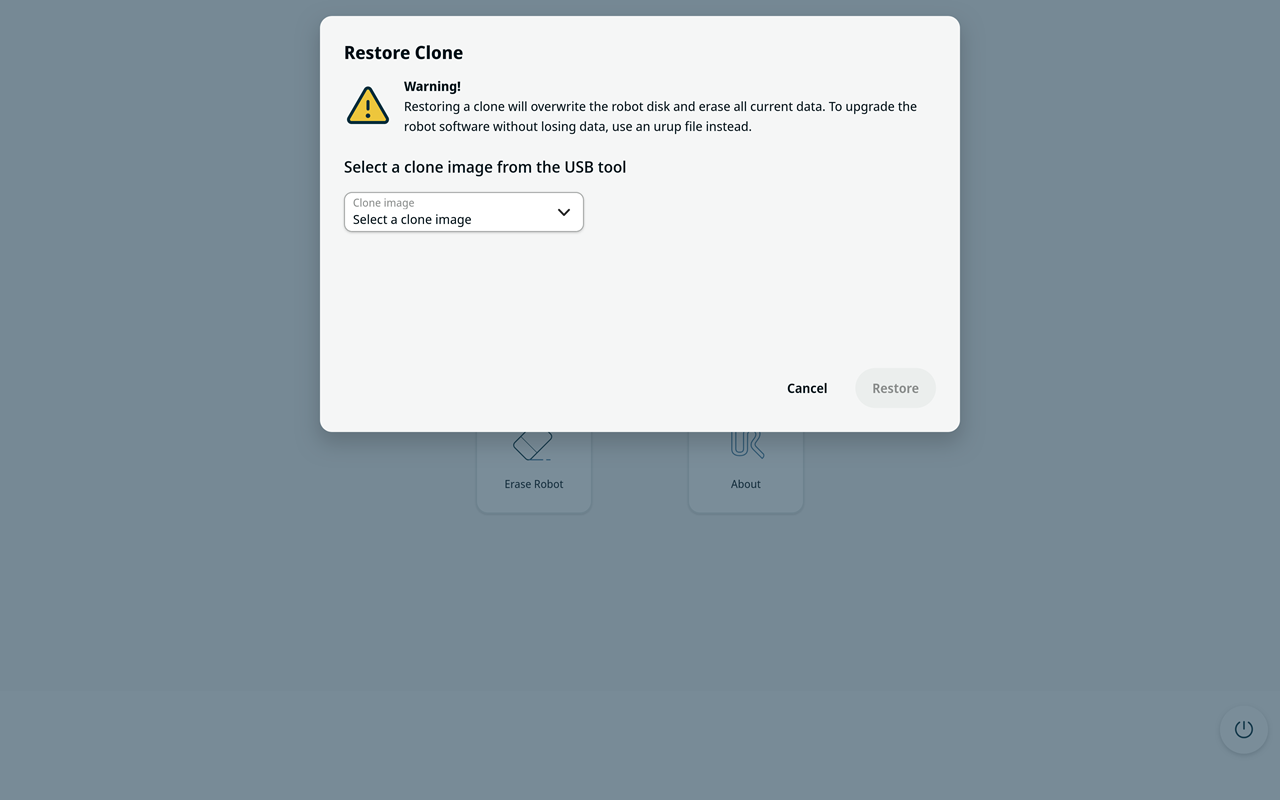
| Restore Robot |
Before restoring starts, select Cancel to return to the main screen without changing the robot disk.
|
Erase Robot
| Description |
Use Erase Robot to erase all data from the robot disk. Erase the disk when decommissioning the Control Box or before returning a compatible Control Box to removable-storage operation. All data is erased. The robot cannot start from the robot disk after the erase operation.
|
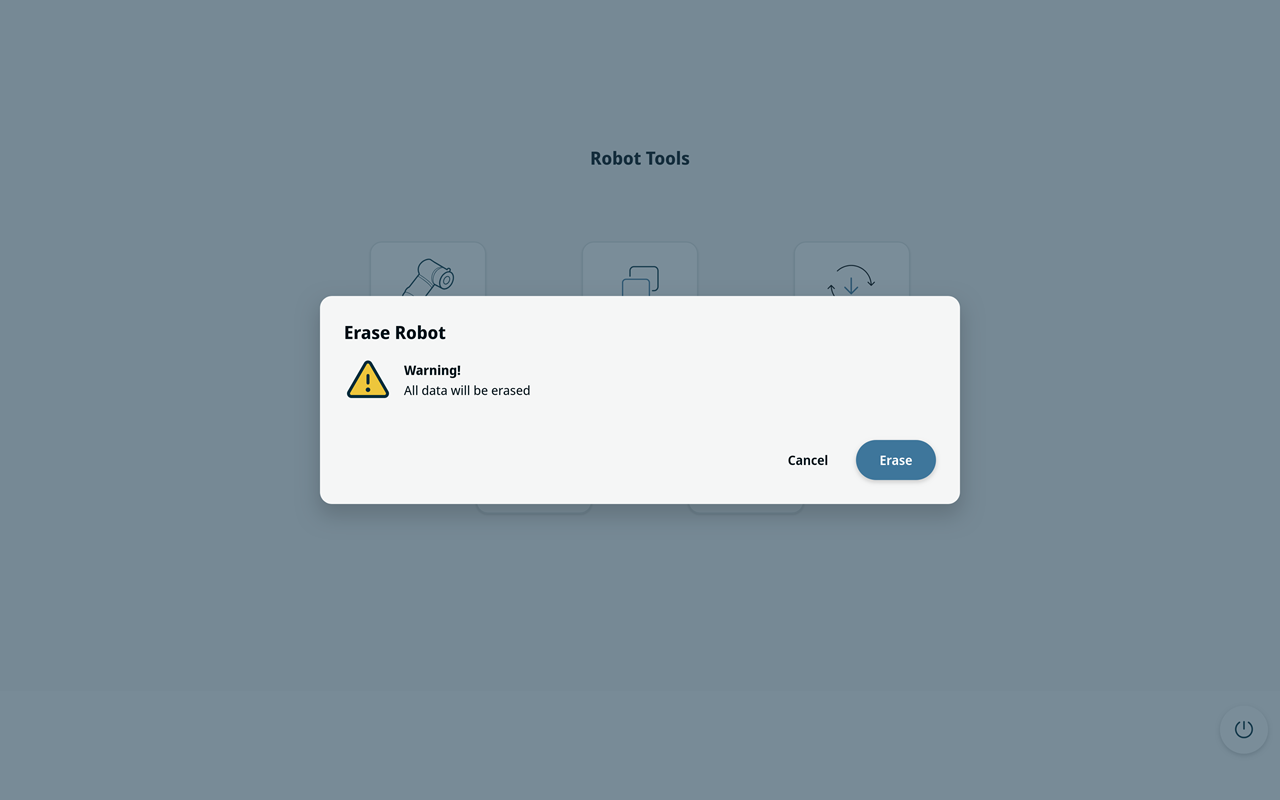
| Erase Robot |
Before erasing starts, select Cancel to return to the main screen without changing the robot disk. If you start the robot again with the USB drive inserted while the robot disk is blank, automatic installation may start.
|