First Boot for CB7
| Description |
The first boot is the initial sequence of actions you take with the robot after assembly. PolyScope X first boot takes about 10 minutes. This initial sequence requires you to:
|
|
Failure to verify the payload and installation before starting up the robot arm can cause injury to personnel and/or property damage. Incorrect payload and installation settings prevent the robot arm and Control Box from functioning correctly. Incorrect payload values can adversely affect stopping distance, force limitation, trajectory accuracy, and fault detection.
Starting up the robot in low temperatures can result in lower performance or stops due to temperature-dependent oil and grease viscosity.
|
Inserting the USB Drive
|
Insert USB drive |
Take the USB drive from the box and insert it into a USB port in the Control Box. Do not use the USB port on the Teach Pendant. The USB port on the Teach Pendant is not supported for first boot or image installation.
|
Powering On the Robot
| To power on the robot |
Powering on the robot turns on the Control Box and loads the display on the TP screen.
|
Installing the Robot Image
| Description |
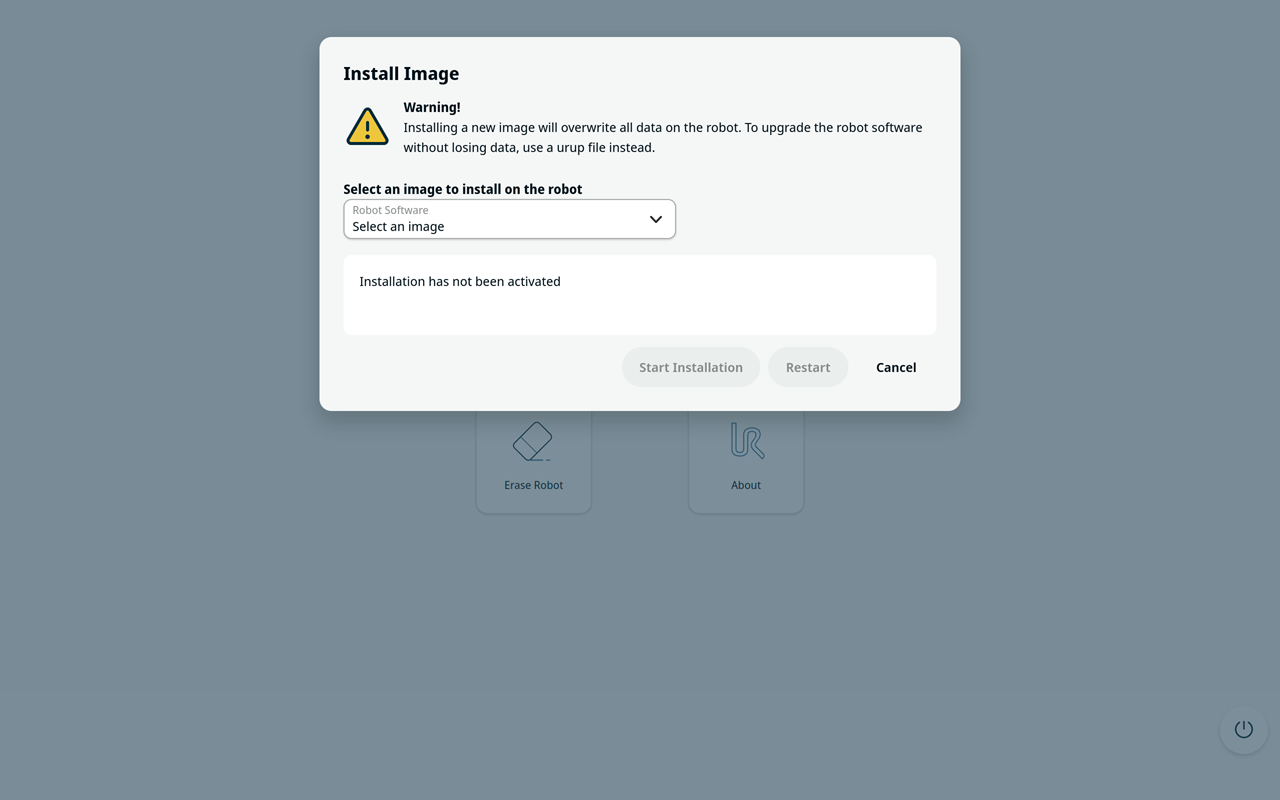
Use Install Robot to install a compatible robot image from the data partition of the USB drive. Insert the USB drive into the Control Box, then start Robot Tools. When you copy a robot image from your PC to the USB drive, you do not need to modify the image file. Installing a new image overwrites all data on the robot.
|
| Install Image |
Before the installation starts, select Cancel to return to the main screen without changing the robot disk.
|
| Automatic installation |
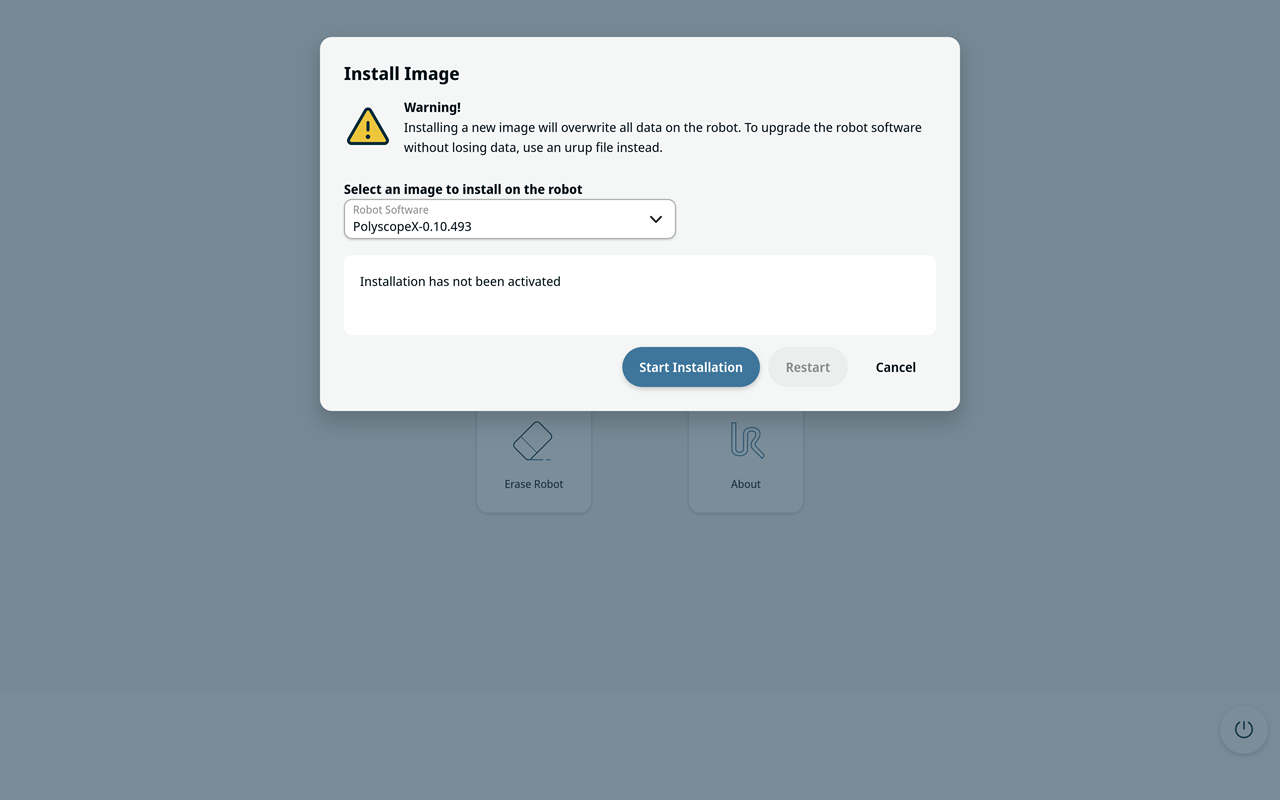
If the robot disk is blank and the USB drive contains one compatible robot image, the installation screen can open automatically and display a countdown. Select Start Installation to start immediately, or select Cancel to stop the countdown and return to the main screen.
The USB drive with Robot Tools contains a file named autoinstall. In this file, you can configure which image to install first during an automatic installation. This also works when the USB drive contains more than one image. If you delete the autoinstall file, automatic installation does not work.
For a comprehensive guide to using Robot Tools in PolyScope X, see Robot Tools.
|
Inserting the Serial Number
| To insert the serial number |
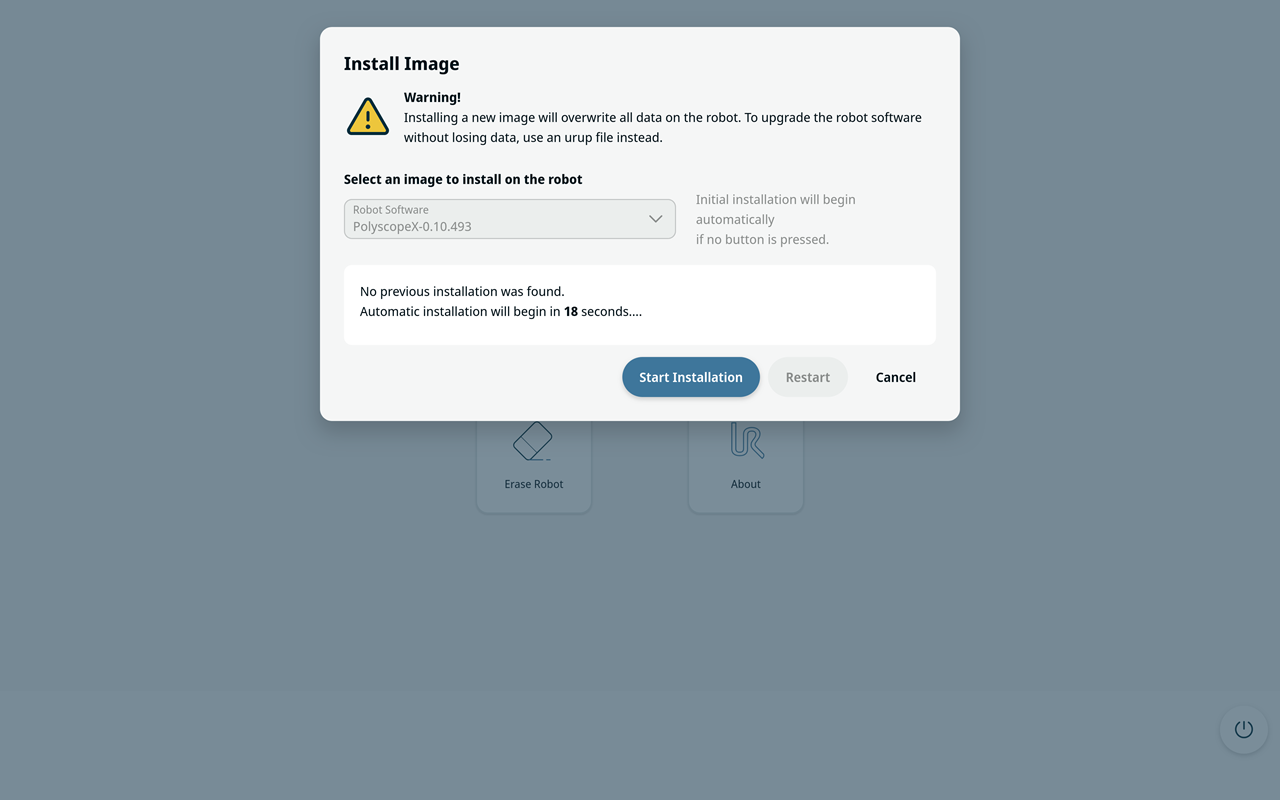
Installing your robot for the first time requires you to enter the serial number on the robot arm. This procedure is also required when you reinstall the software. For example, when you install a software update. |
||
|
|
It can take a few minutes for the start screen to load.
|
Verifying the Installation
| Description |
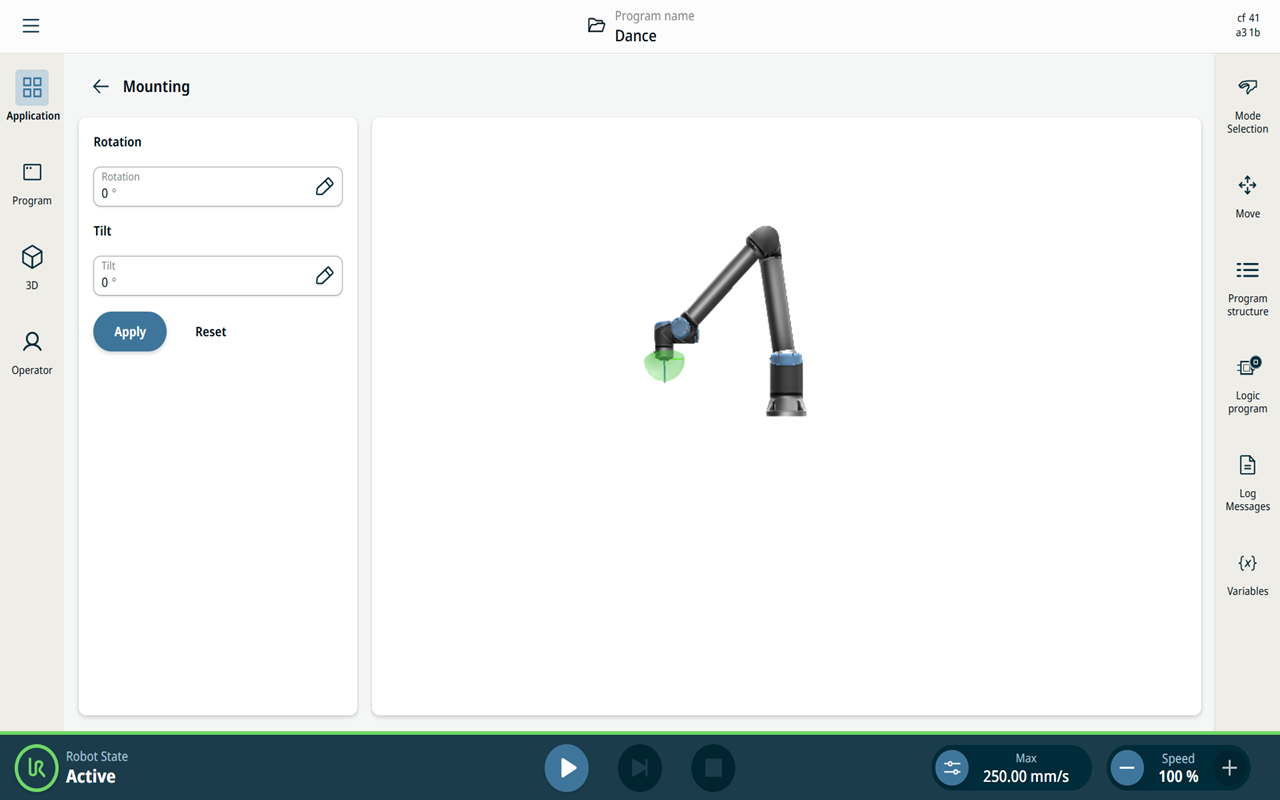
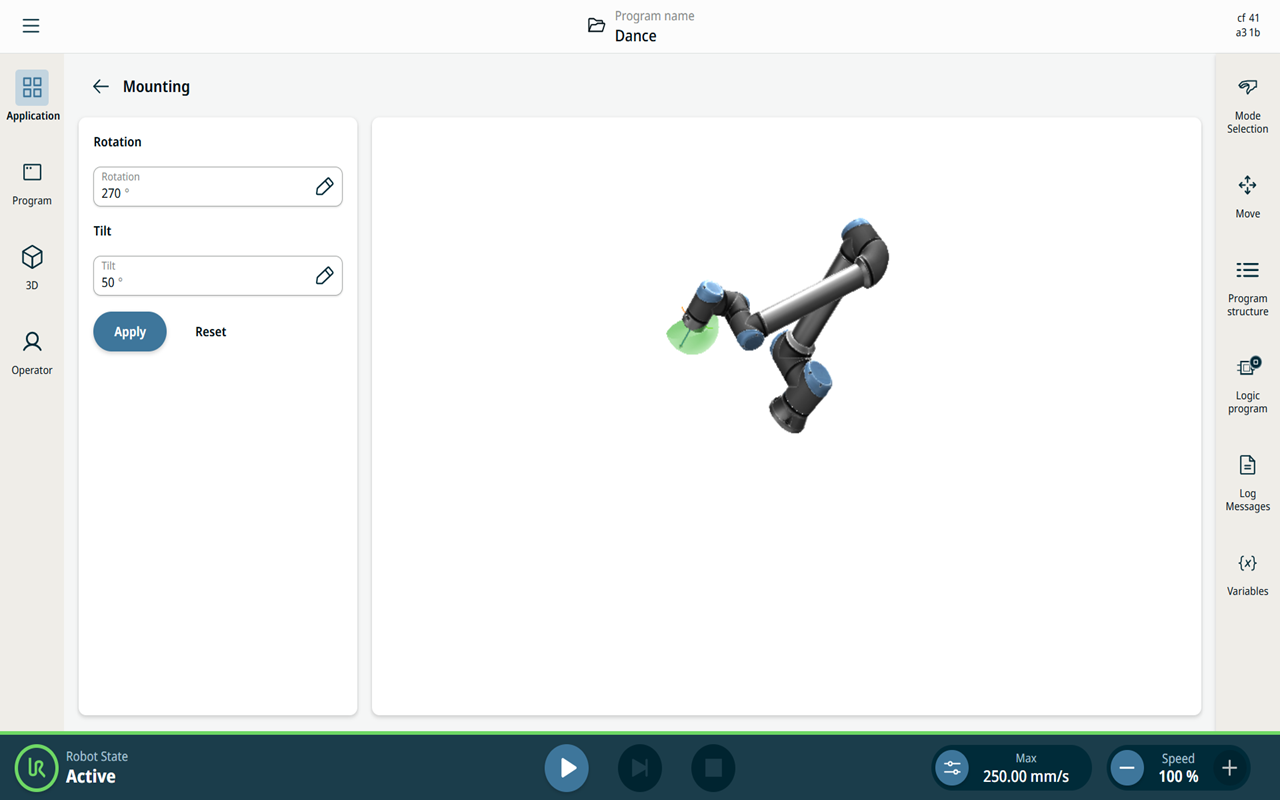
Mounting settings describe whether the robot is mounted vertically, horizontally, or at an angle. This allows the robot to determine the direction of gravity, enabling smooth and precise movement. This screen also allows you to specify the orientation of the robot base in relation to the viewer, giving the robot an accurate appearance in the visualizations.
|
|
|
Always verify the actual payload and installation are correct before starting up the robot arm. If these settings are incorrect, the robot arm and Control Box will not function correctly and may become dangerous to people or equipment. Ensure the robot arm is not touching an object (e.g. a table) because a collision between the robot arm and an obstacle might damage a joint gearbox. |
|
Changing the mounting settings
|
To change the mounting settings of the robot arm:
|
|
| Verify active payload |
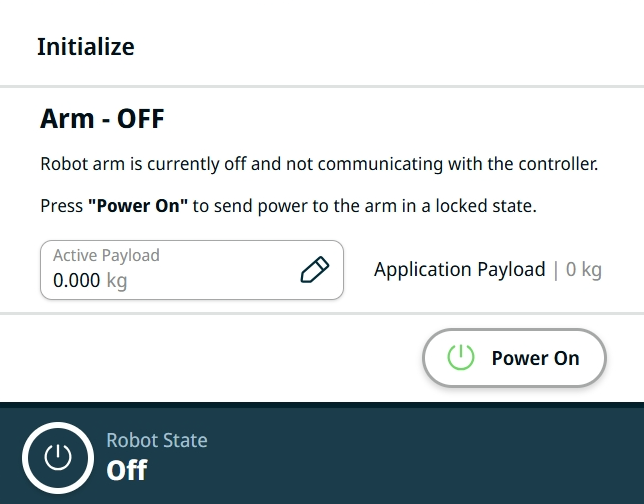
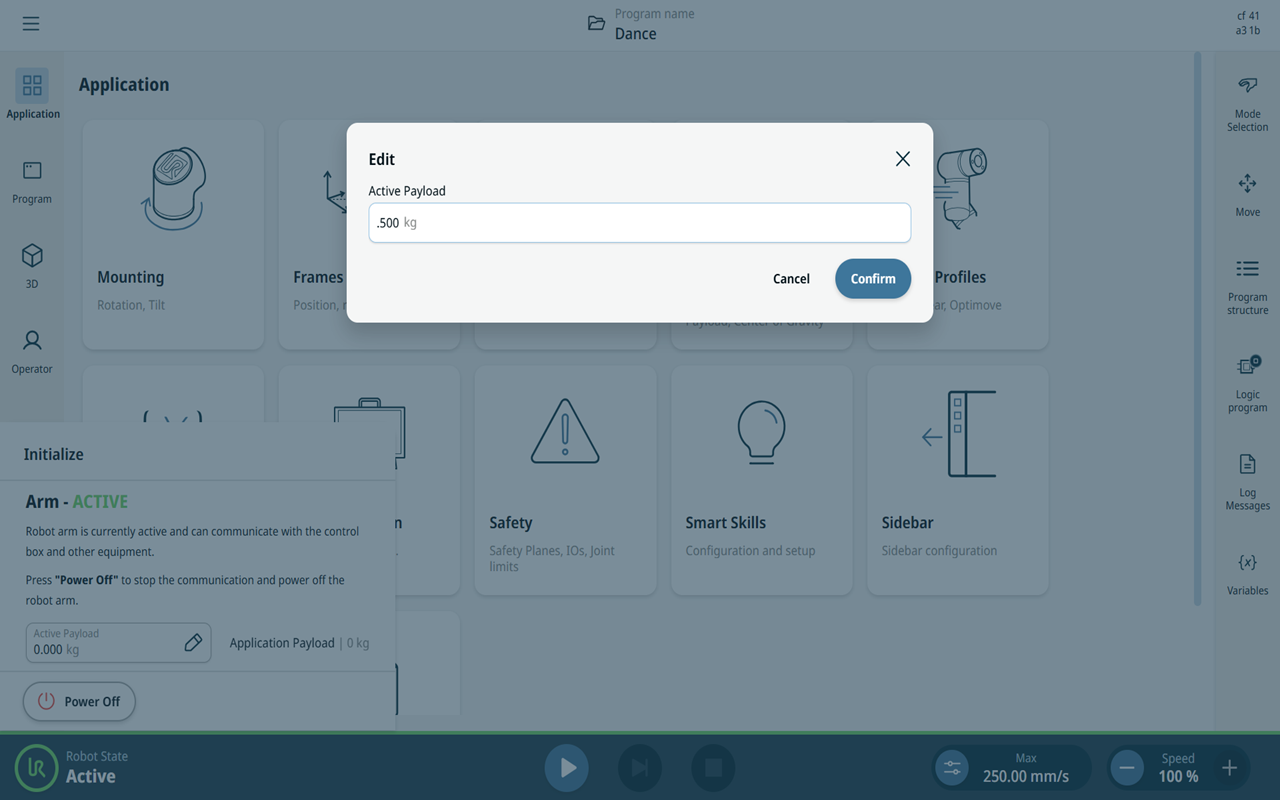
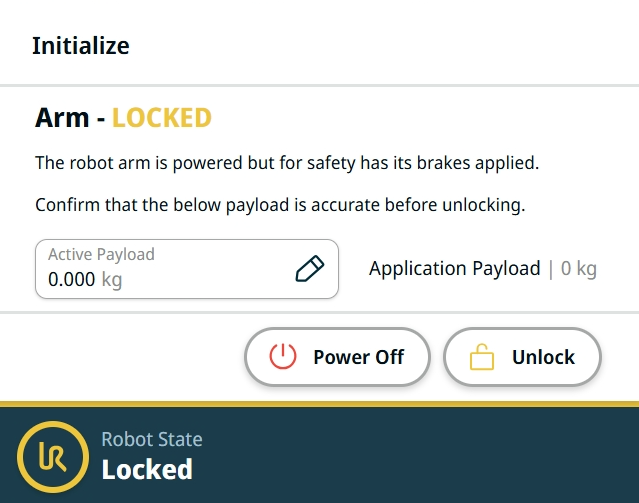
Starting the robot arm disengages the braking system, allowing you to start moving the robot arm and to start using PolyScope X. Before powering on the robot arm, you need to verify that the correct active payload is configured.
You can now Unlock the brakes and start moving the robot arm.
|
Starting the Robot Arm
| To start the robot |
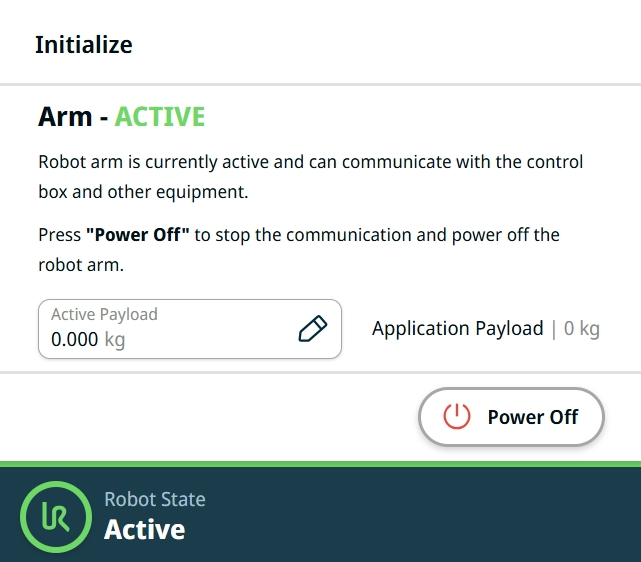
Starting the robot arm disengages the braking system, allowing you to start moving the robot arm and to start using PolyScope X.
|
|
Testing Mount and Payload using Freedrive
|
Description |
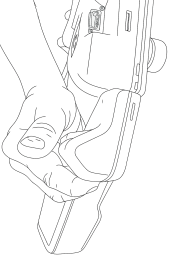
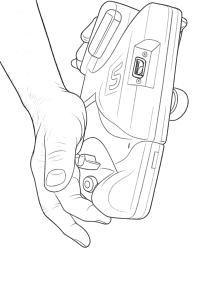
Freedriving the robot lets you quickly check whether the robot is functioning normally and whether mounting settings and payload are correctly specified. For a detailed description, see the Freedrive section.
|
| To test Freedrive |
|
Powering Down the Robot
| To power down the robot arm |
Unexpected startup and/or movement can lead to injury.
You can now:
|