關節移動
| 描述 |
The Joint Move is a move command node that supports Motion Profiles. The command creates a movement from point A to point B that is optimal for the robot. 該移動路徑可能不是 A 和 B 之間的直線,但是對關節的開始位置和關節的結束位置而言是最佳的。 「關節移動」會依照機器人手臂關節空間中的計算來移動。 控制關節同時完成其移動。 此移動類型將為工具沿著一個曲線路徑前進。
|
|
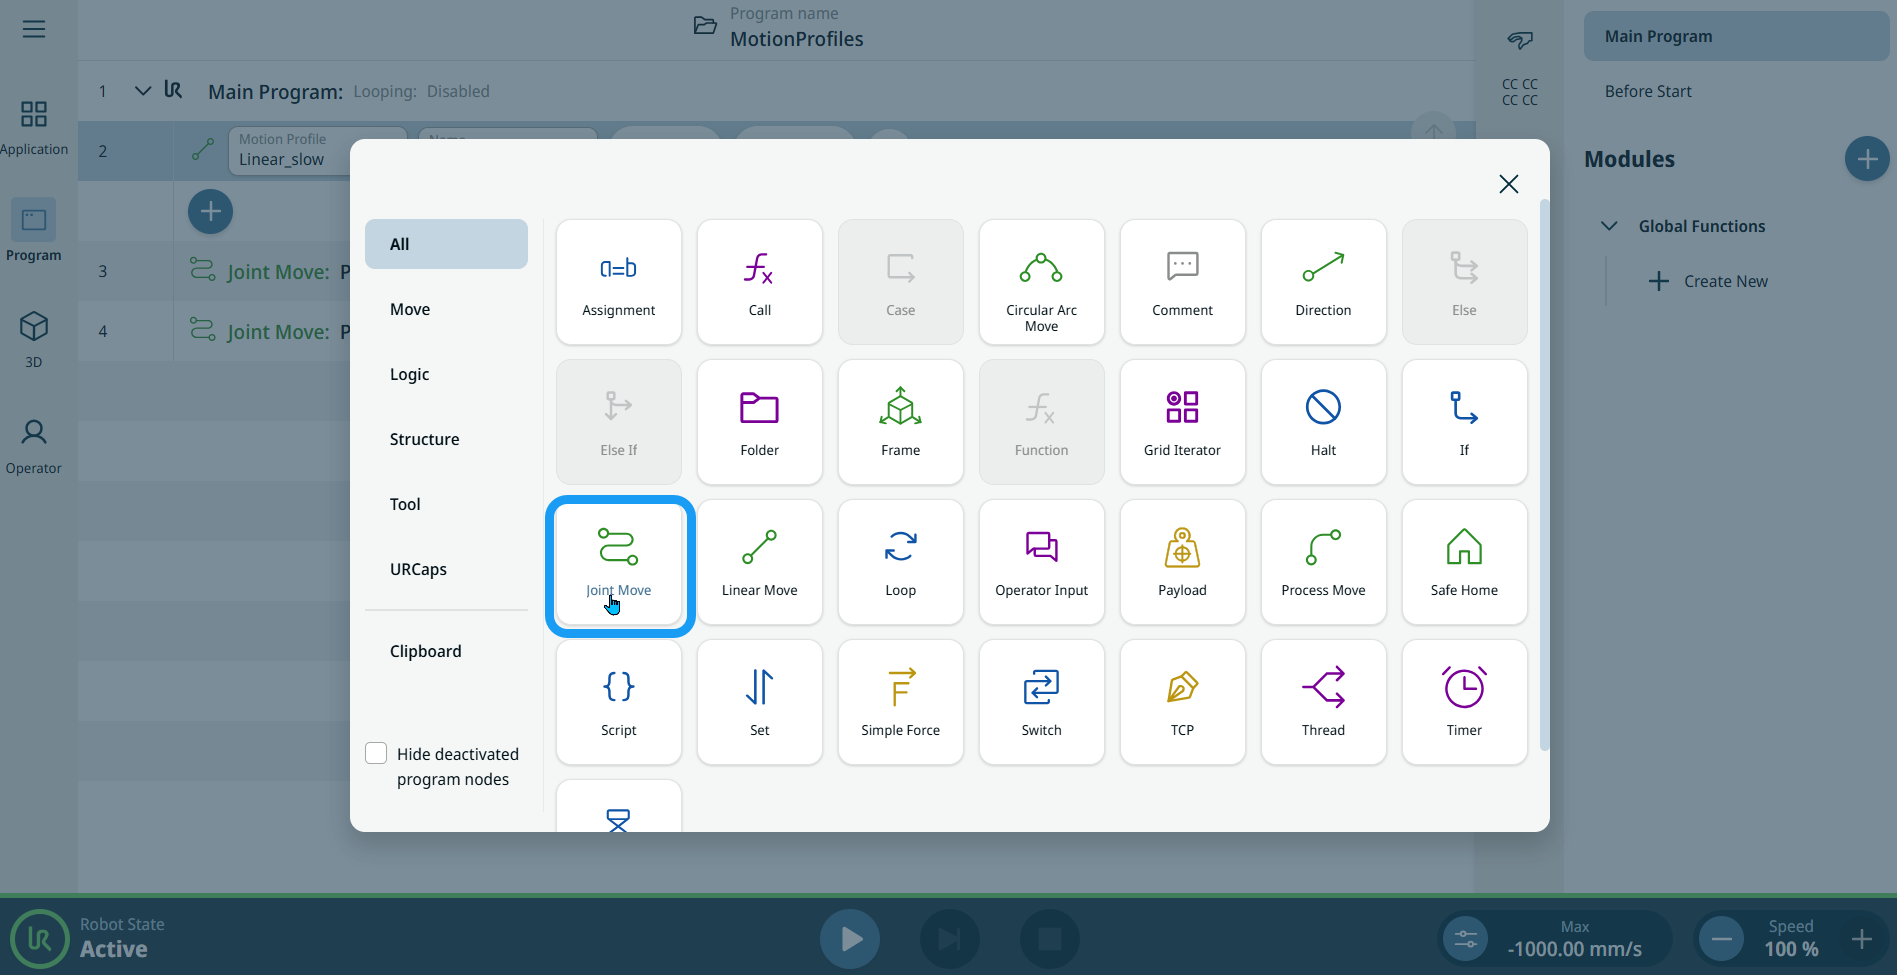
To access Joint Move command |
|
|
|
|
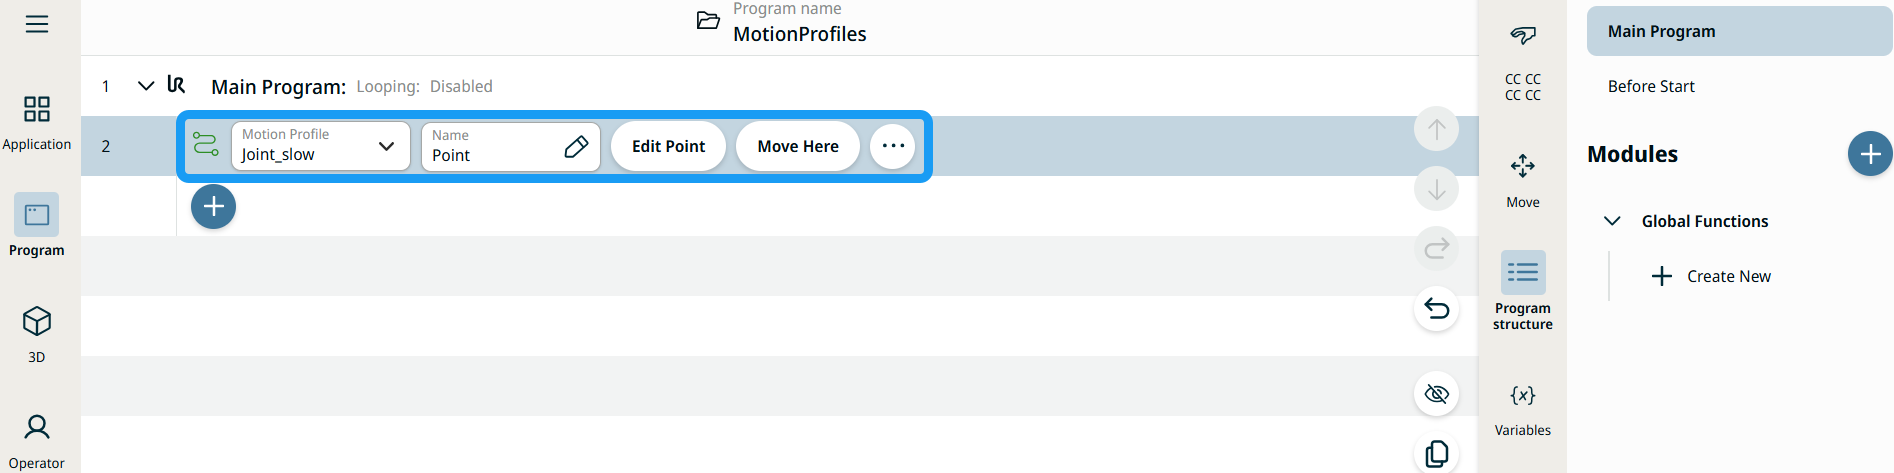
| 移動節點上的運動設定檔標籤 |
程式樹中所有與移動相關的命令節點,都會顯示與每個節點相聯的運動設定檔。 此功能可讓使用者查看移動節點上已選取的運動設定檔。 此功能在下列命令節點實行: 具有自訂運動配置檔案的移動節點,將會顯示速度和加速度值,而不會顯示運動配置檔案。 |
|
|
|
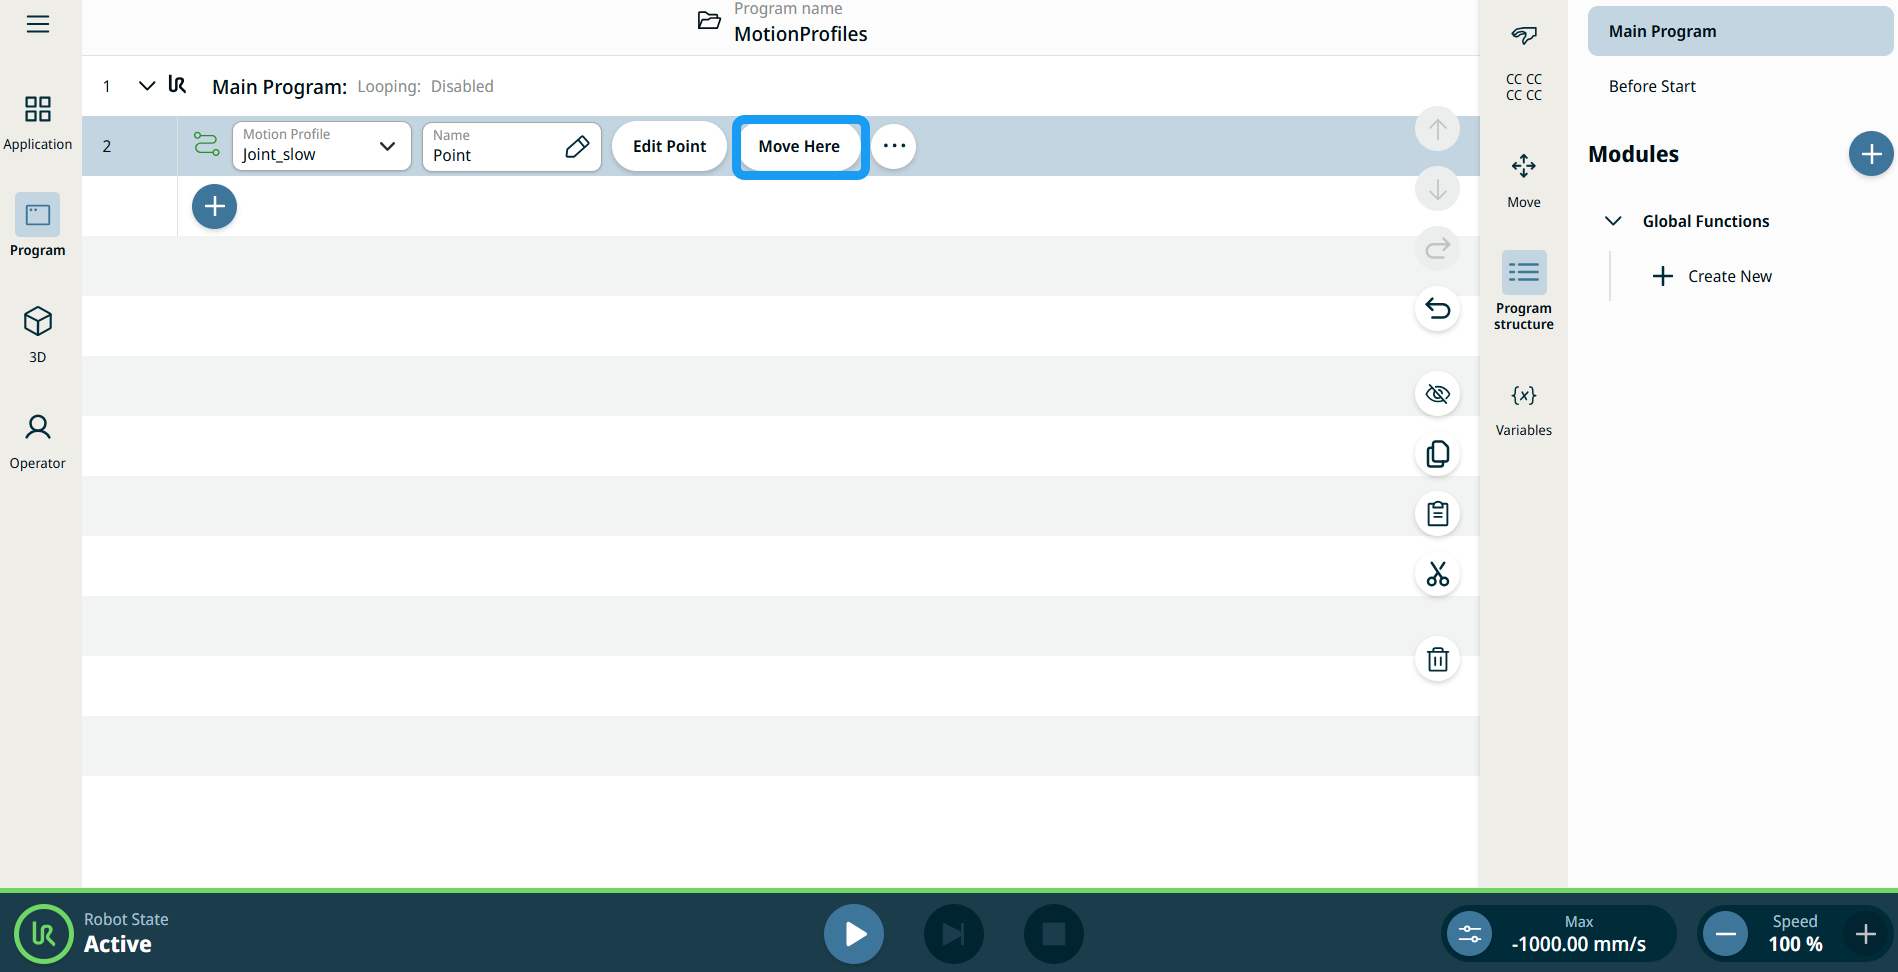
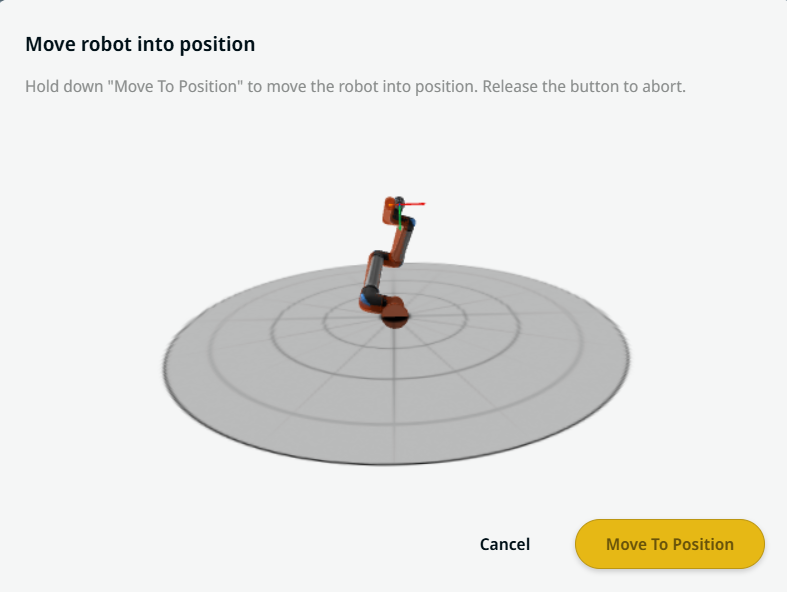
| 使用「移動到此」按鈕 |
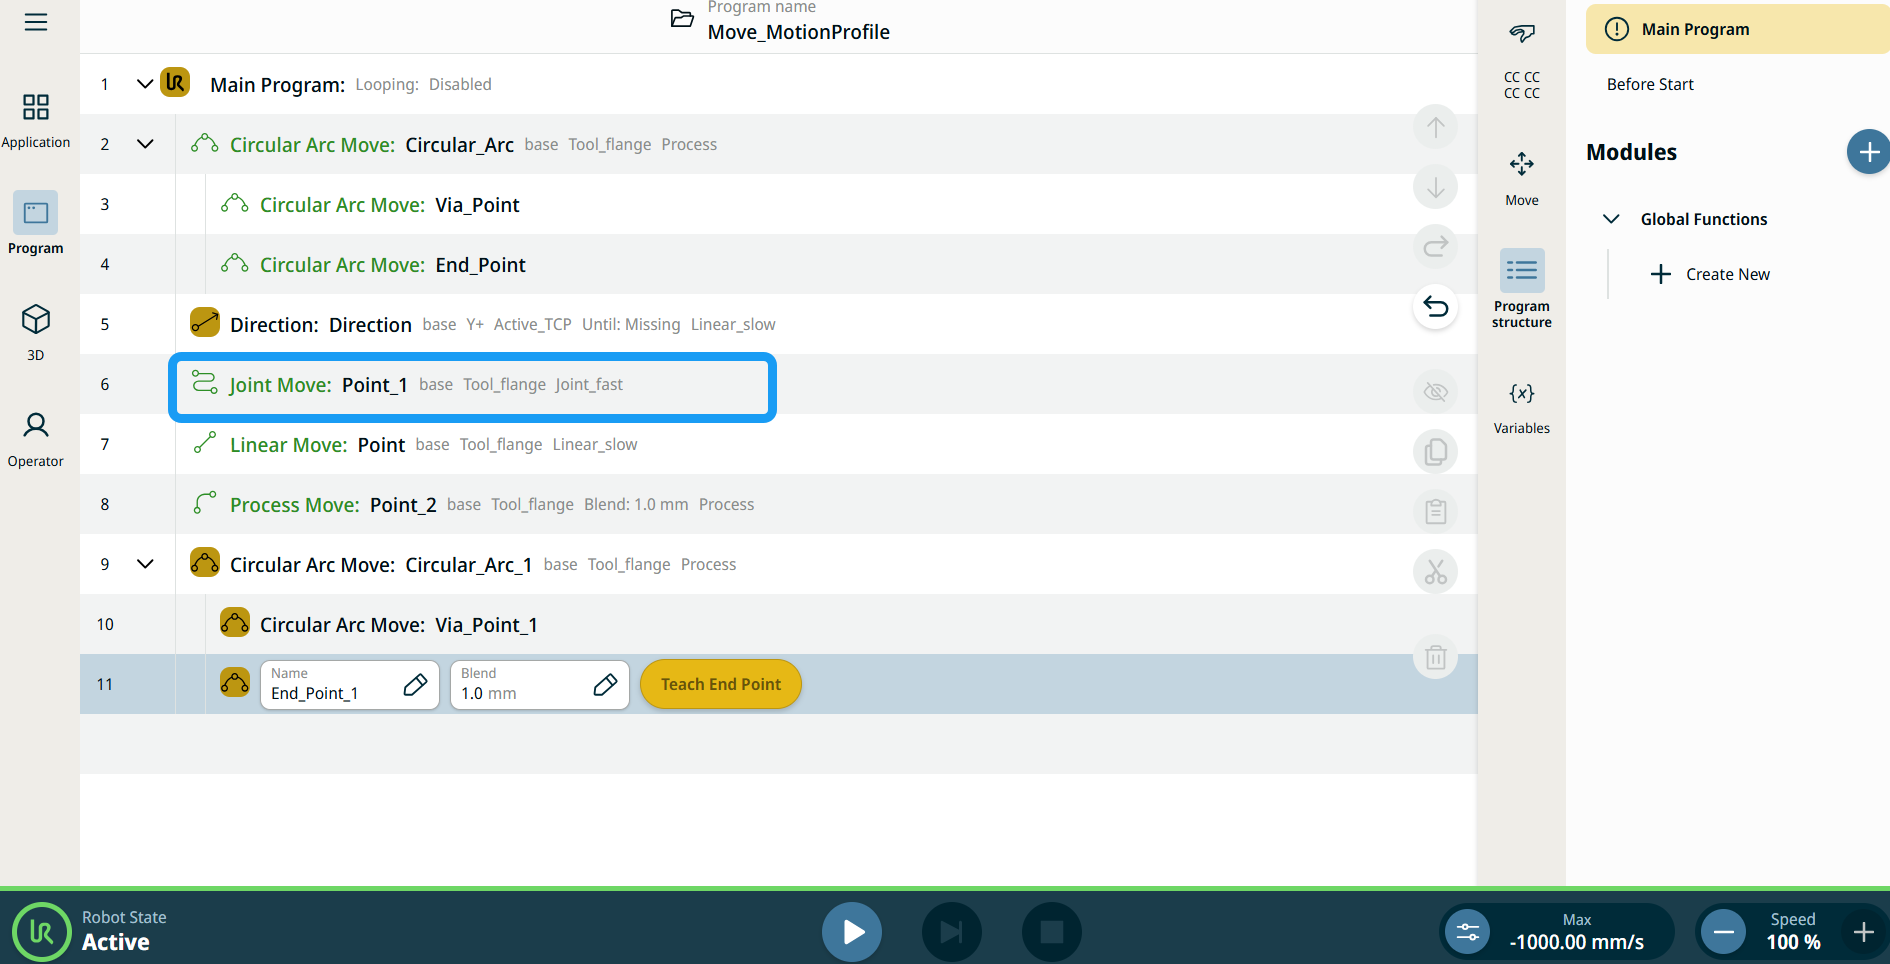
移至此處按鈕會顯示在線性移動和關節移動命令中。 可使用此功能直接從程式樹移動到路點的位置。 按移至此處按鈕,就會開啟「將機器人移動到位」對話方塊。 此按鈕會已教導在路點的情況下顯示,而且僅會在機器人狀態為正常或縮減模式時啟用。
|
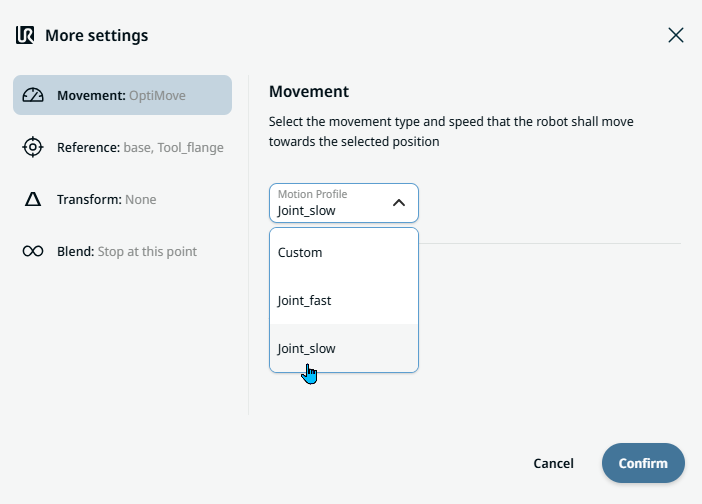
| Movement setting |
|
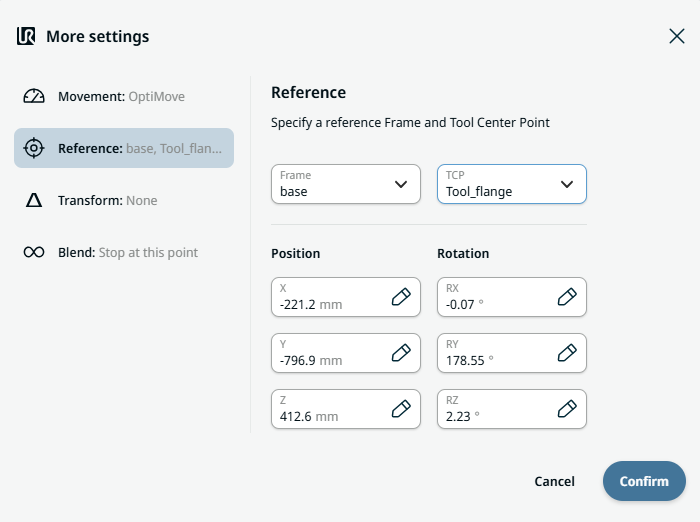
| Reference setting |
|
| Transform setting |
|
|
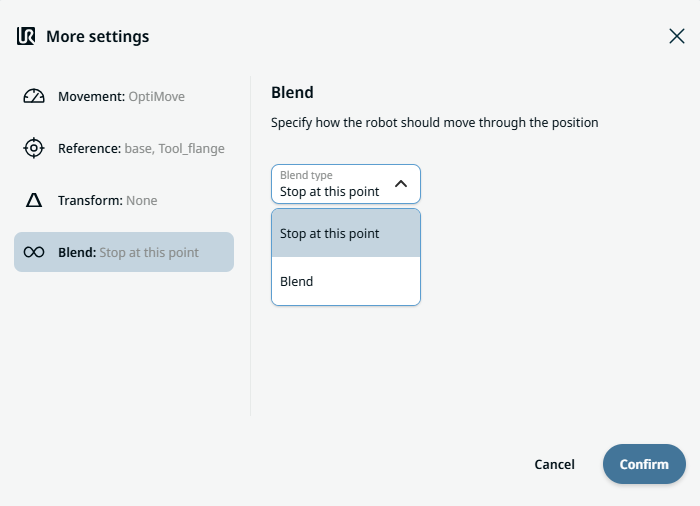
Blend setting |
|