Freedrive
| Description |
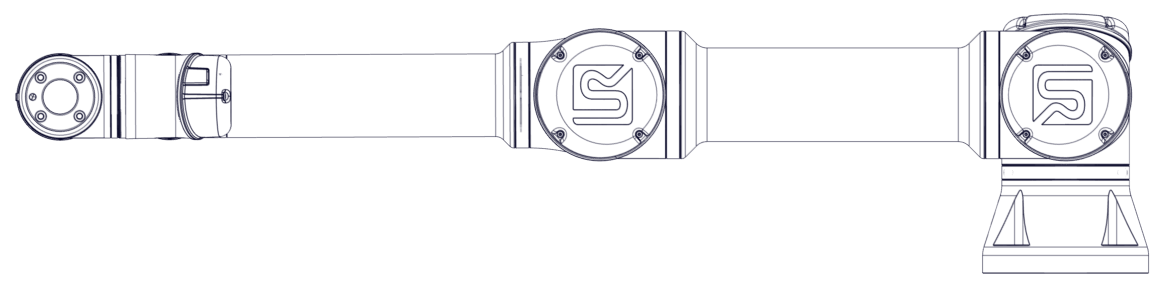
Freedrive lets you manually pull the robot arm into position. On most robot sizes, enable Freedrive by pressing the Freedrive button on the Teach Pendant. Additional ways to enable and use Freedrive are described in the following sections. In Freedrive, the robot arm joints move with little resistance because the brakes are released. Resistance increases as the robot arm approaches a predefined limit or plane, so pulling the robot into position feels heavier near those boundaries. Injury to personnel can occur due to unexpected motion.
|
| Enabling Freedrive |
You can enable Freedrive in the following ways:
Enabling Freedrive while you are moving the robot arm can cause drift and faults.
|
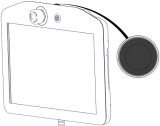
| 3PE Teach Pendant |
Use the 3PE TP button to put the robot arm in Freedrive:
Now you can pull the robot arm into a desired position, while the light-press is maintained.
|

| Backdrive |
During initialization of the robot arm, minor vibrations can occur when the robot brakes release. In situations such as when the robot is close to a collision, these vibrations are undesirable. Use Backdrive to force specific joints into position without releasing all brakes in the robot arm.
|
| Heavy Freedrive |
If the robot arm is powered on and the brakes are released, the joints can be moved by force. The force required to initiate motion depends on the Force Limits specified in the safety settings.
|
| To test Freedrive |
|