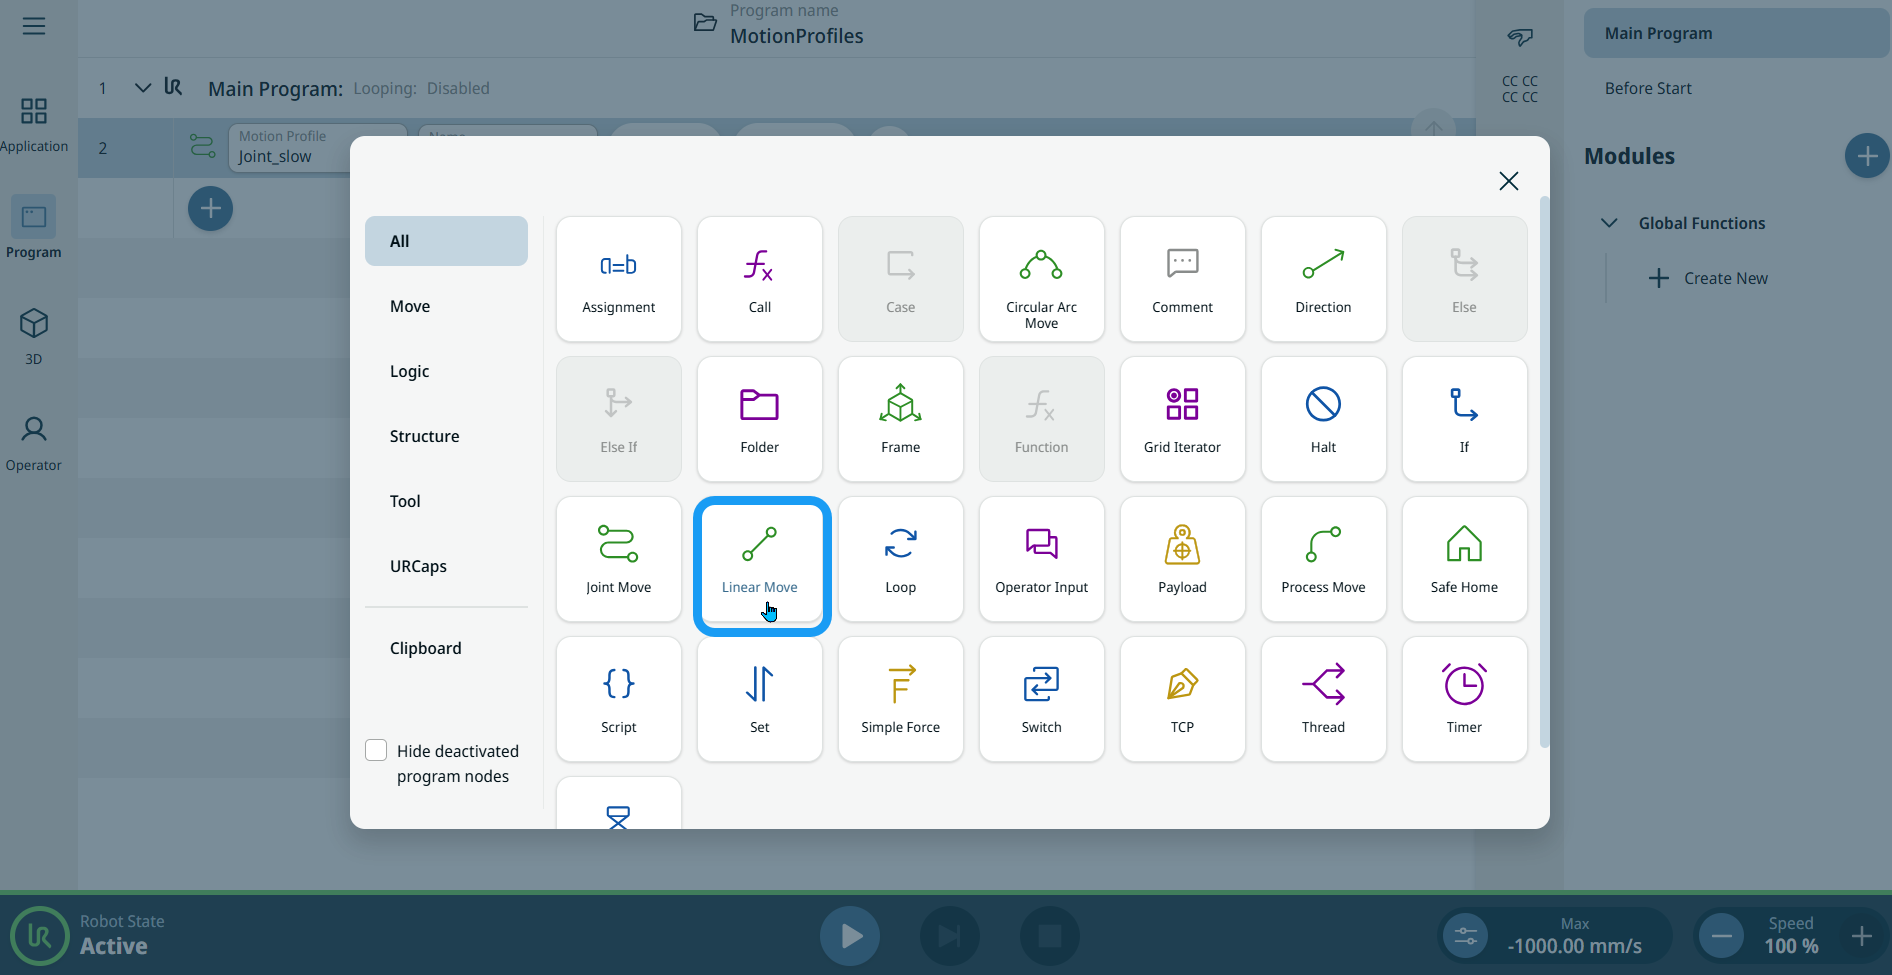
Linear Move
| Beskrivning |
The Linear Move command node supports Motions Profiles as Joint Move, but it creates a movement that is a direct line from point A and point B. It moves the Tool Center Point (TCP) linearly between waypoints. Detta innebär att varje led utför en mer komplicerad rörelse för att hålla verktyget på en rak linje.
|
|
To access Linear Move command |
|
|
|
|
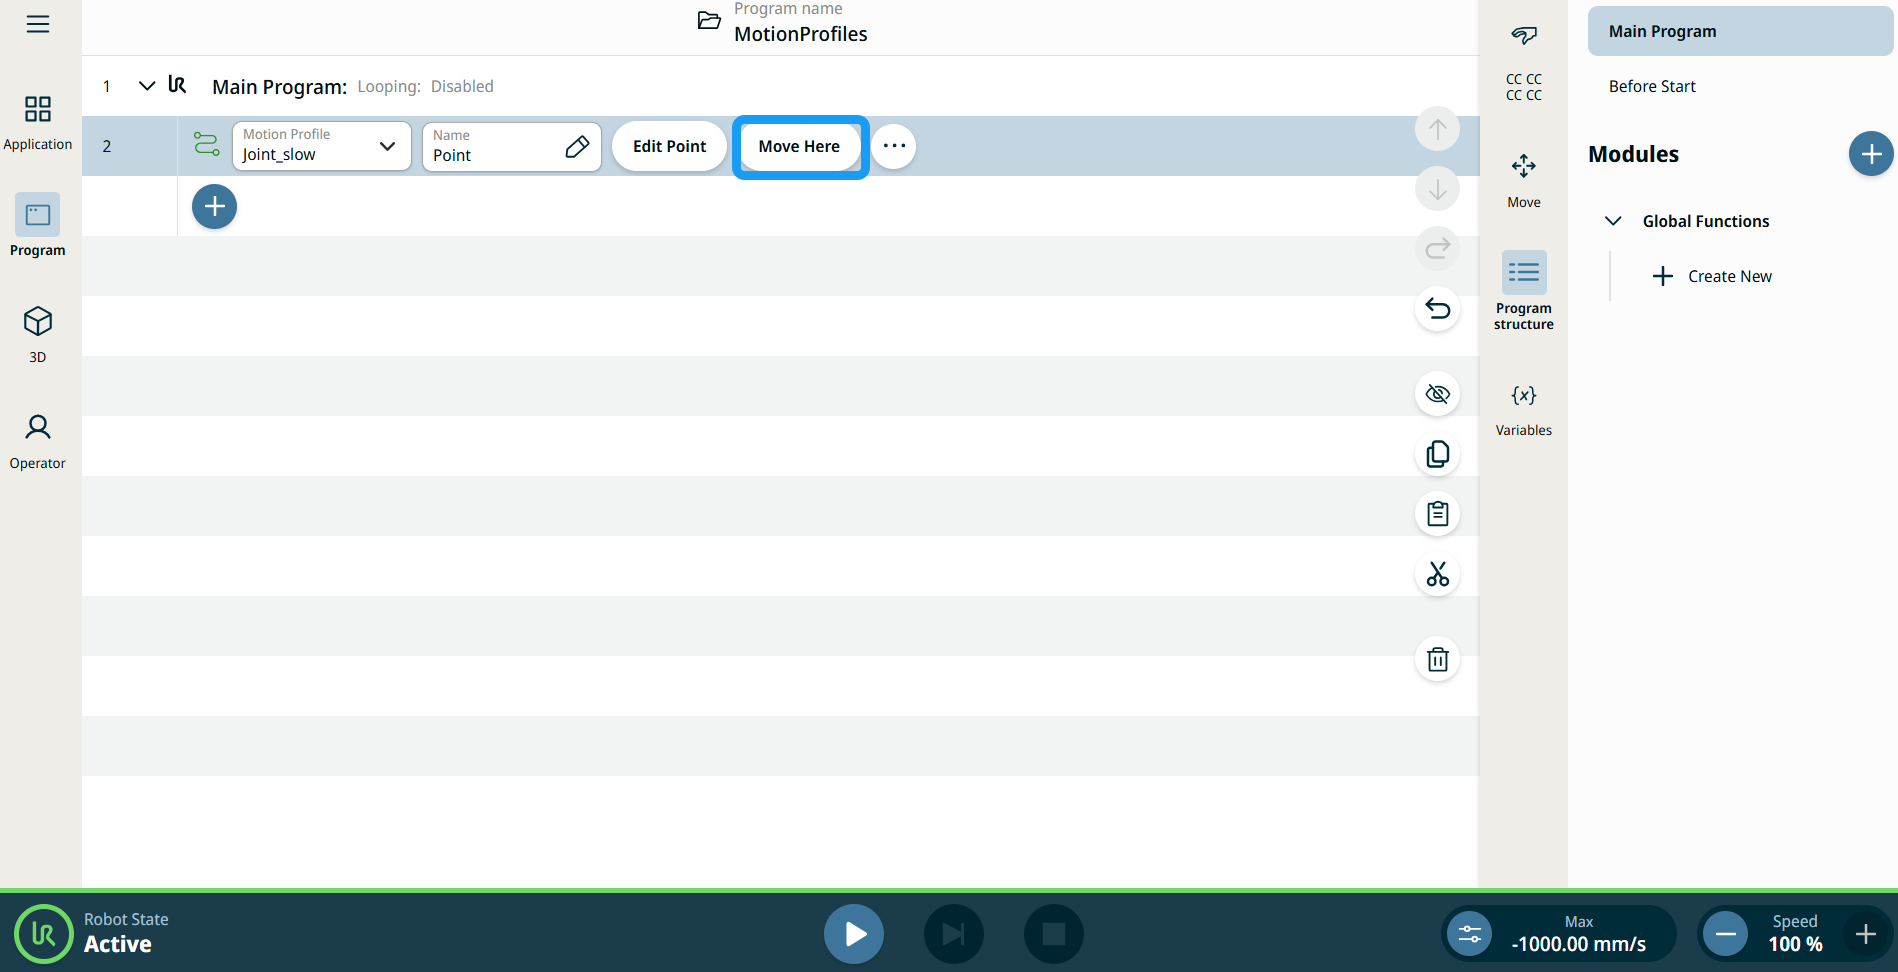
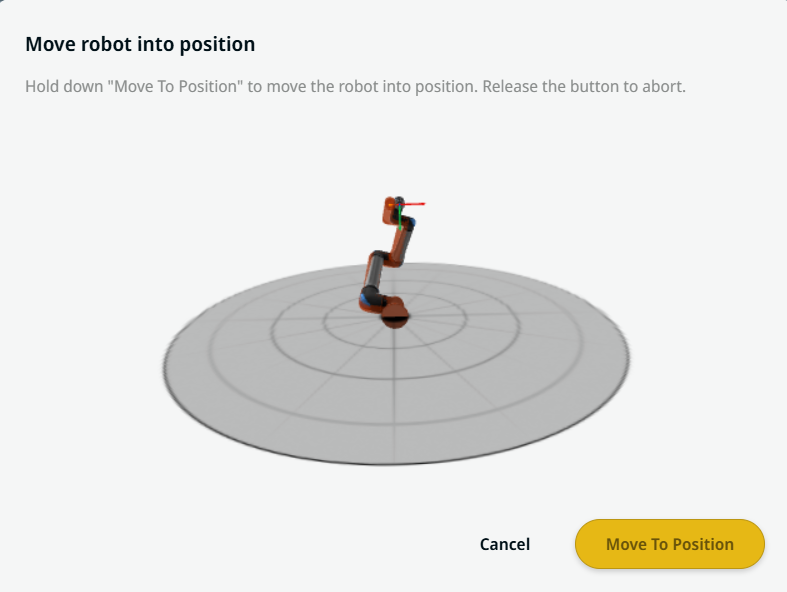
| Använda knappen Flytta hit |
Knappen Flytta hit visas i kommandona Linear Move och Joint Move. Denna funktion gör det möjligt att flytta till en vägpunkts position direkt från programträdet. Om du trycker på knappen Flytta hit öppnas dialogrutan Flytta roboten till position. Knappen är synlig när vägpunkten har programmerats in och är endast aktiverad när robotens status är i läget Normal eller Reducerad.
|
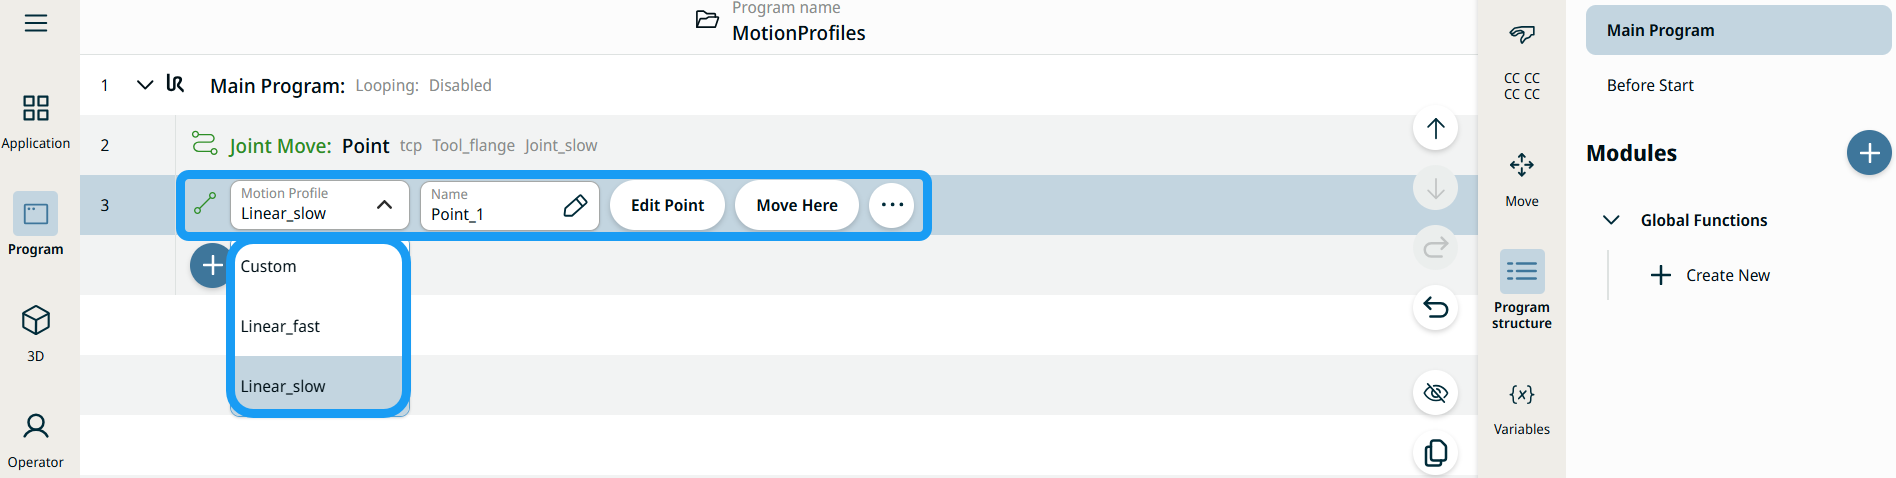
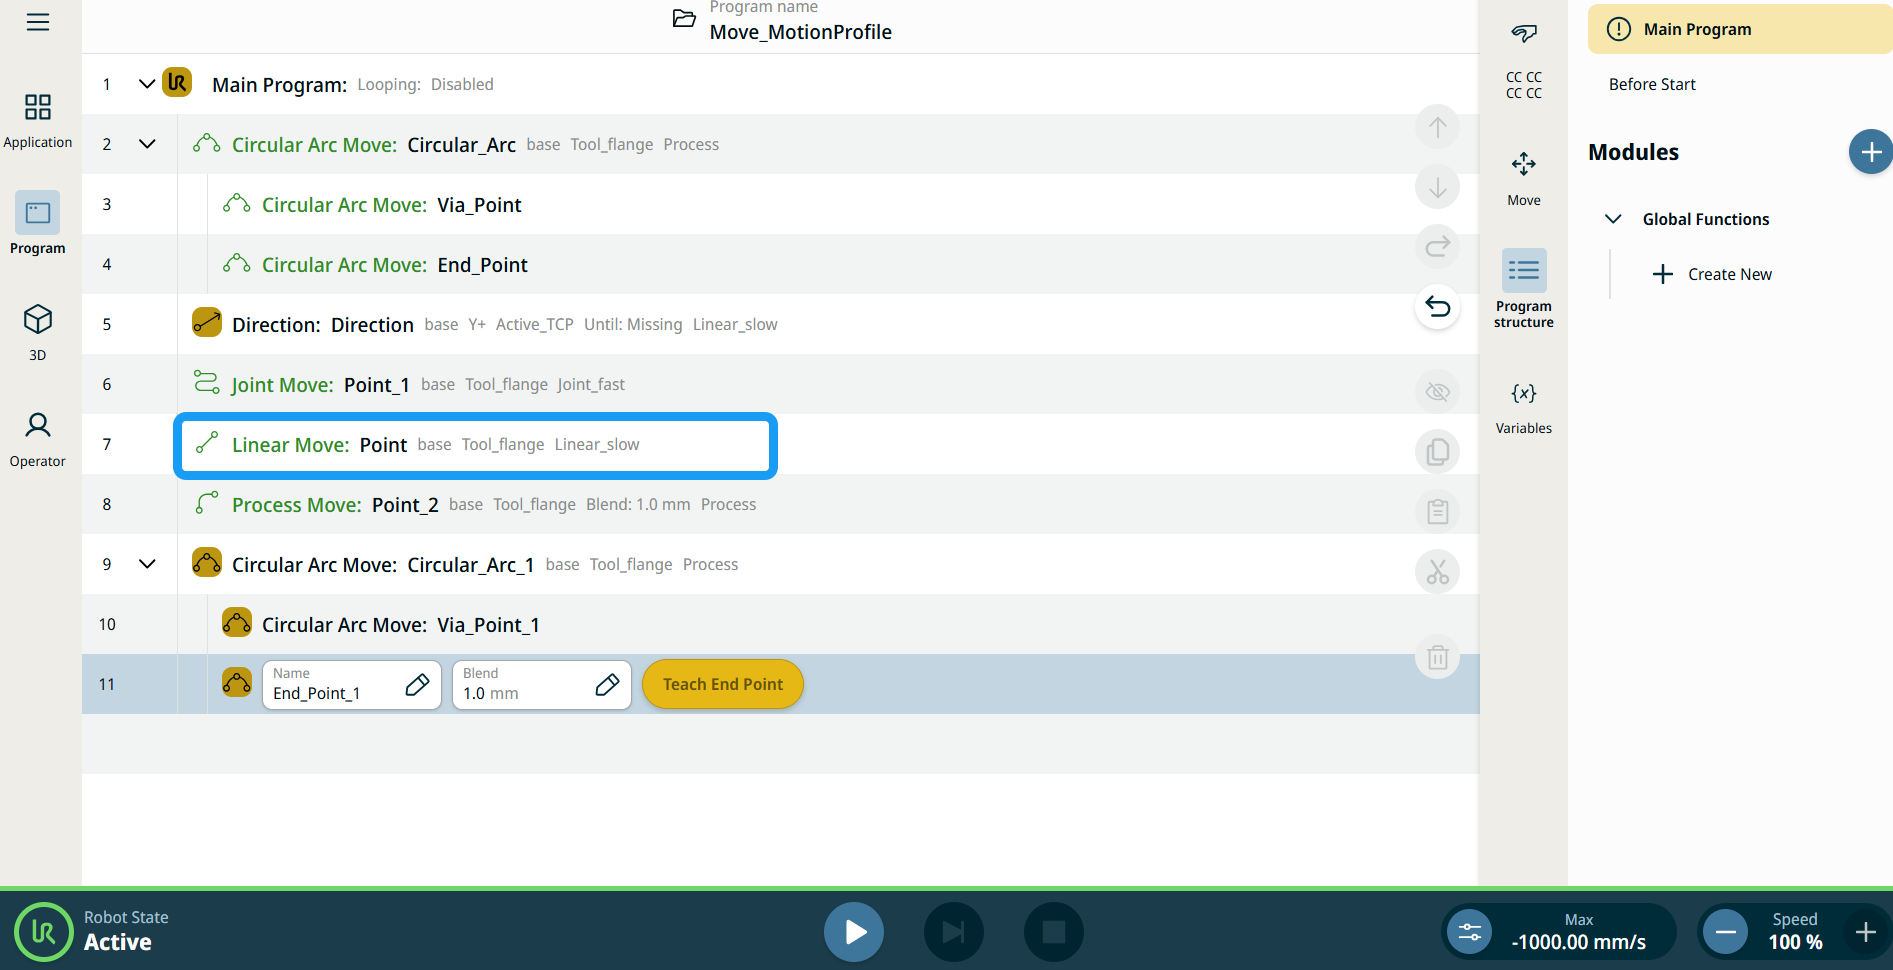
| Rörelseprofiletiketter på flyttnoder |
Alla rörelserelaterade kommandonoder i programträdet visar den rörelseprofil som är associerad med varje nod. Funktionen gör det möjligt för användare att se den valda rörelseprofilen på en Flytta-nod. Denna funktion är implementerad på följande kommandonoder: Flytta noder med anpassad rörelseprofil visar värdena för hastighet och acceleration istället för rörelseprofil. |
|
|
|
| Movement setting |
|
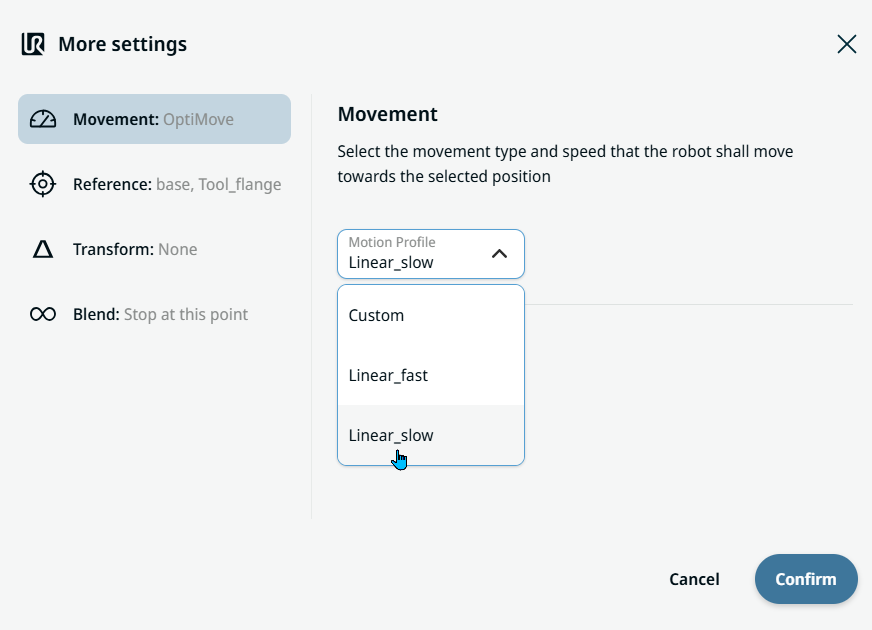
| Reference setting |
|

| Transform setting |
|
|
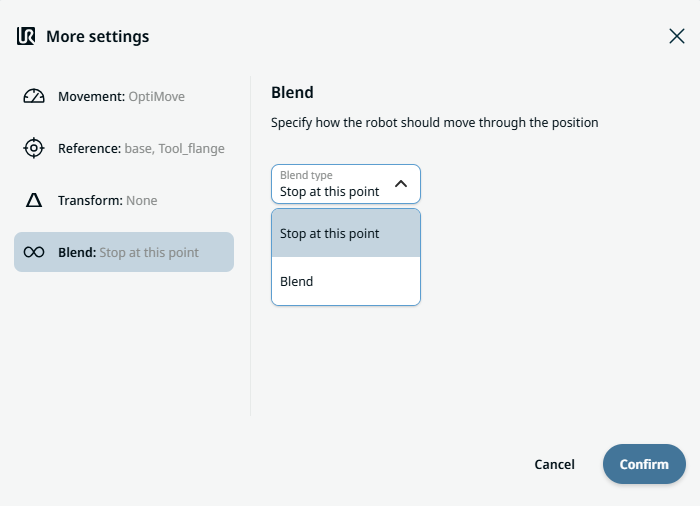
Blend setting |
|