Lineárny pohyb
| Popis |
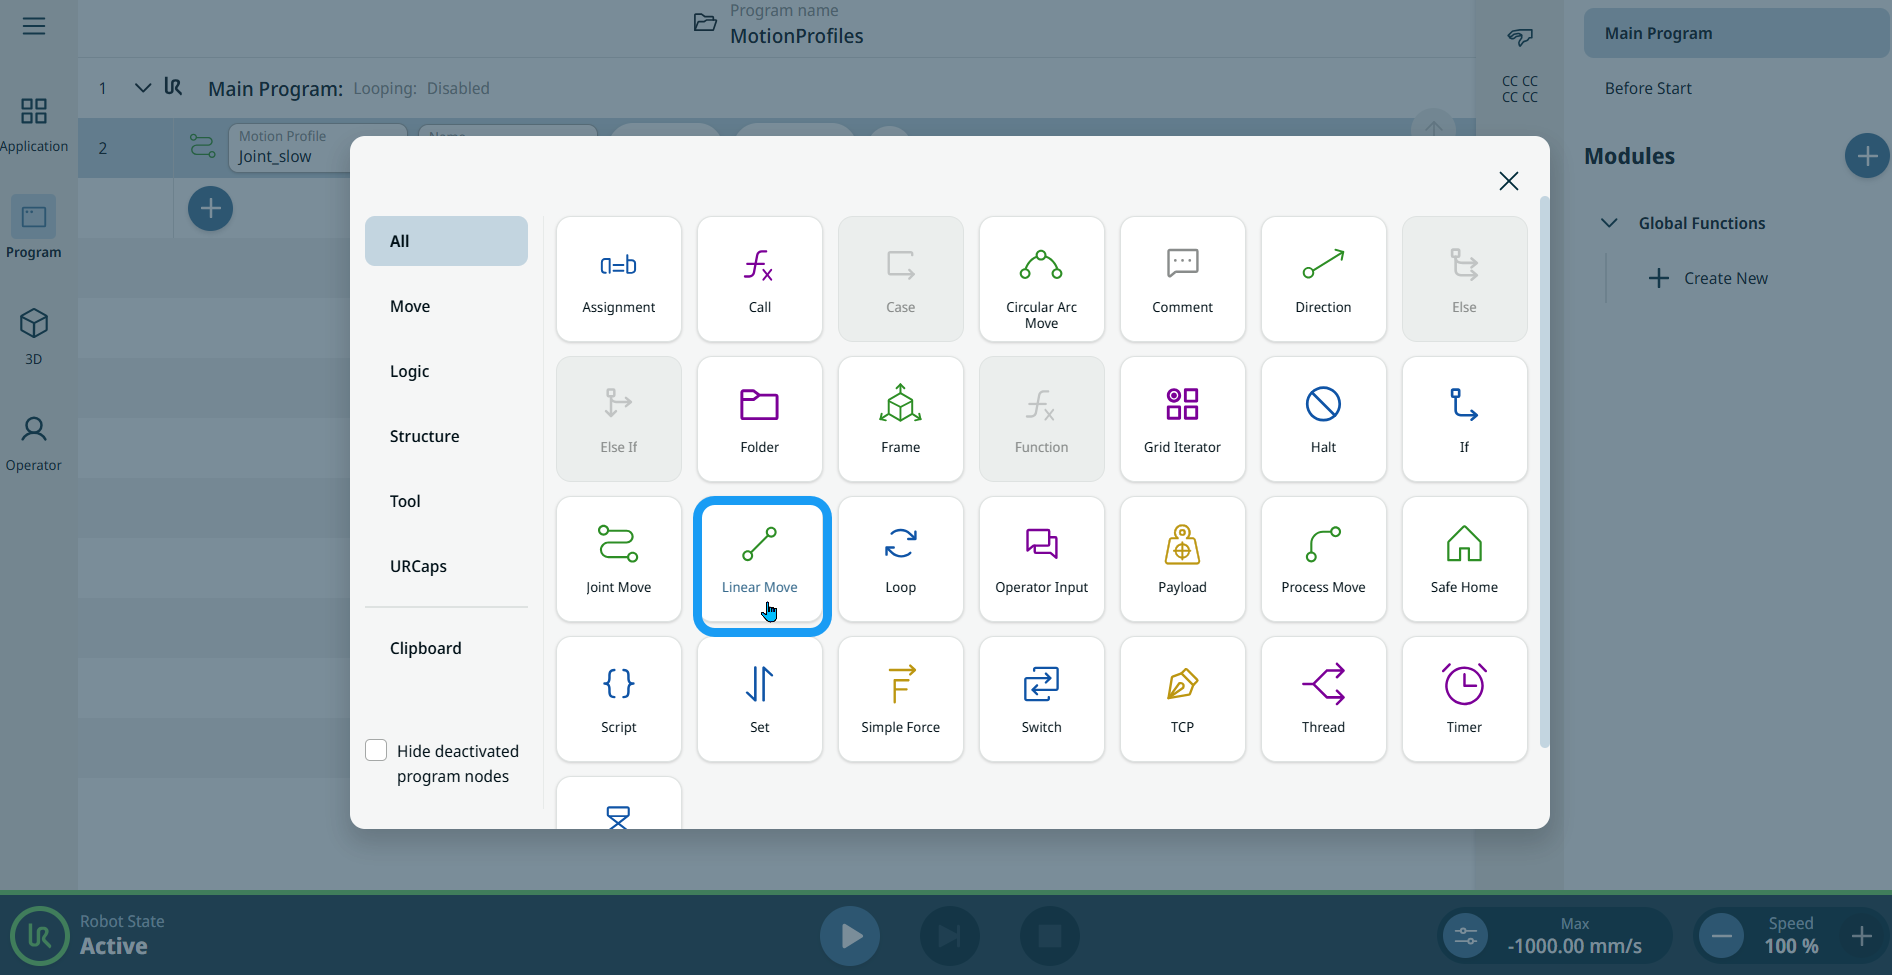
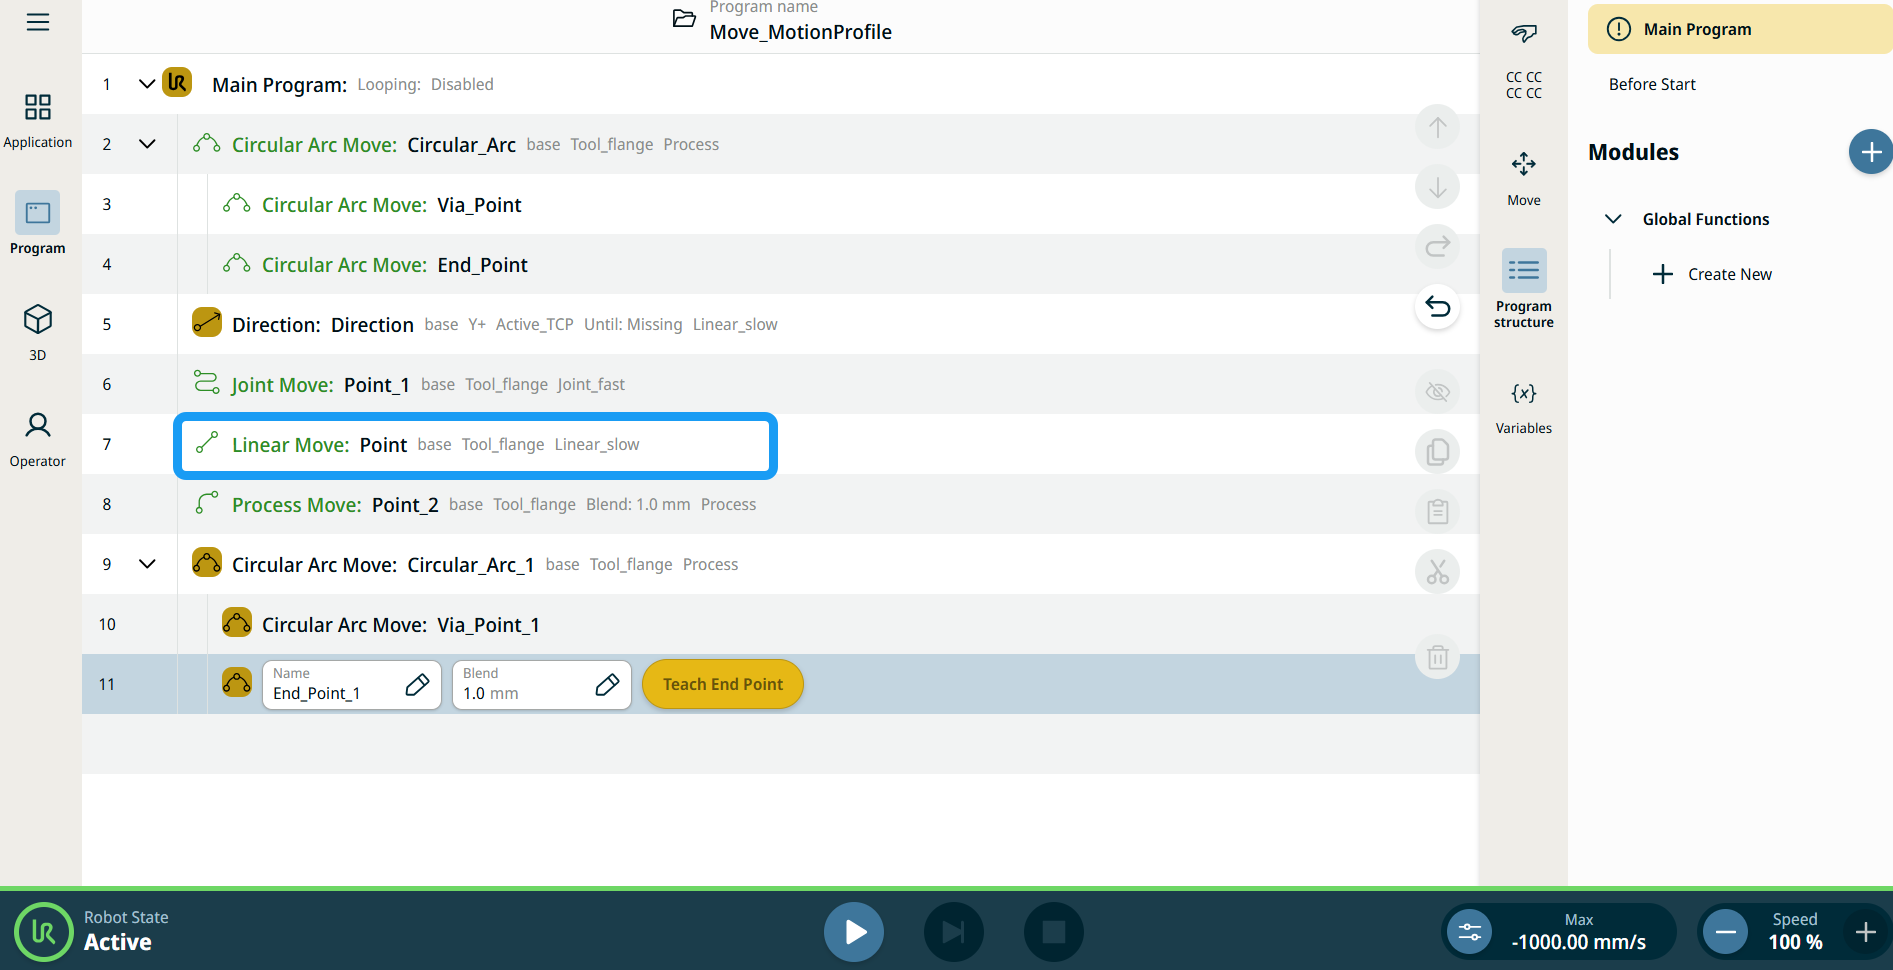
The Linear Move command node supports Motions Profiles as Joint Move, but it creates a movement that is a direct line from point A and point B. It moves the Tool Center Point (TCP) linearly between waypoints. To znamená, že každý kĺb vykonáva zložitejší pohyb, aby udržal nástroj na priamej dráhe.
|
|
To access Linear Move command |
|
|
|
|
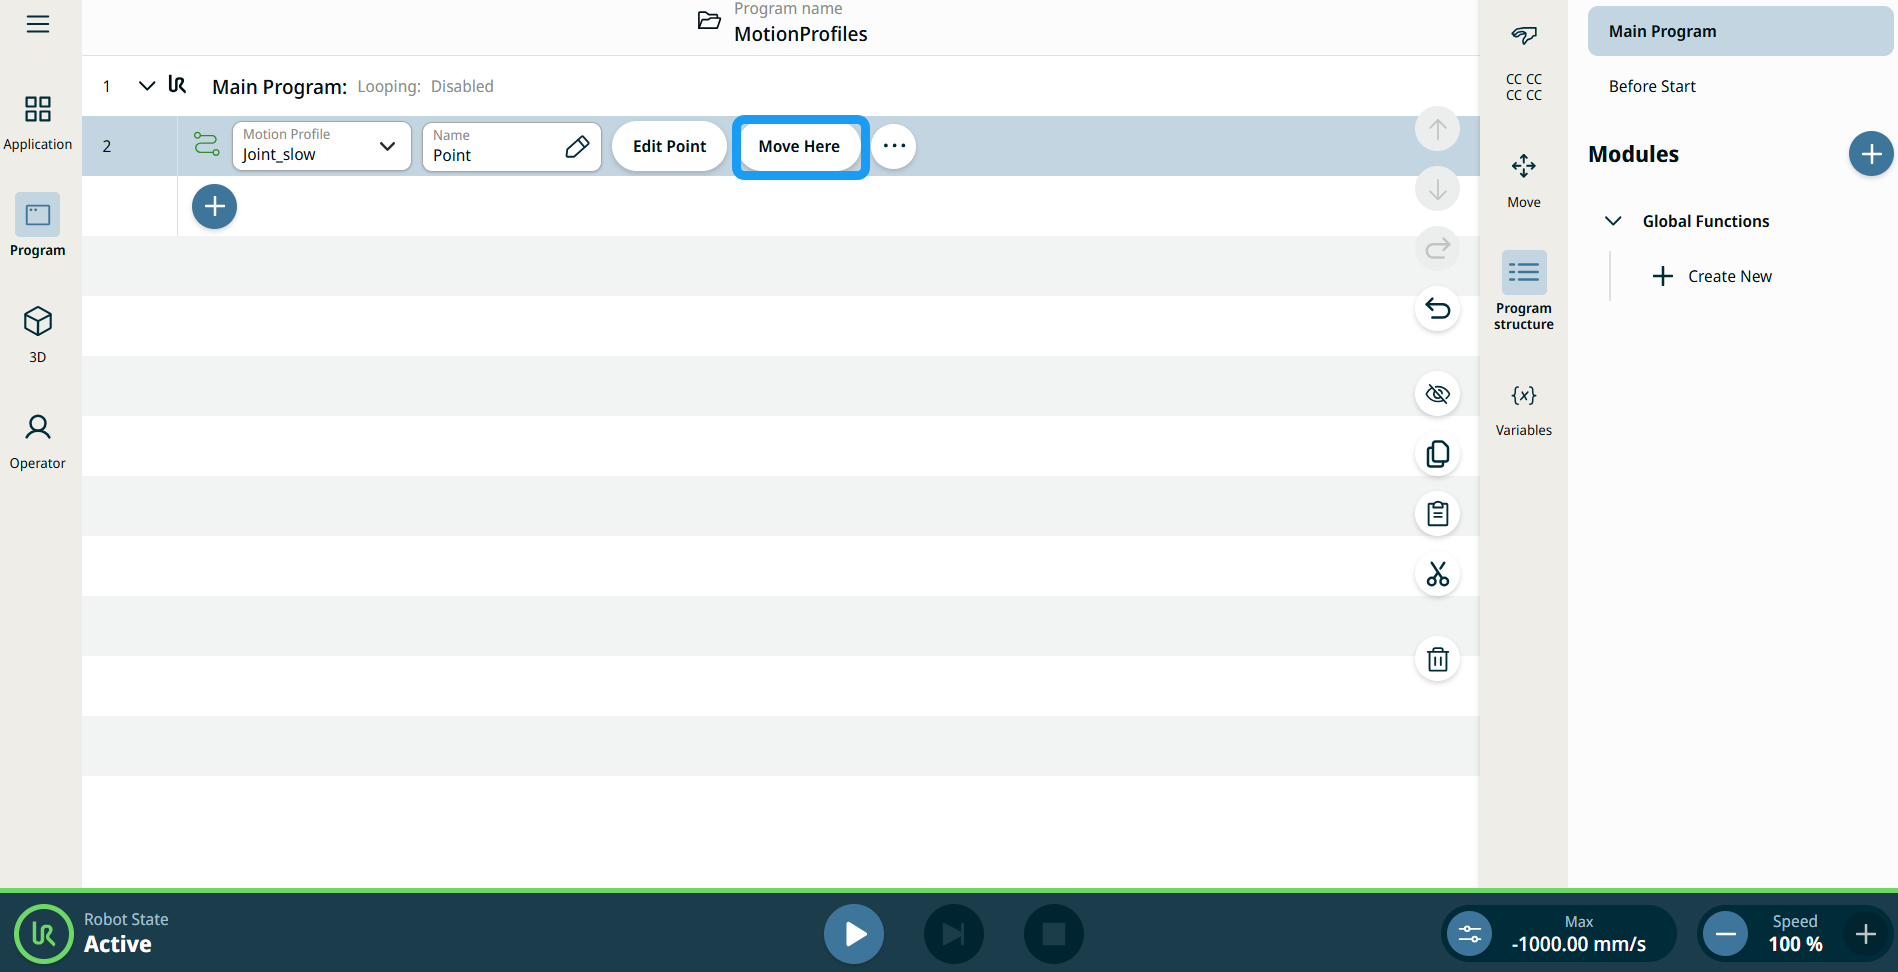
| Používanie tlačidla Presunúť sem |
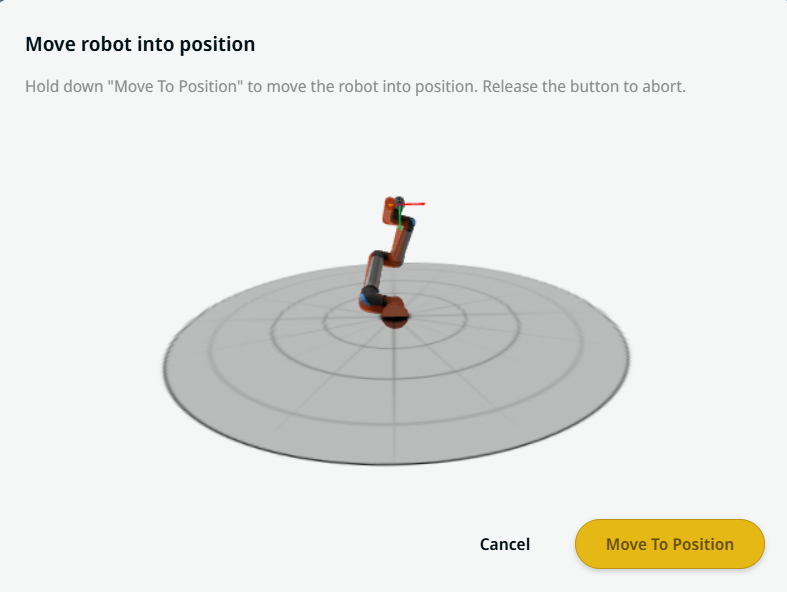
Tlačidlo Presunúť sem je viditeľné v príkazoch Lineárny pohyb a Pohyb kĺbov. Táto funkcia umožňuje presun do polohy traťového bodu priamo zo stromovej štruktúry programu. Stlačením tlačidla Presunúť sem sa otvorí dialógové okno Posunúť robota do správnej polohy. Tlačidlo je viditeľné, keď bol naučený traťový bod, a je aktivované len vtedy, keď je stav robota v režime Normálny alebo Znížený.
|
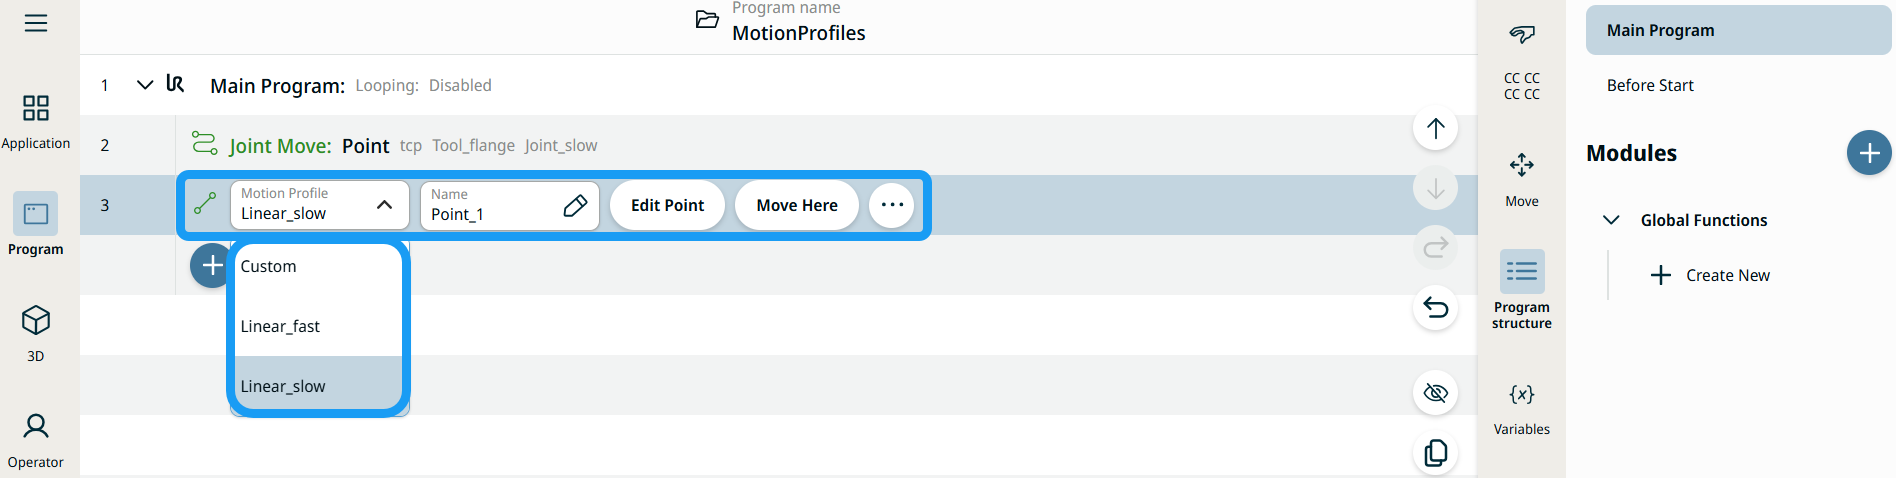
| Štítky profilu pohybu na uzloch pohybu |
Všetky uzly príkazov súvisiace s pohybom v stromovej štruktúre programu zobrazujú profil pohybu pridružený ku každému uzlu. Táto funkcia umožňuje používateľom zobraziť vybraný profil pohybu na uzle pohybu. Táto funkcia je implementovaná na nasledujúcich príkazových uzloch: Pohybový uzol s vlastným profilom pohybu zobrazí hodnoty rýchlosti a zrýchlenia namiesto profilu pohybu. |
|
|
|
| Movement setting |
|

| Reference setting |
|
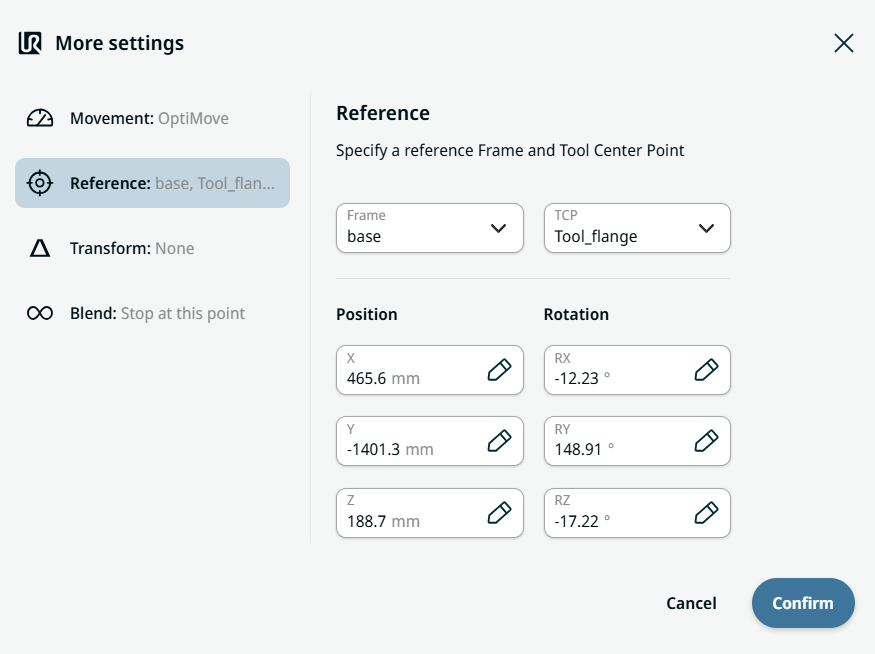
| Transform setting |
|
|
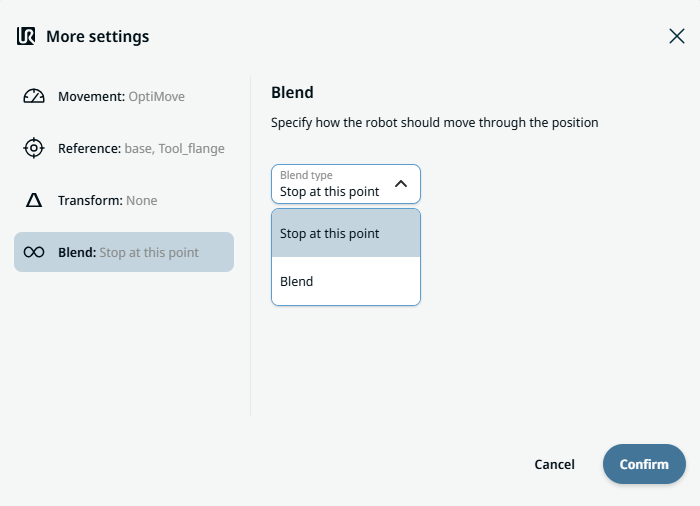
Blend setting |
|