Mișcare liniară
| Descriere |
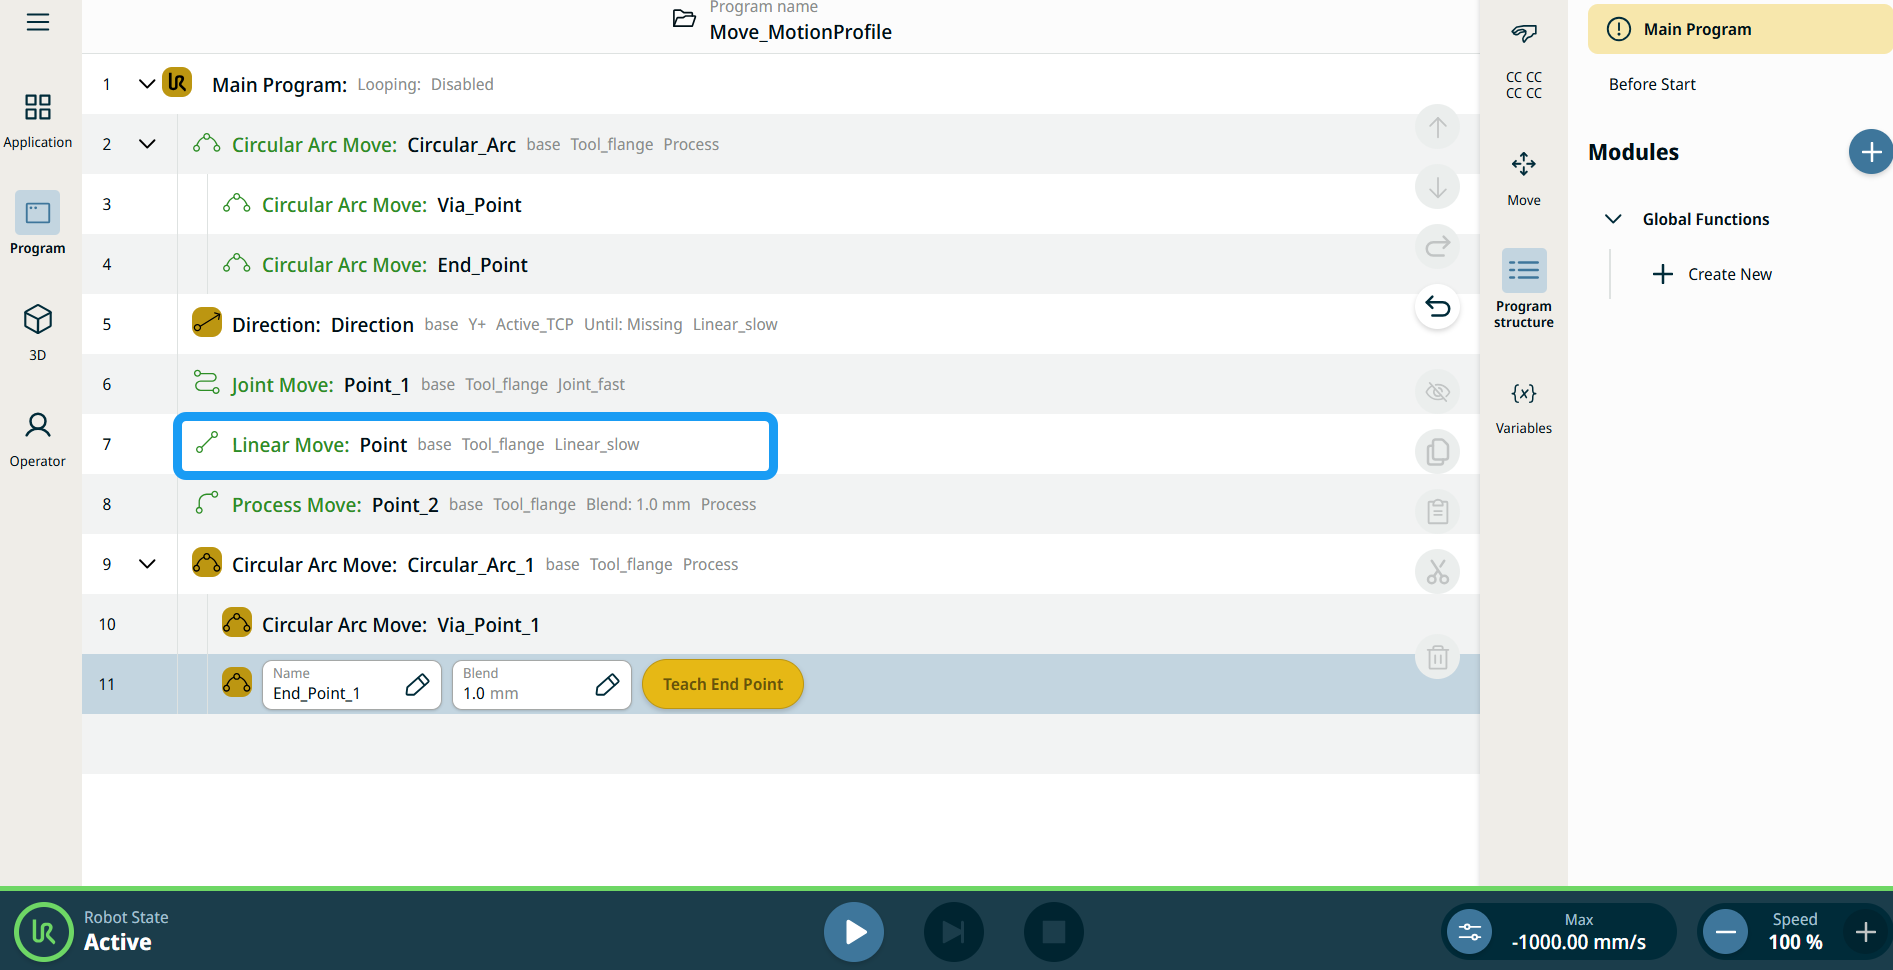
The Linear Move command node supports Motions Profiles as Joint Move, but it creates a movement that is a direct line from point A and point B. It moves the Tool Center Point (TCP) linearly between waypoints. Acest lucru înseamnă că fiecare îmbinare efectuează o mișcare mai complicată pentru a menține unealta pe o cale dreaptă.
|
|
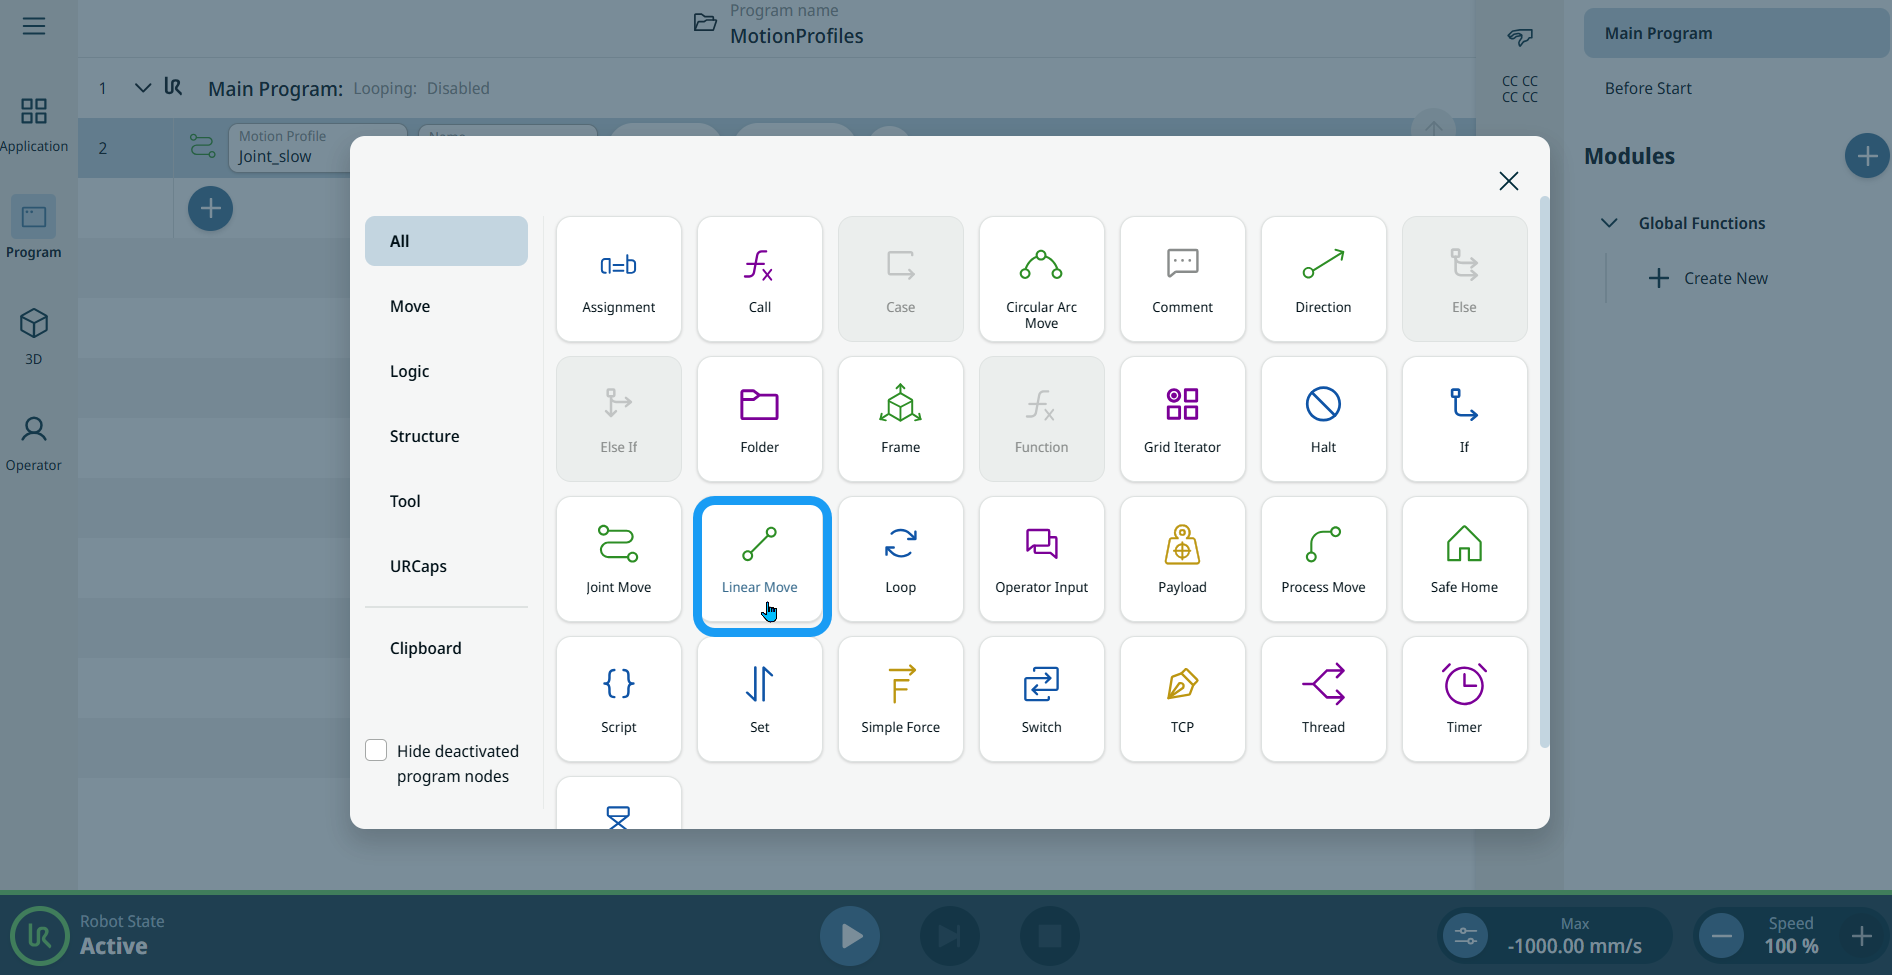
To access Linear Move command |
|
|
|
|
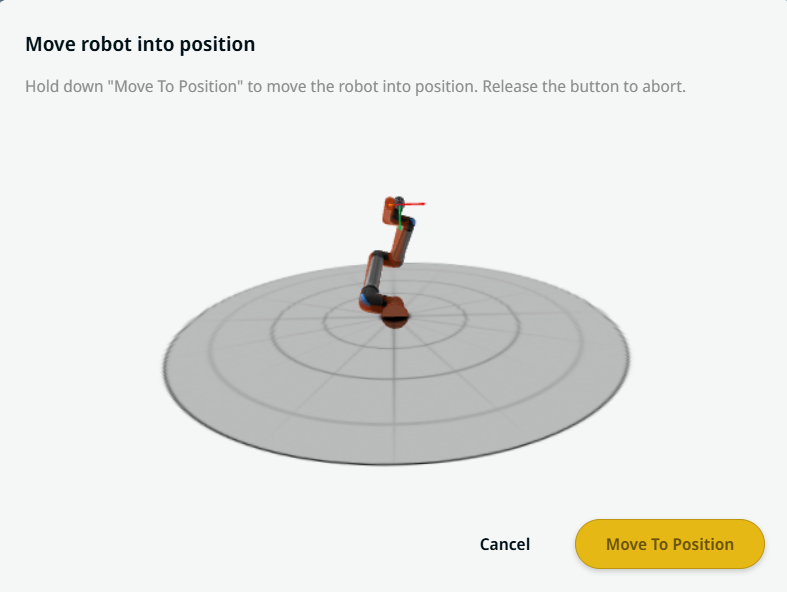
| Utilizarea butonului Mutare aici |
Butonul Mută aici există în comenzile Mișcare liniară și Mișcare articulație. Această funcție vă permite să vă mutați în poziția unui punct de trecere direct din arborele programului. Apăsând butonul Mută aici deschide caseta de dialog Mutare robot în poziție. Butonul este vizibil atunci când punctul de trecere a fost învățat și este activat doar atunci când starea robotului este în modul Normal sau Redus.
|

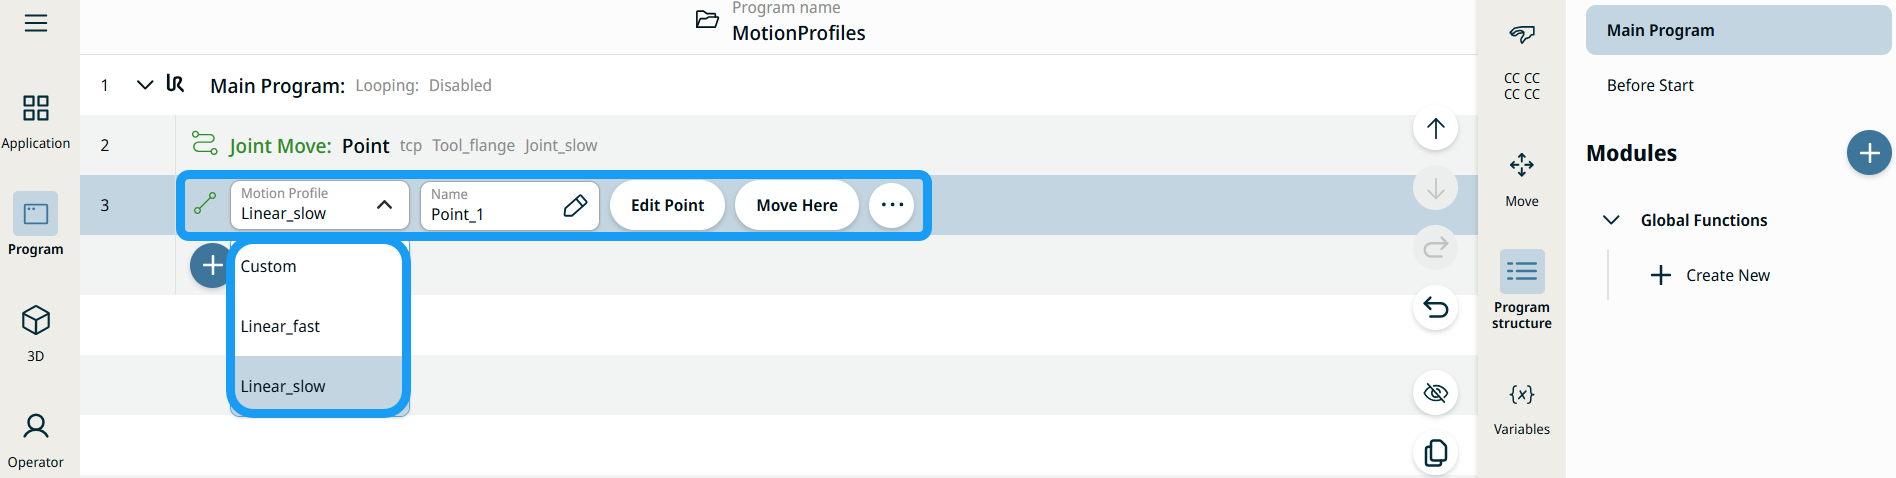
| Etichetele profilului mișcării din nodurile Mișcare |
Toate nodurile de comandă legate de Mișcare din arborele programului afișează un Profil mișcare asociat cu fiecare nod. Această funcție permite utilizatorilor să vadă profilul de mișcare selectat la un nod de mișcare. Această caracteristică este implementată în următoarele noduri de comandă: Nodurile de mișcare cu profil personalizat de mișcare vor afișa valorile pentru viteză și accelerare în locul profilului de mișcare. |
|
|
|
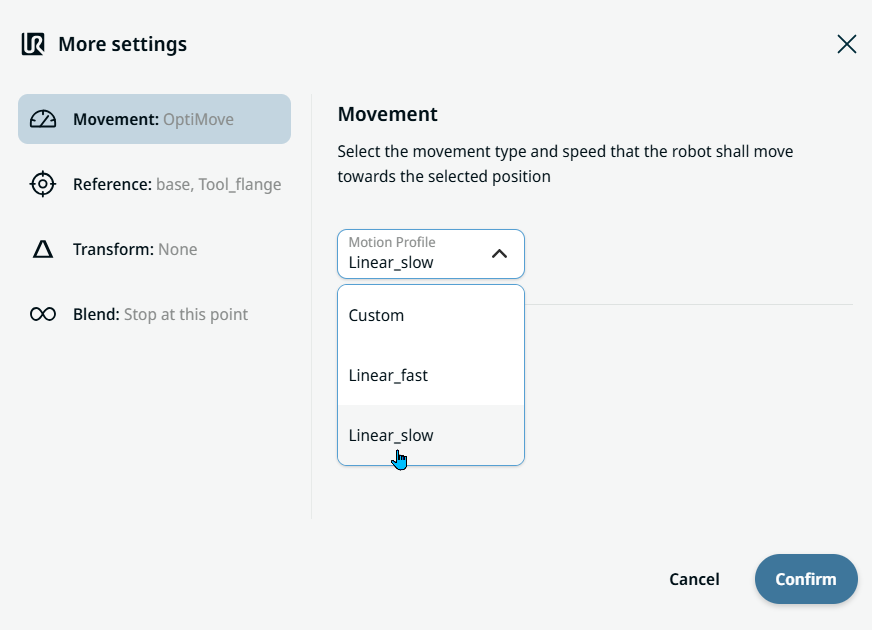
| Movement setting |
|
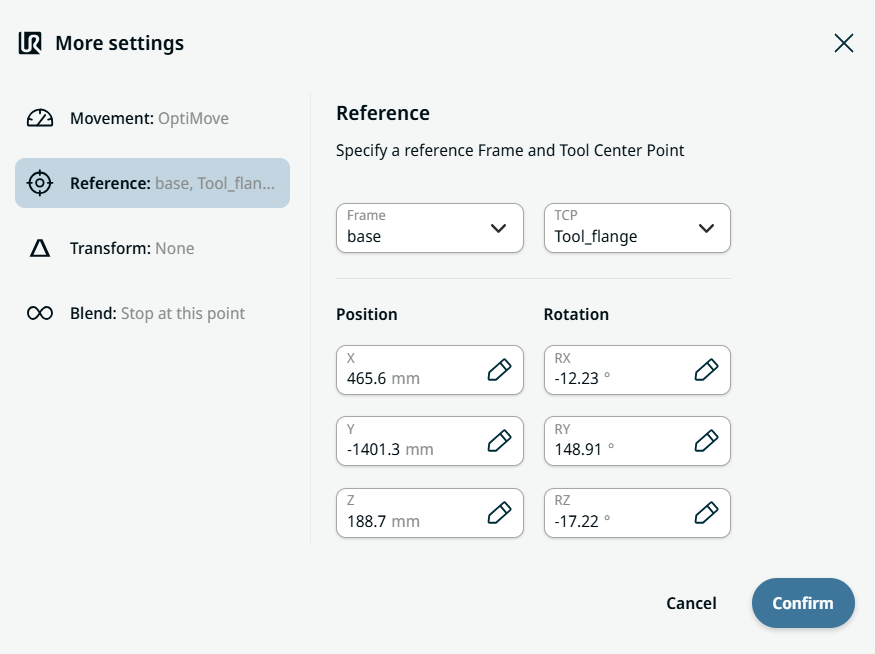
| Reference setting |
|
| Transform setting |
|
|
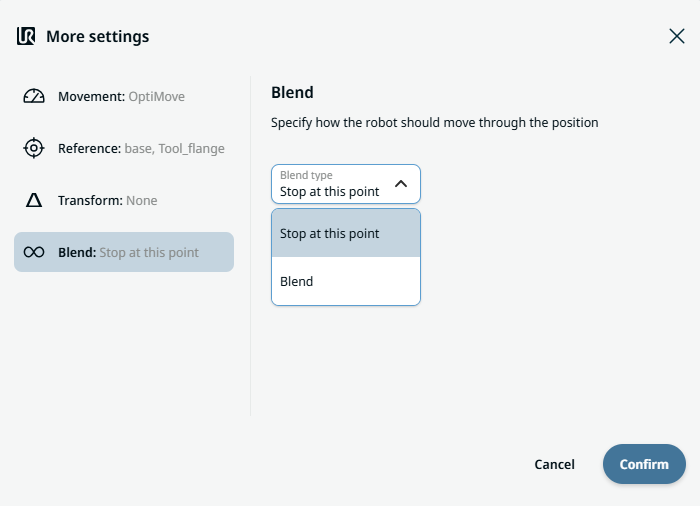
Blend setting |
|