Linear Move
| Beschrijving |
The Linear Move command node supports Motions Profiles as Joint Move, but it creates a movement that is a direct line from point A and point B. It moves the Tool Center Point (TCP) linearly between waypoints. Dit betekent dat elk gewricht een meer gecompliceerde beweging uitvoert om het gereedschap op een rechte lijn te houden.
|
|
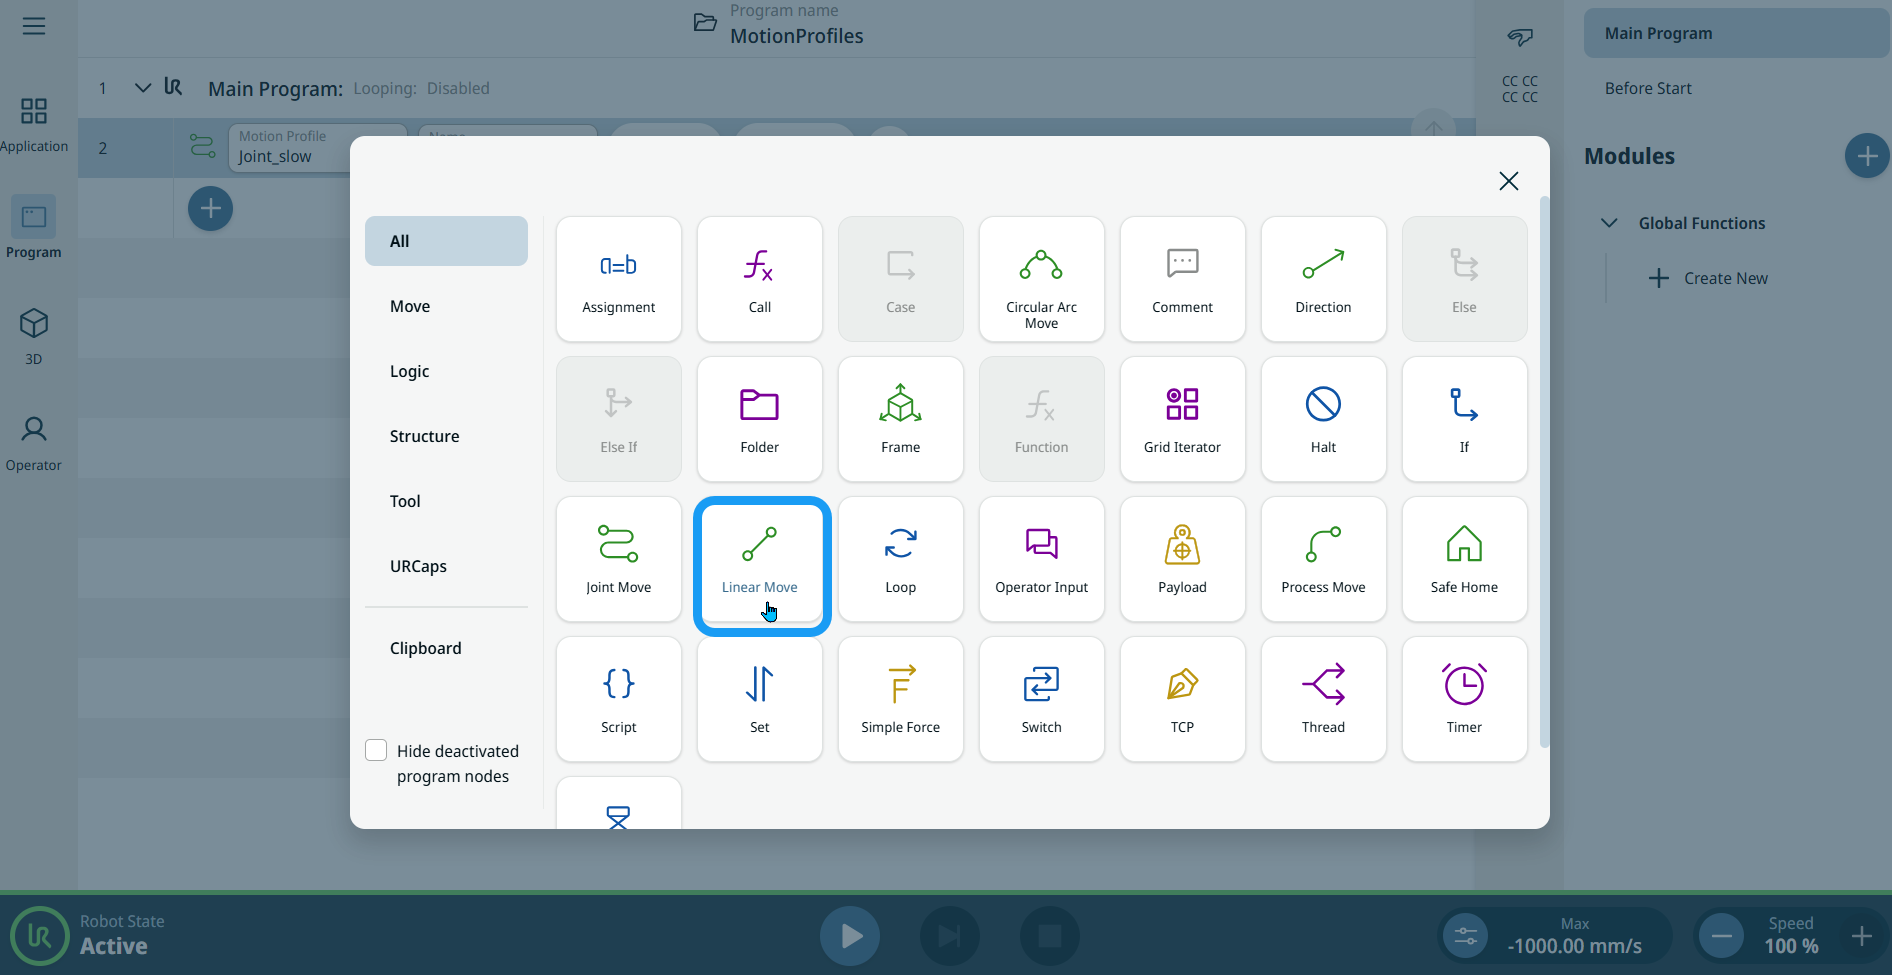
To access Linear Move command |
|
|
|
|
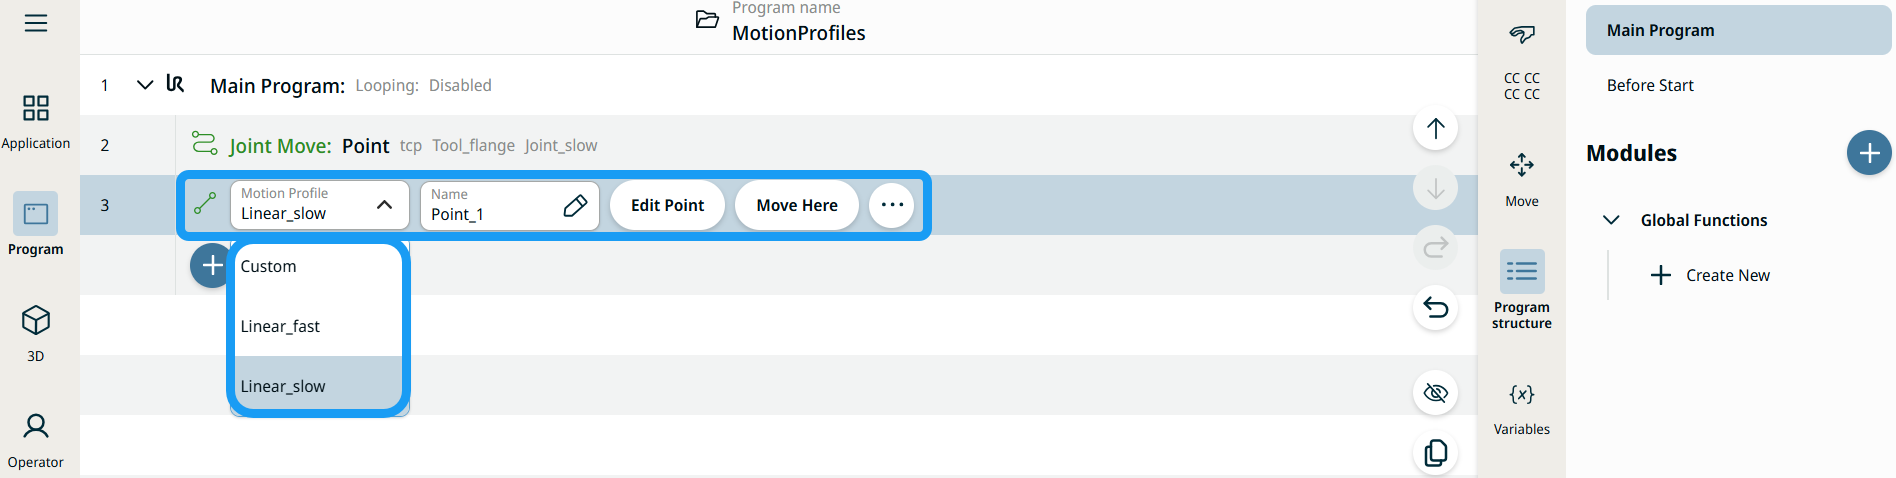
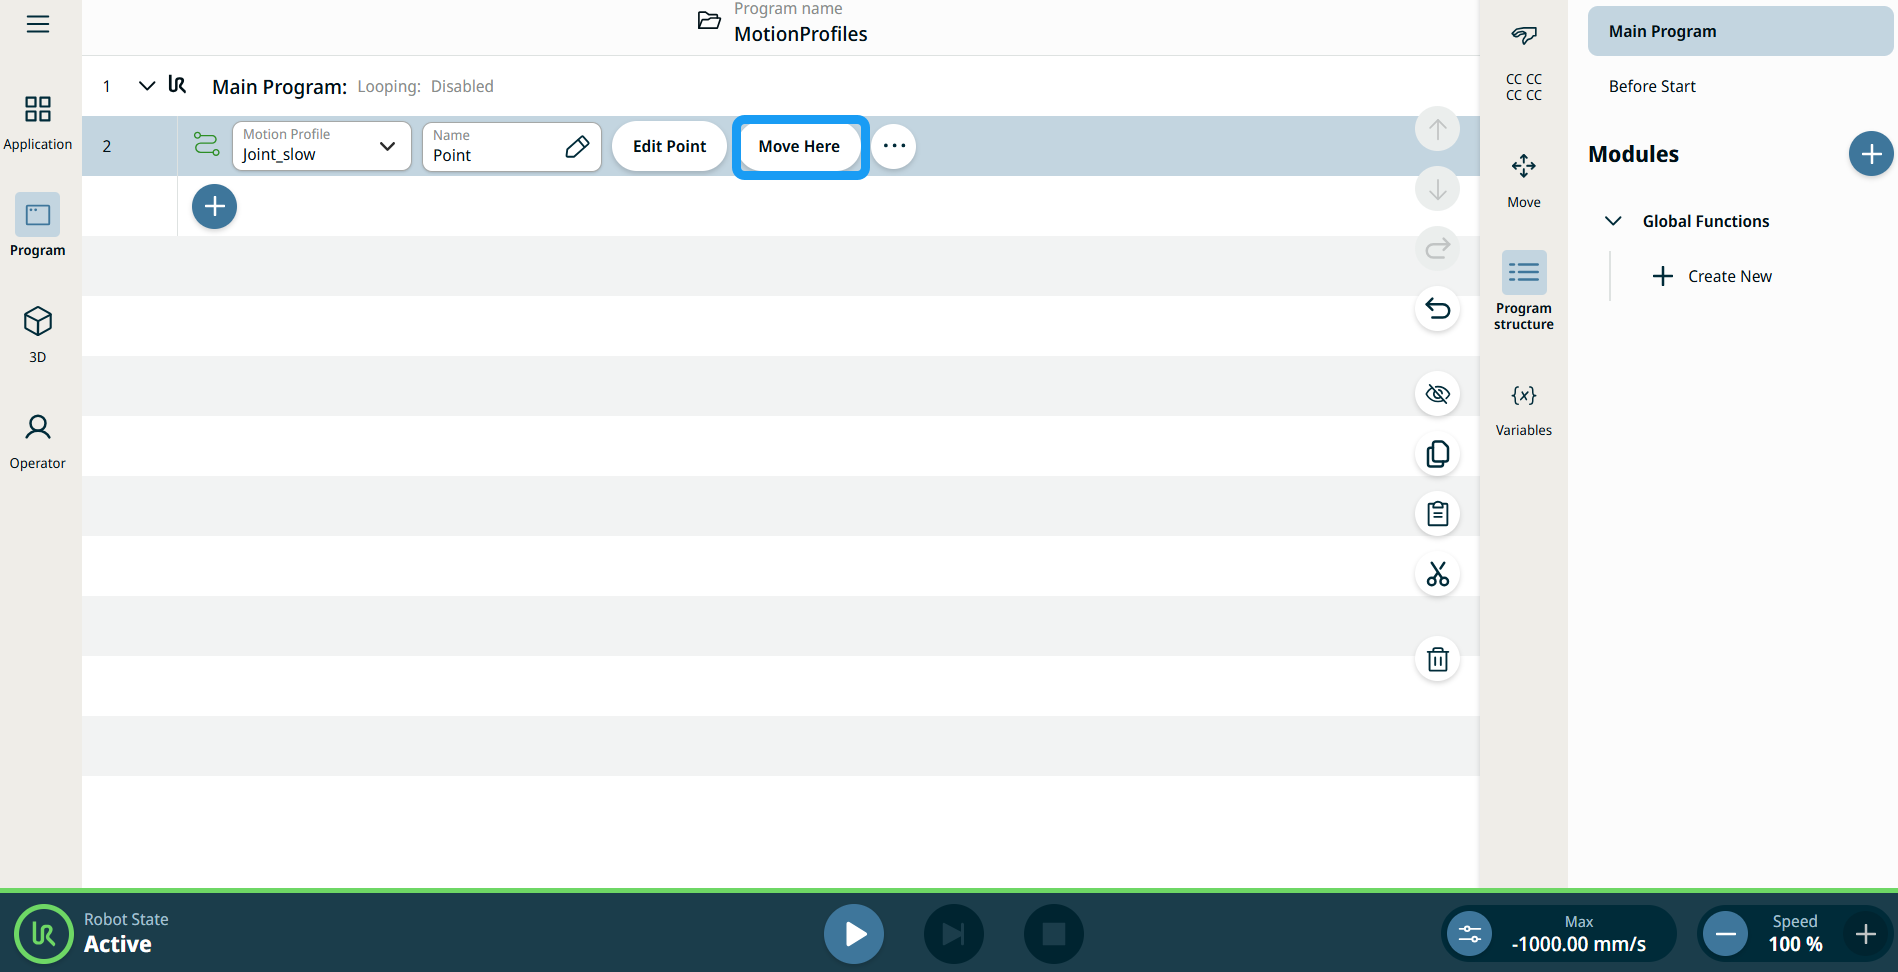
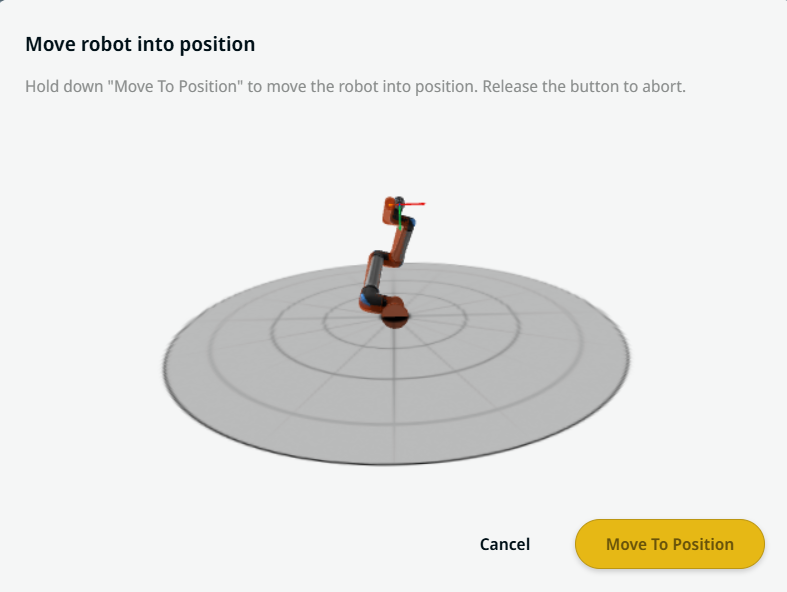
| De knop Hierheen bewegen gebruiken |
De knop Hierheen bewegen is te zien in Linear Move- en Joint Move-commando's. Met deze functie kunt u rechtstreeks vanuit de programmastructuur naar de positie van een waypoint bewegen. Door op de knop Hierheen bewegen te drukken, wordt het dialoogvenster Breng robot in positie geopend. De knop is zichtbaar als het waypoint is geprogrammeerd en is alleen ingeschakeld als de robotstatus de Normale of Verminderde modus is.
|
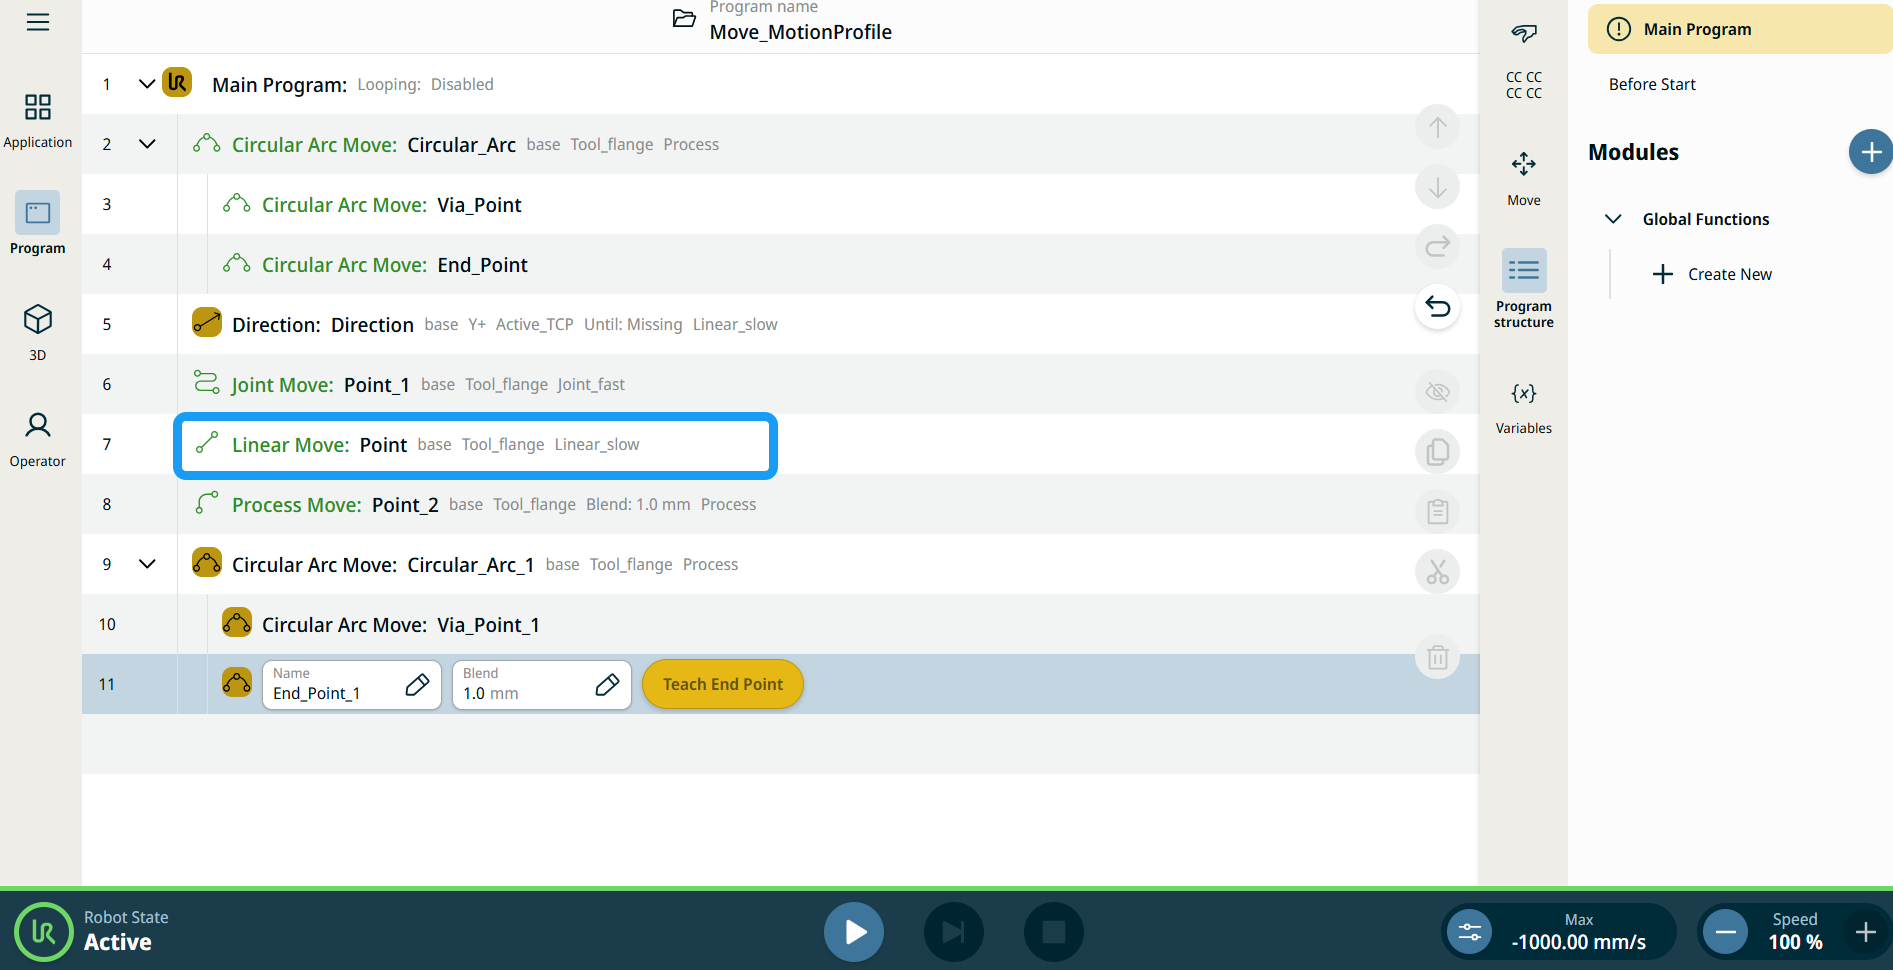
| Bewegingsprofiellabels bij bewegingsnodes |
Alle bewegingsgerelateerde commandonodes in de programmastructuur geven het Bewegingsprofiel behorende bij elke node weer. Met deze functie kunnen gebruikers het geselecteerde bewegingsprofiel van een bewegingsnode zien. Deze functie is geïmplementeerd voor de volgende commandonodes: Bewegingsnodes met een aangepast bewegingsprofiel tonen de waarden voor snelheid en acceleratie in plaats van Bewegingsprofiel. |
|
|
|
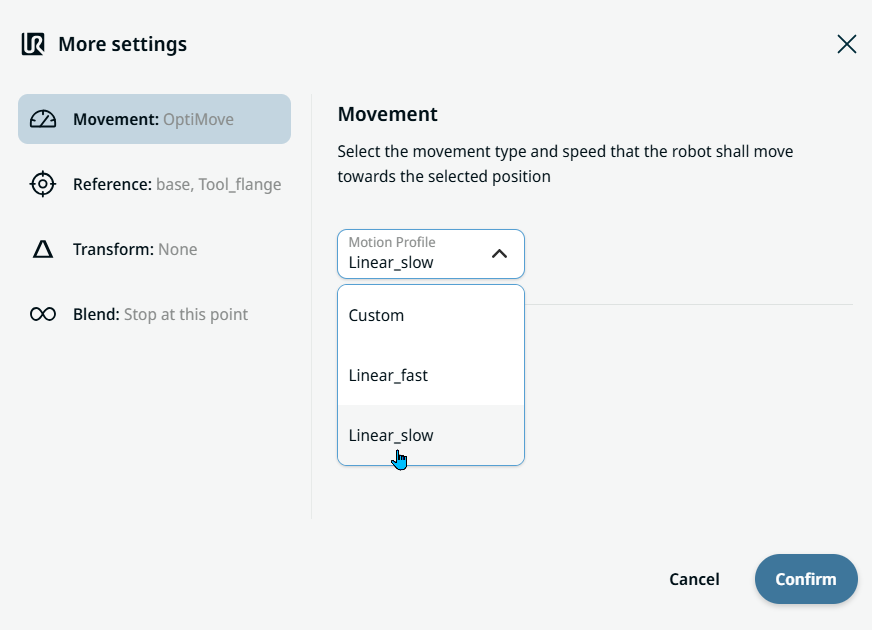
| Movement setting |
|
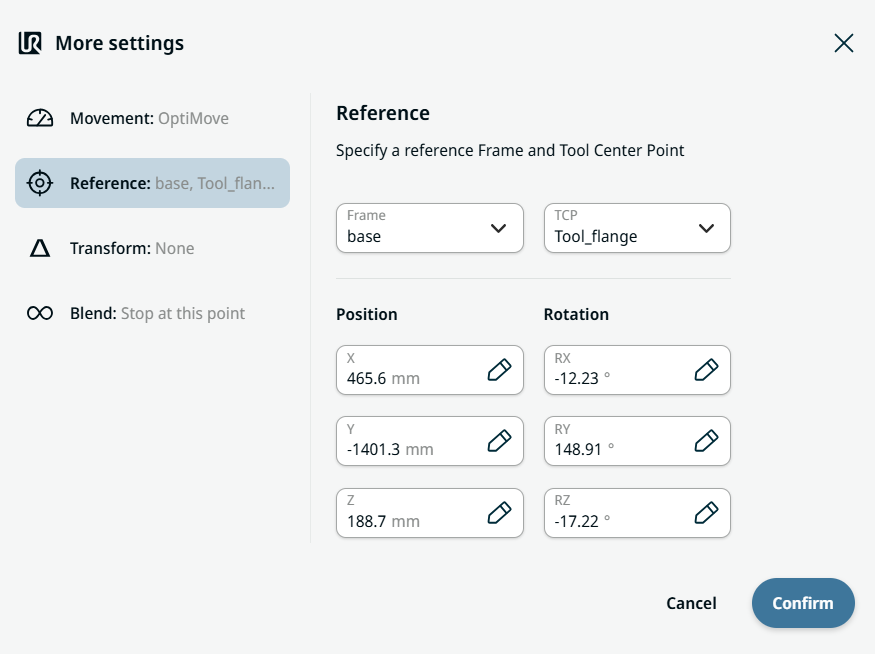
| Reference setting |
|
| Transform setting |
|
|
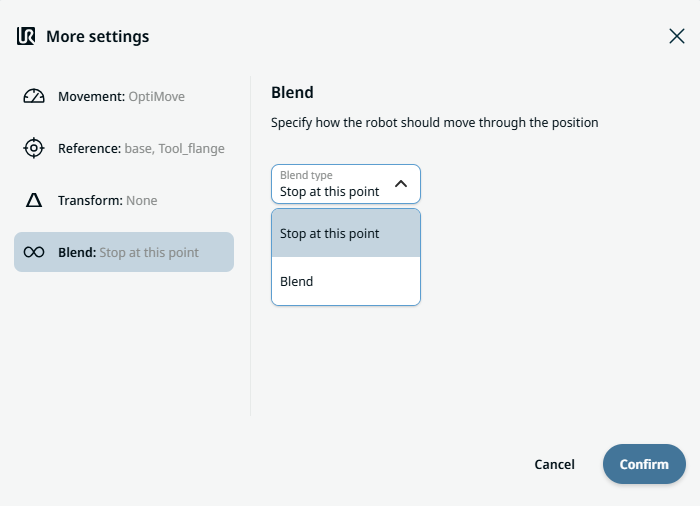
Blend setting |
|