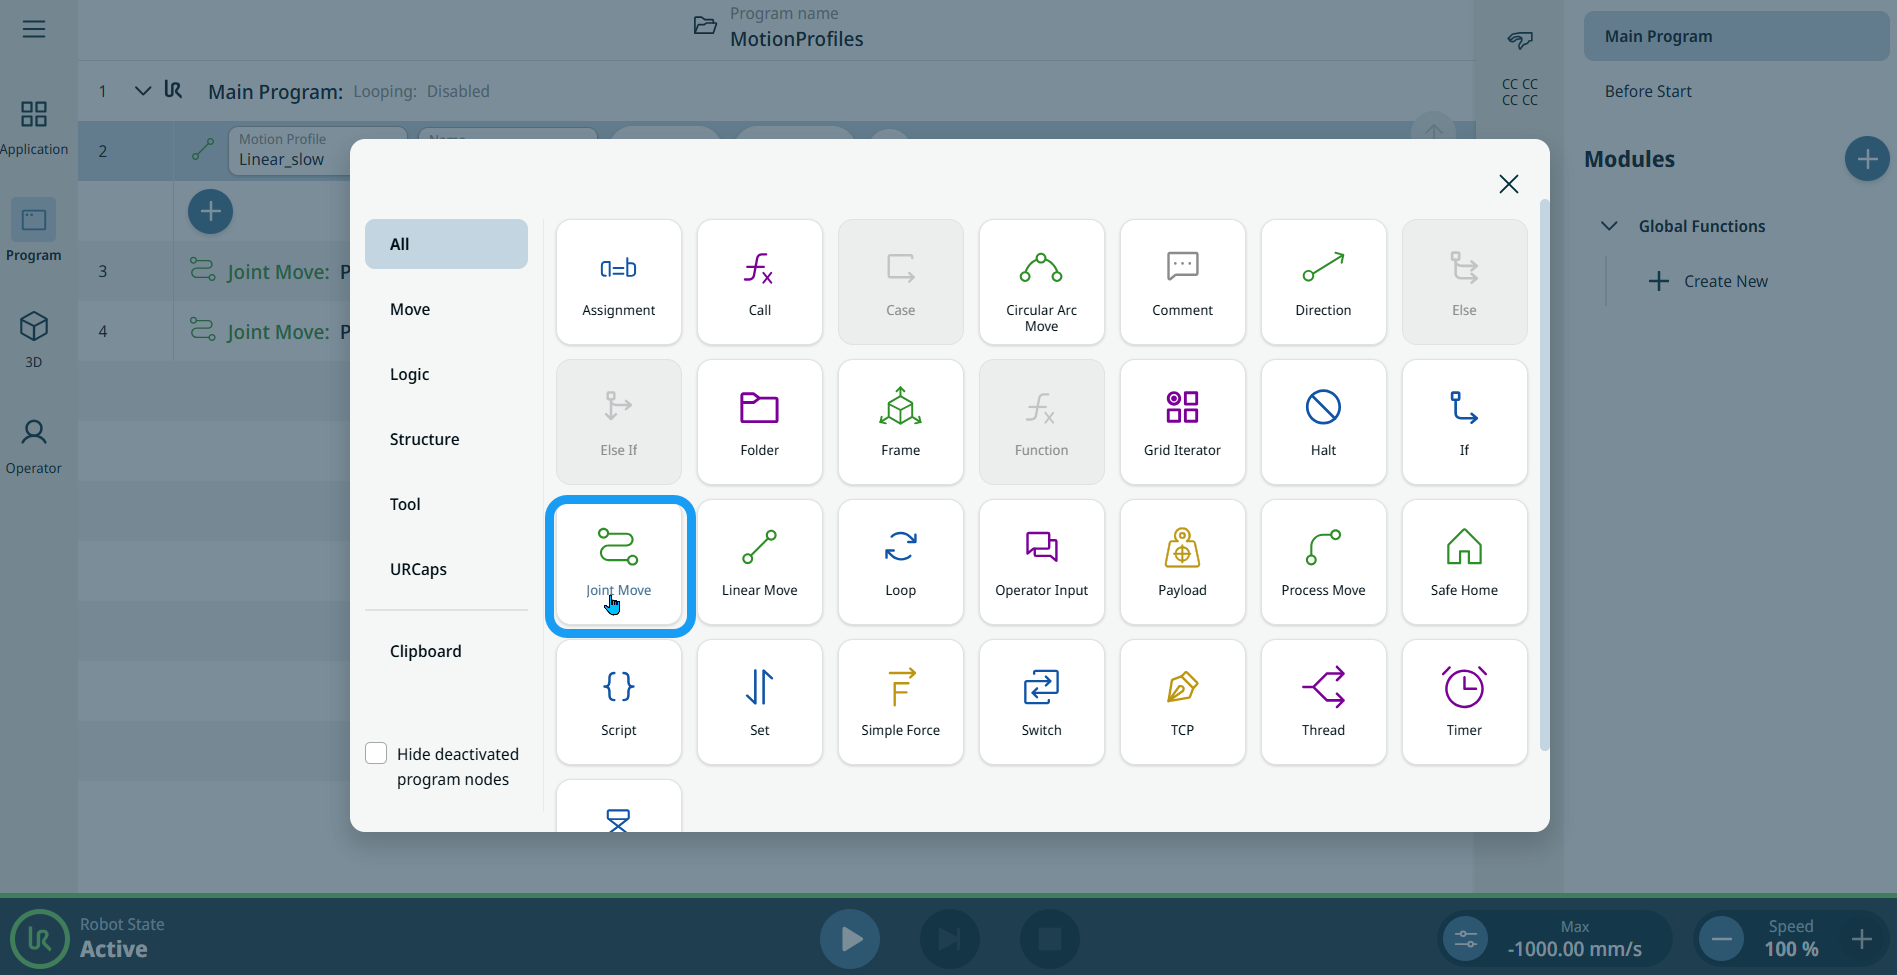
Joint Move
| Beschrijving |
The Joint Move is a move command node that supports Motion Profiles. The command creates a movement from point A to point B that is optimal for the robot. De beweging is misschien geen directe lijn tussen A en B, maar optimaal voor de start- en eindpositie van de gewrichten. Joint Move makes movements that are calculated in the robot arm joint space. Gewrichten worden geregeld om hun bewegingen tegelijkertijd te voltooien. Dit type beweging leidt tot een curvetraject voor het gereedschap om te volgen.
|
|
To access Joint Move command |
|
|
|
|
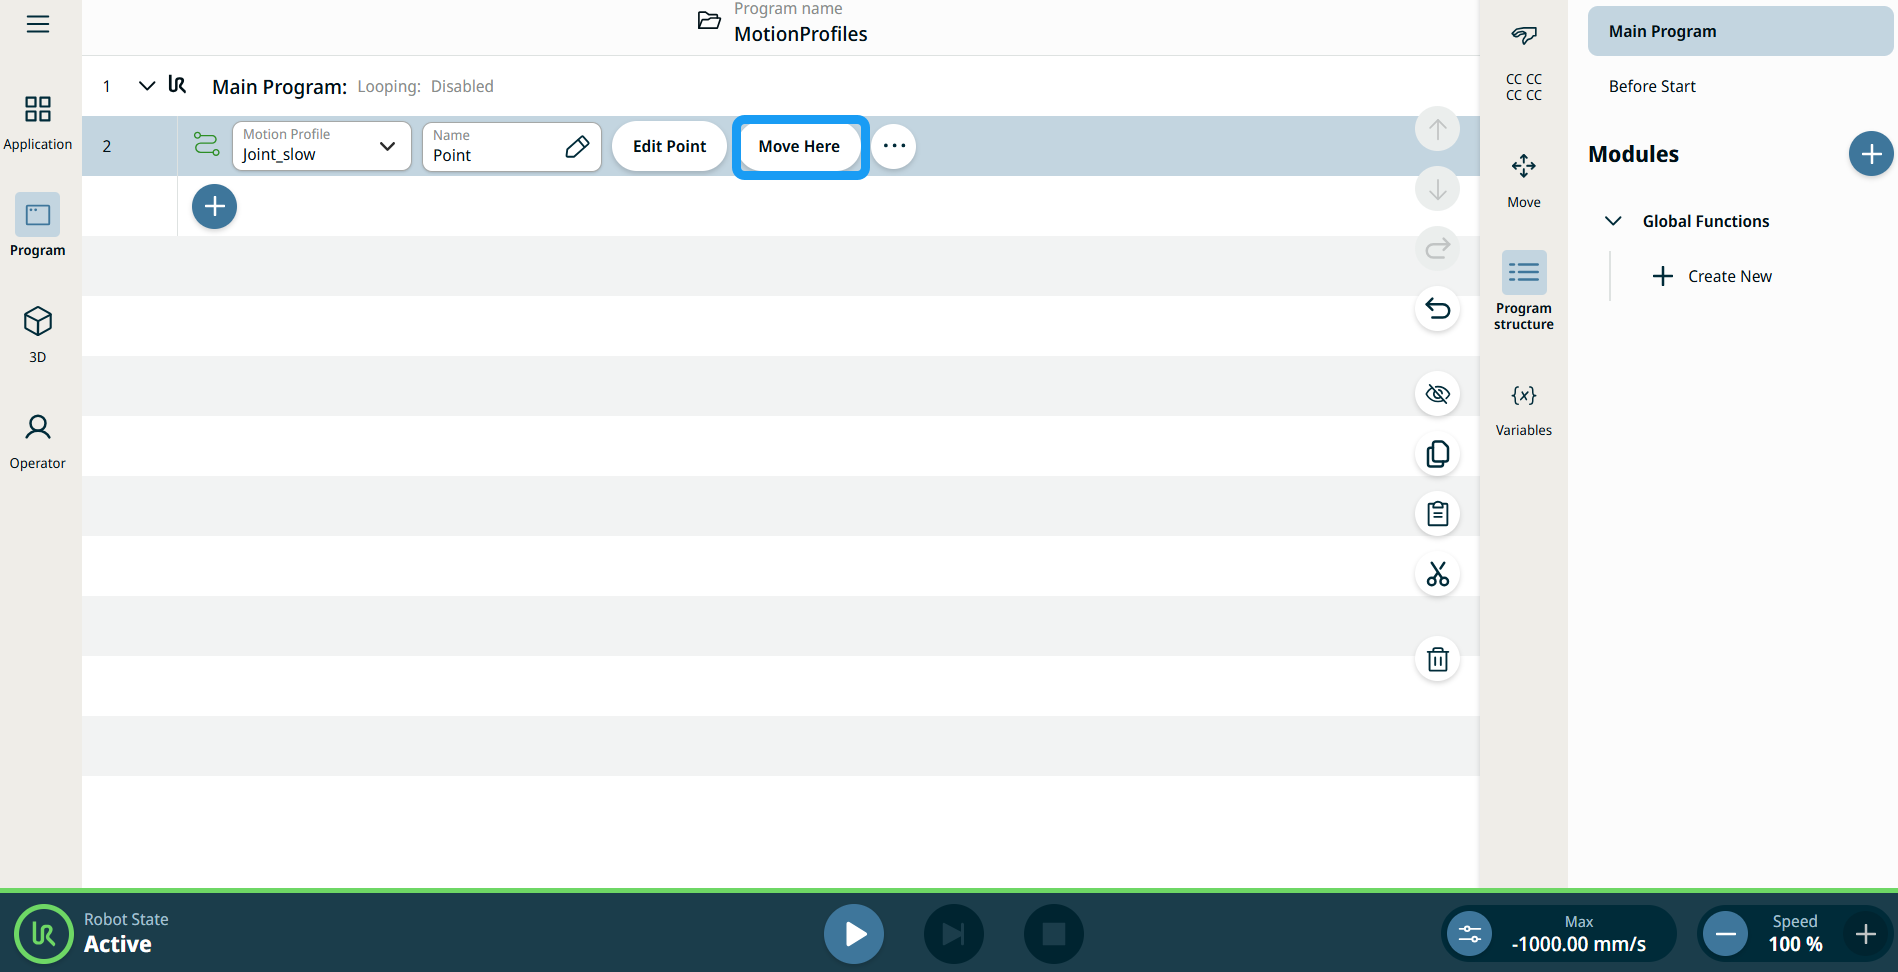
| Bewegingsprofiellabels bij bewegingsnodes |
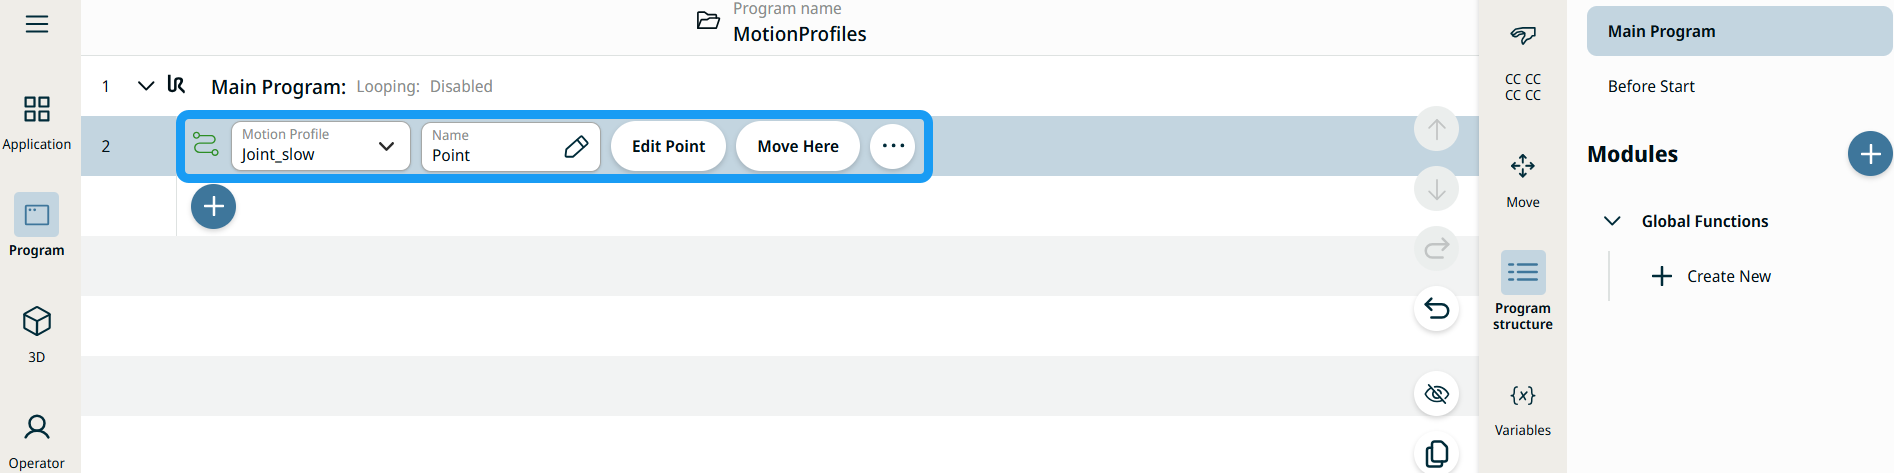
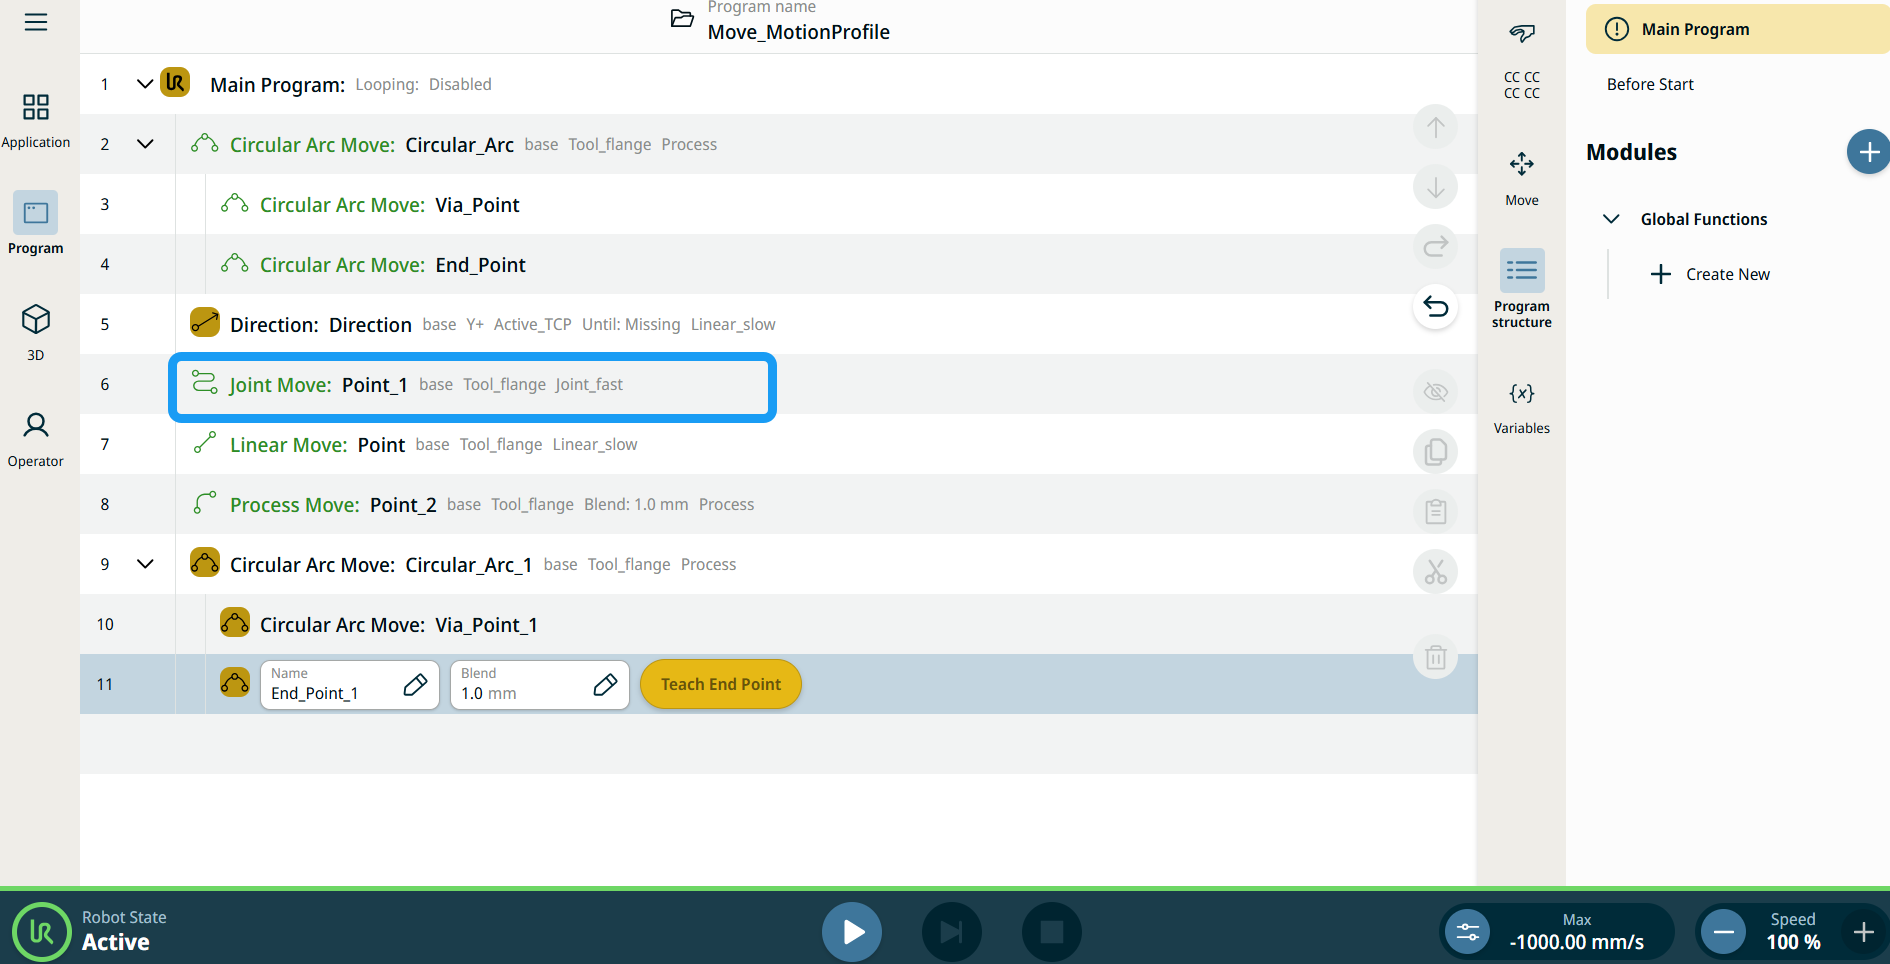
Alle bewegingsgerelateerde commandonodes in de programmastructuur geven het Bewegingsprofiel behorende bij elke node weer. Met deze functie kunnen gebruikers het geselecteerde bewegingsprofiel van een bewegingsnode zien. Deze functie is geïmplementeerd voor de volgende commandonodes: Bewegingsnodes met een aangepast bewegingsprofiel tonen de waarden voor snelheid en acceleratie in plaats van Bewegingsprofiel. |
|
|
|
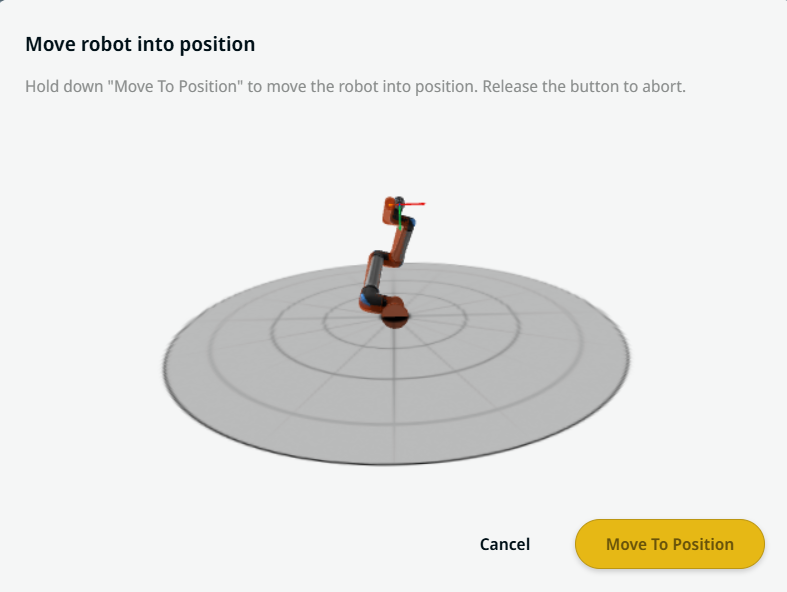
| De knop Hierheen bewegen gebruiken |
De knop Hierheen bewegen is te zien in Linear Move- en Joint Move-commando's. Met deze functie kunt u rechtstreeks vanuit de programmastructuur naar de positie van een waypoint bewegen. Door op de knop Hierheen bewegen te drukken, wordt het dialoogvenster Breng robot in positie geopend. De knop is zichtbaar als het waypoint is geprogrammeerd en is alleen ingeschakeld als de robotstatus de Normale of Verminderde modus is.
|
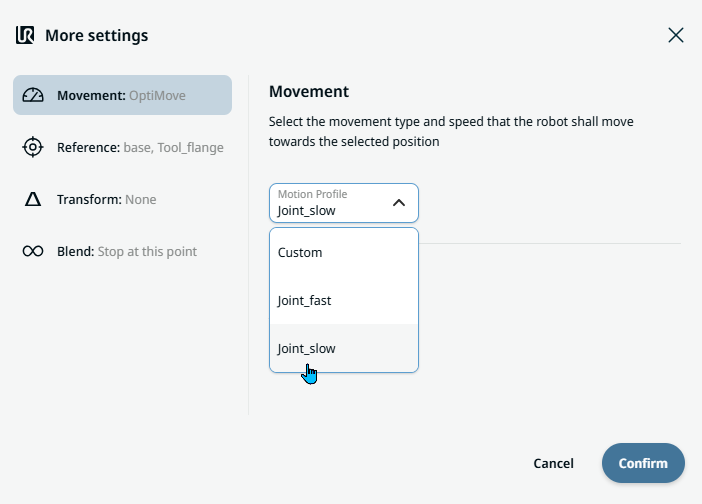
| Movement setting |
|
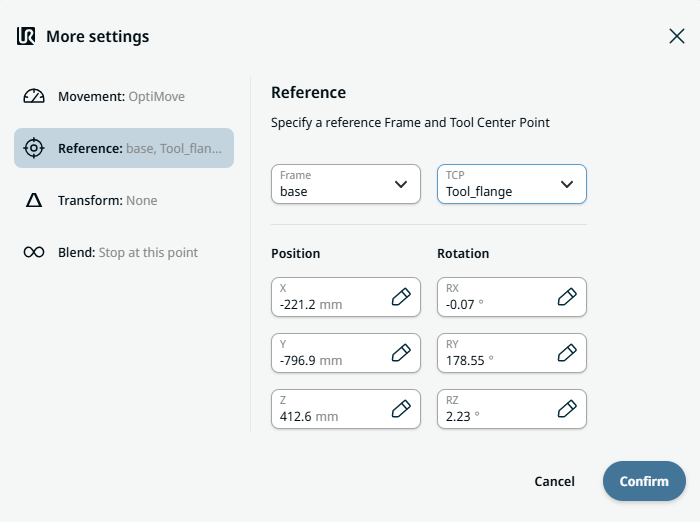
| Reference setting |
|
| Transform setting |
|
|
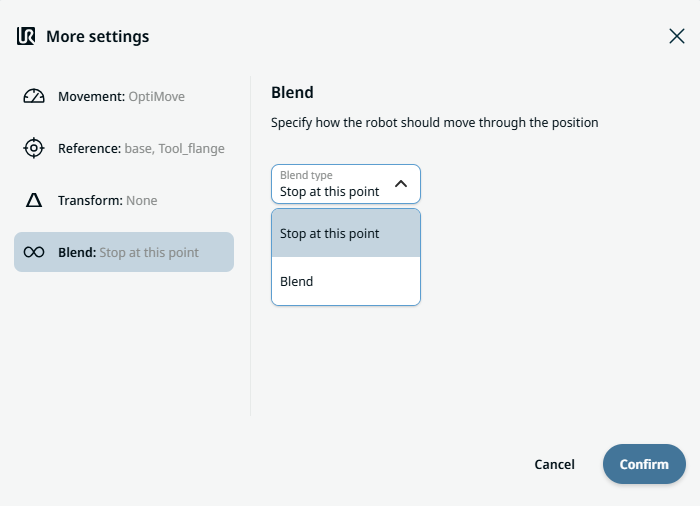
Blend setting |
|