Joint Move
| Popis |
The Joint Move is a move command node that supports Motion Profiles. The command creates a movement from point A to point B that is optimal for the robot. Pohyb nemusí být přímka mezi body A a B, ale je optimální s ohledem na počáteční polohu kloubů a koncovou polohu kloubů. Joint Move makes movements that are calculated in the robot arm joint space. Klouby jsou ovládány tak, aby dokončily svůj pohyb ve stejnou dobu. Výsledkem tohoto typu pohybu je zakřivená dráha, po které se nástroj pohybuje.
|
|
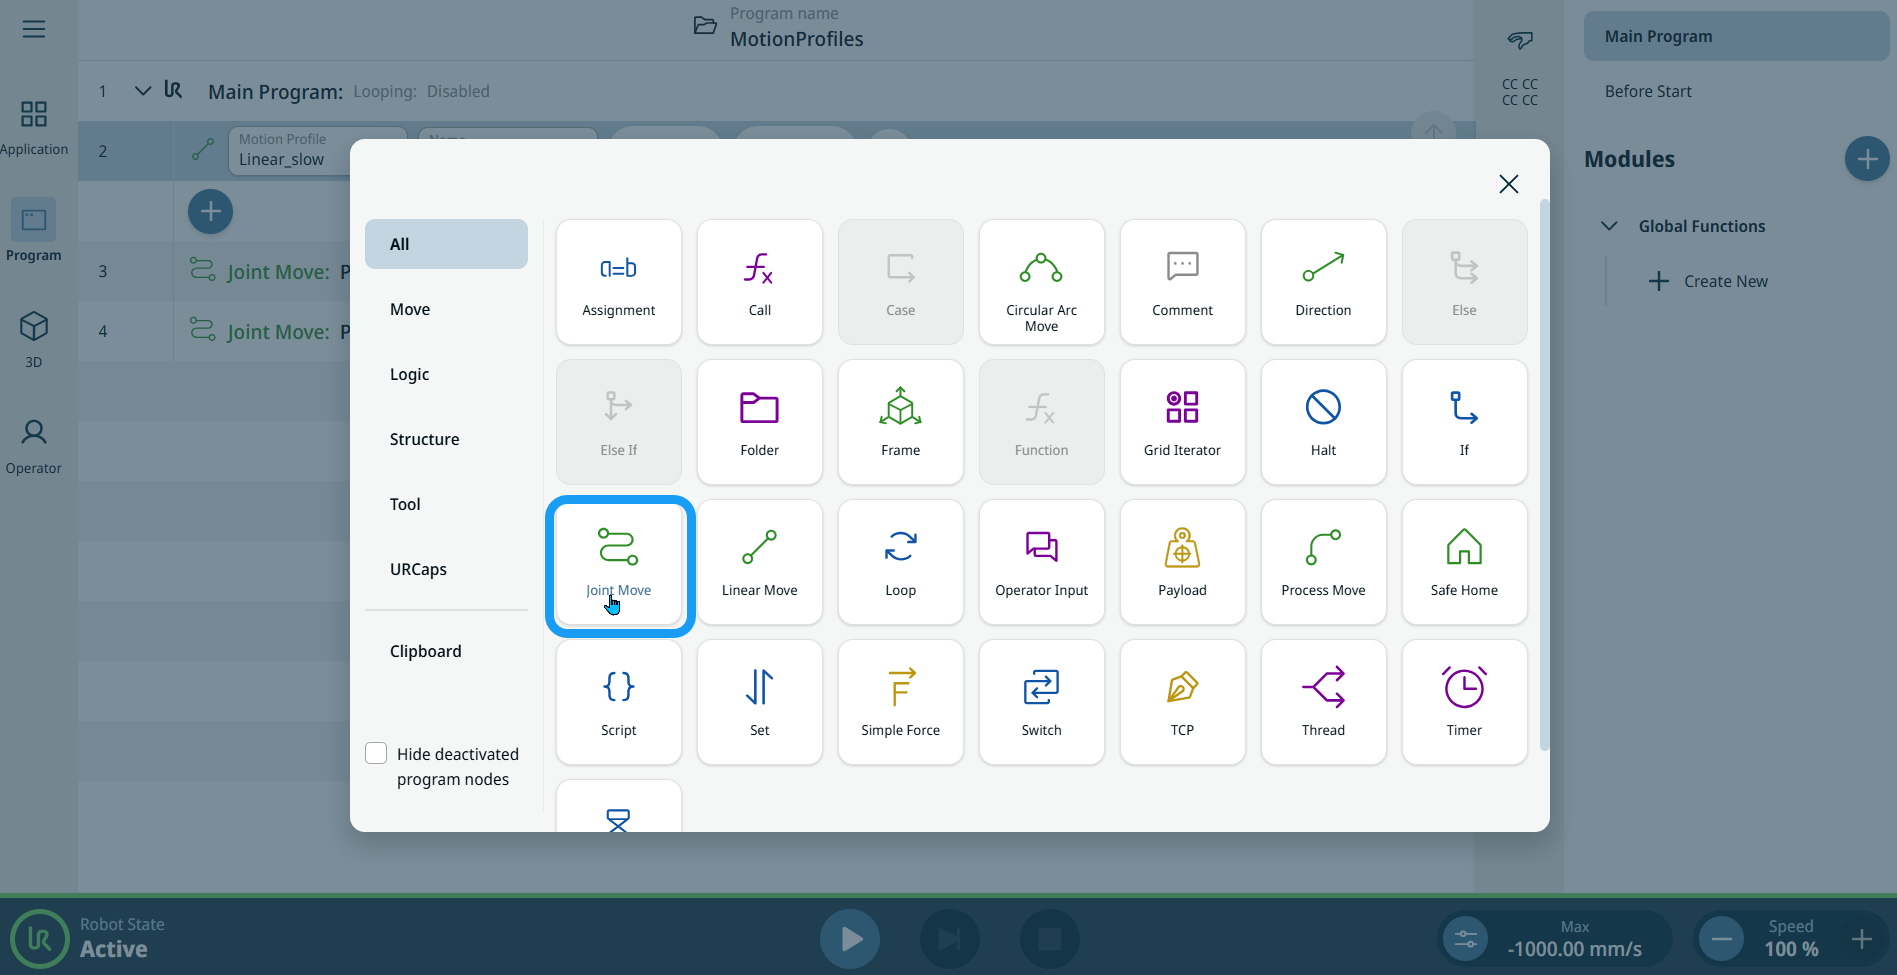
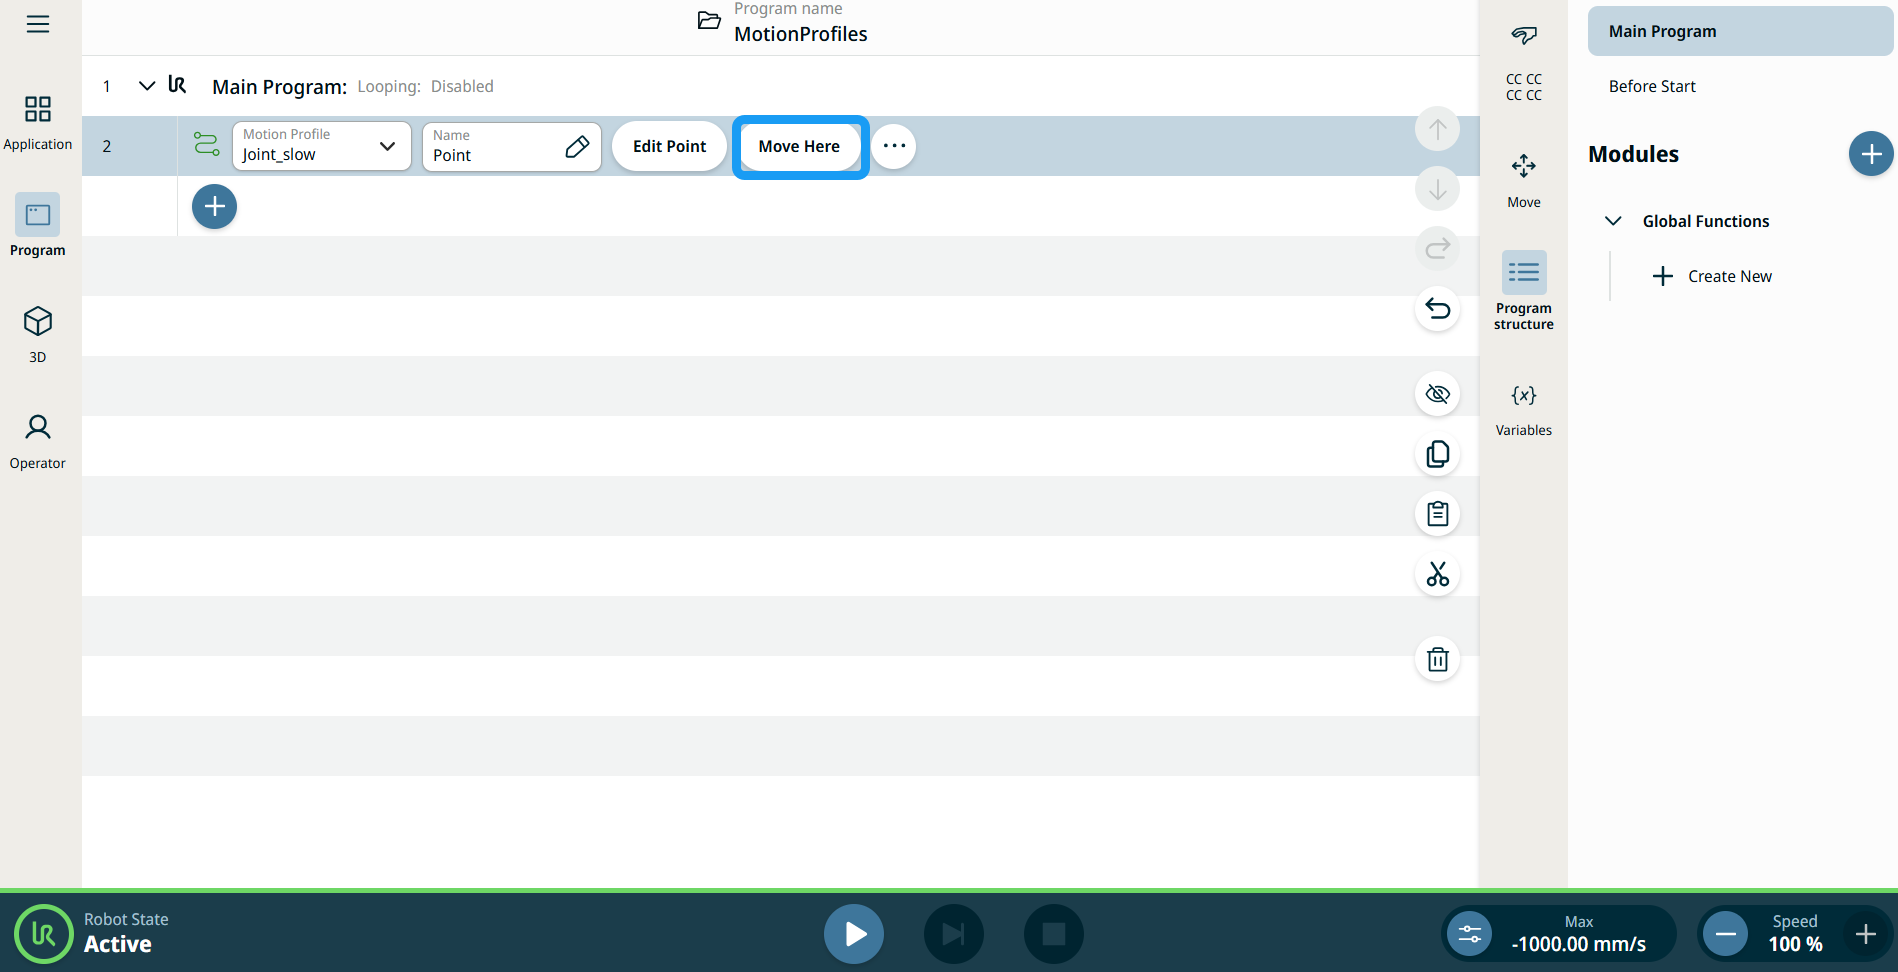
To access Joint Move command |
|
|
|
|
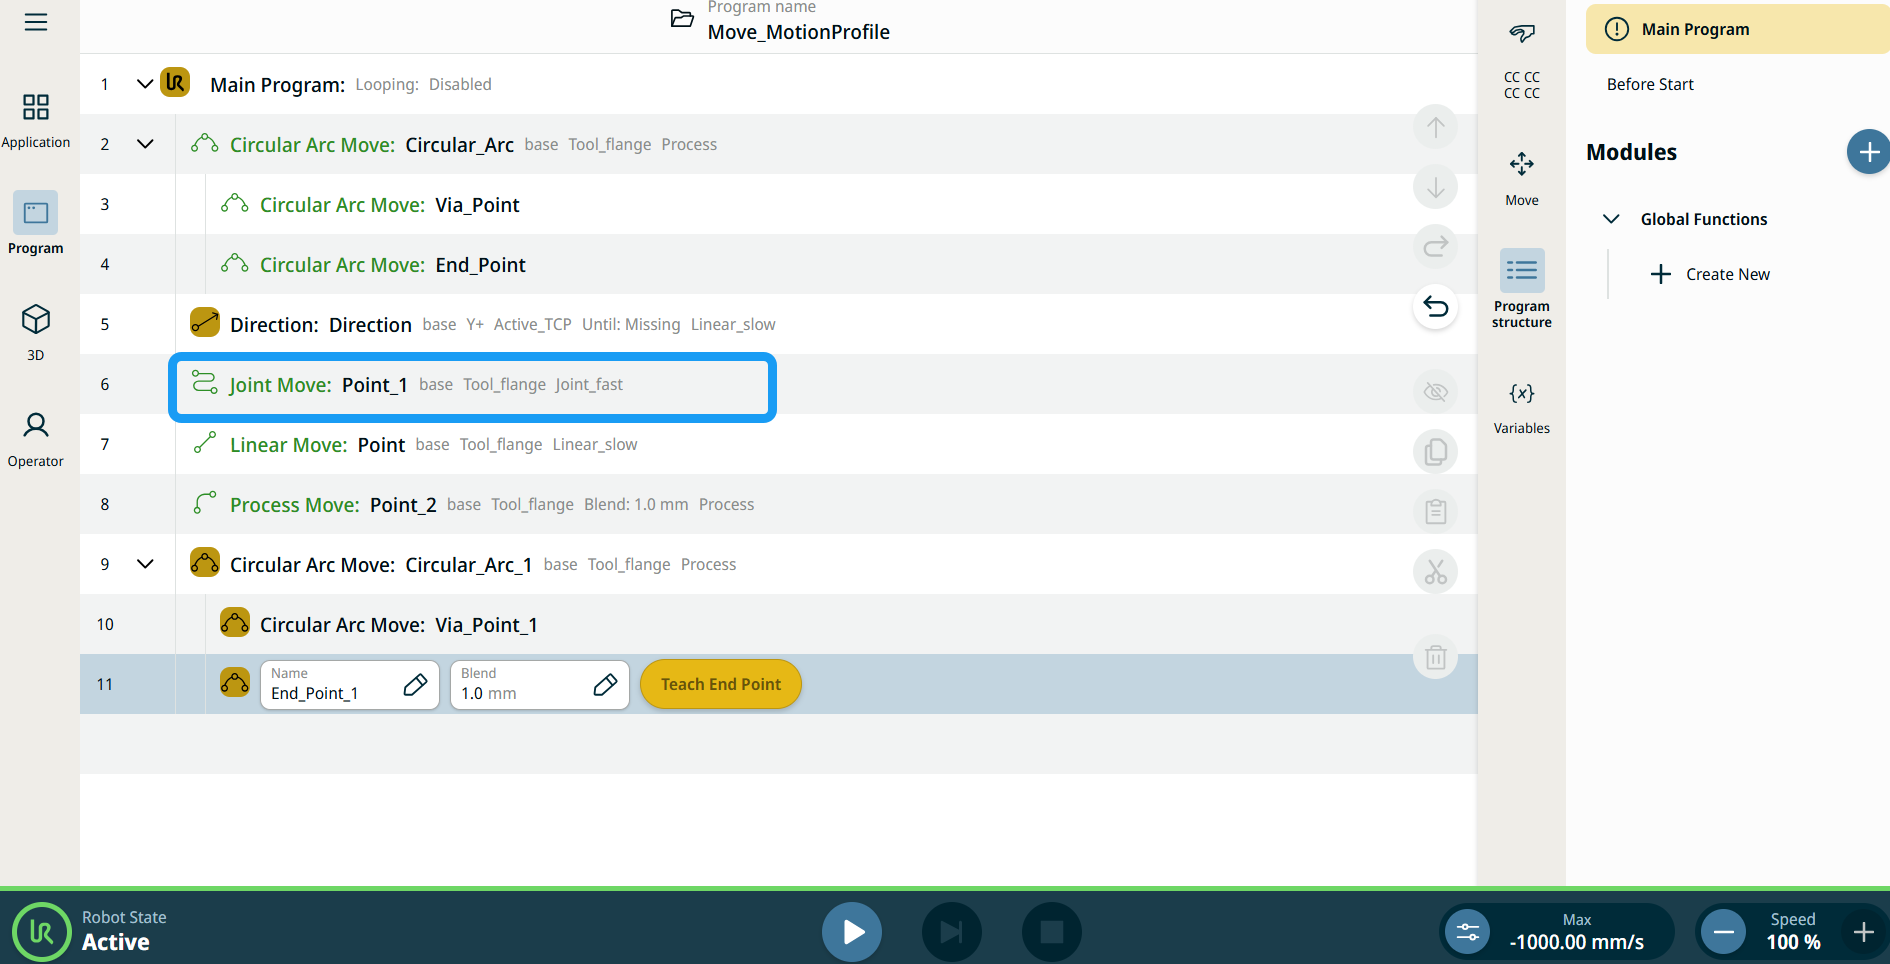
| Štítky profilu pohybu na uzlech pohybu |
Všechny příkazové uzly související s pohybem ve stromu programu zobrazují profil pohybu přidružený ke každému uzlu. Tato funkce uživatelům umožňuje zobrazit vybraný profil pohybu na uzlu pohybu. Tato funkce je implementována na následujících uzlech příkazů: Uzly pohybu s vlastním profilem pohybu budou místo profilu pohybu zobrazovat hodnoty rychlosti a zrychlení. |
|
|
|
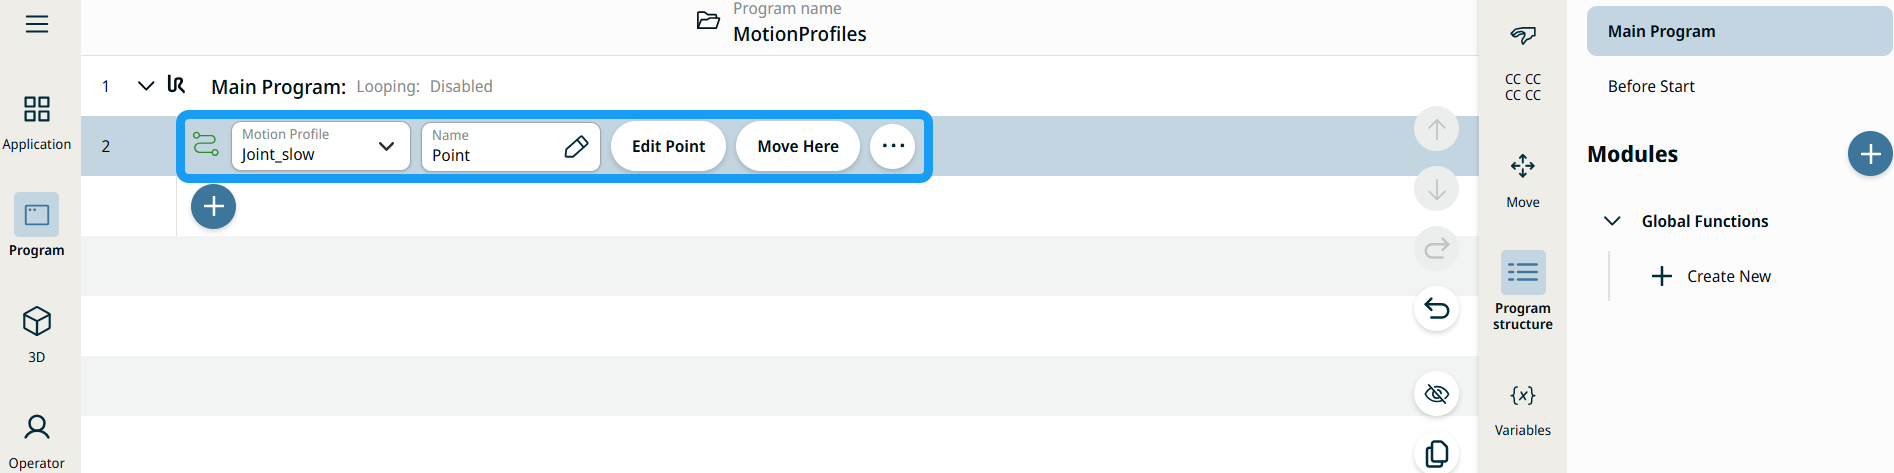
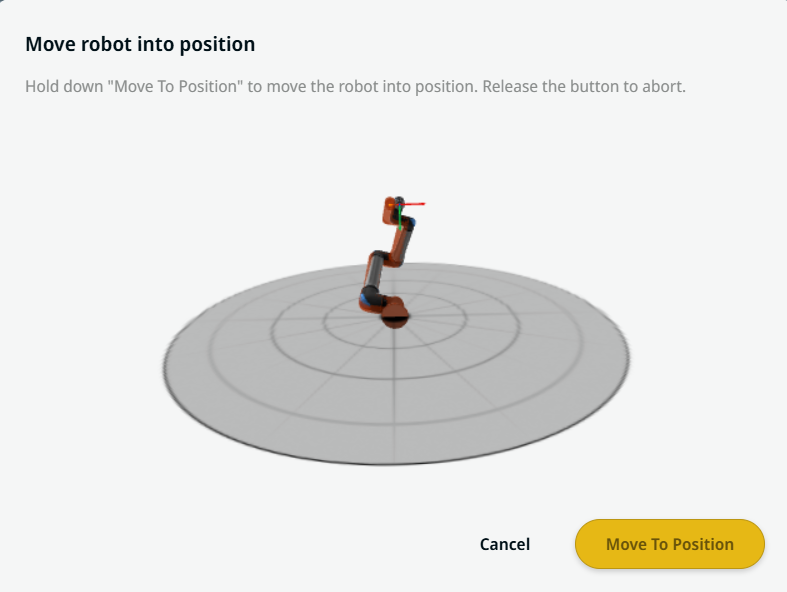
| Jak používat tlačítko Přesunout sem |
Tlačítko Přesunout sem je k dispozici v příkazech Linear Move a Joint Move. Tato funkce umožňuje přesunout se na pozici trasového bodu přímo ze stromové struktury programu. Stisknutím tlačítka Přesunout sem se otevře dialogové okno Přesunout robota do polohy. Tlačítko je viditelné, když byl nastaven bod trasy, a je aktivní pouze v případě, že je robot v režimu Normální nebo Omezený.
|
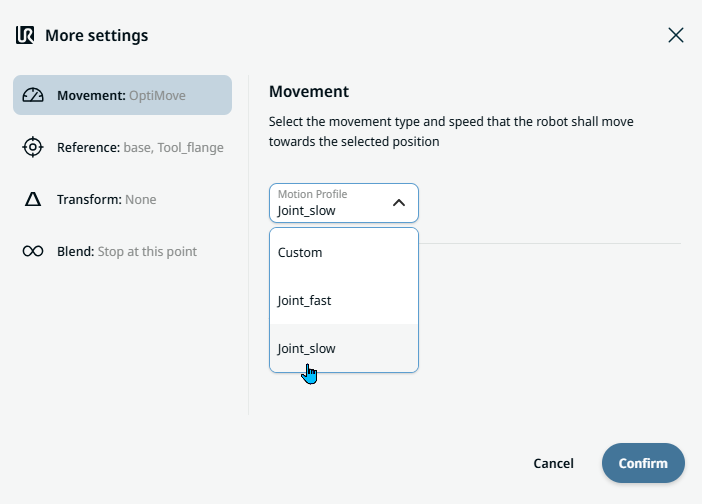
| Movement setting |
|
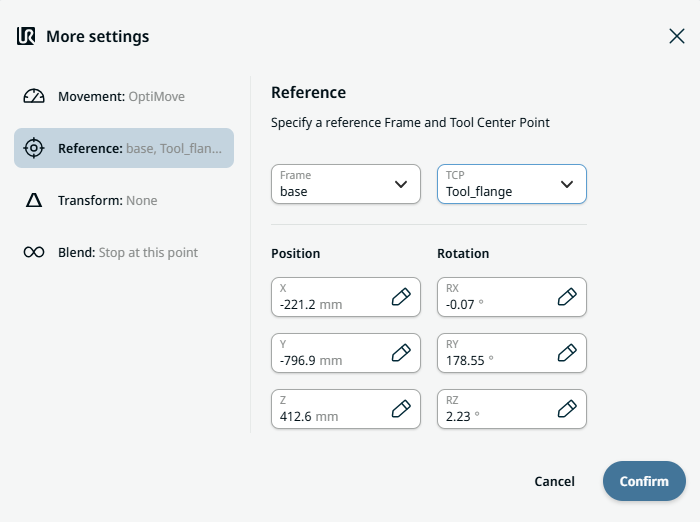
| Reference setting |
|
| Transform setting |
|
|
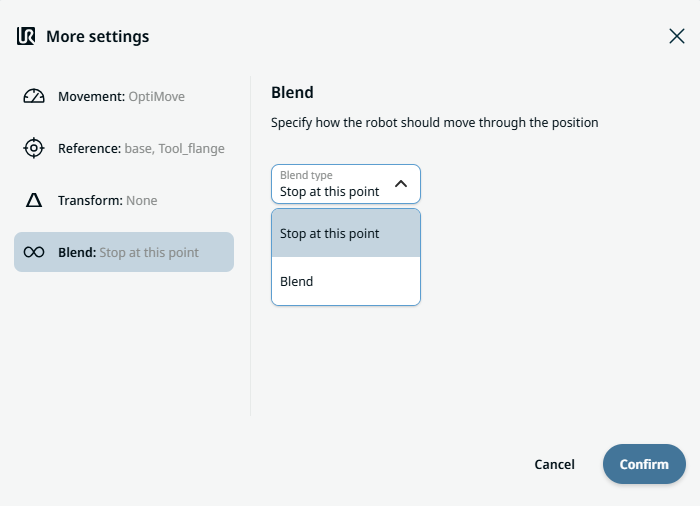
Blend setting |
|