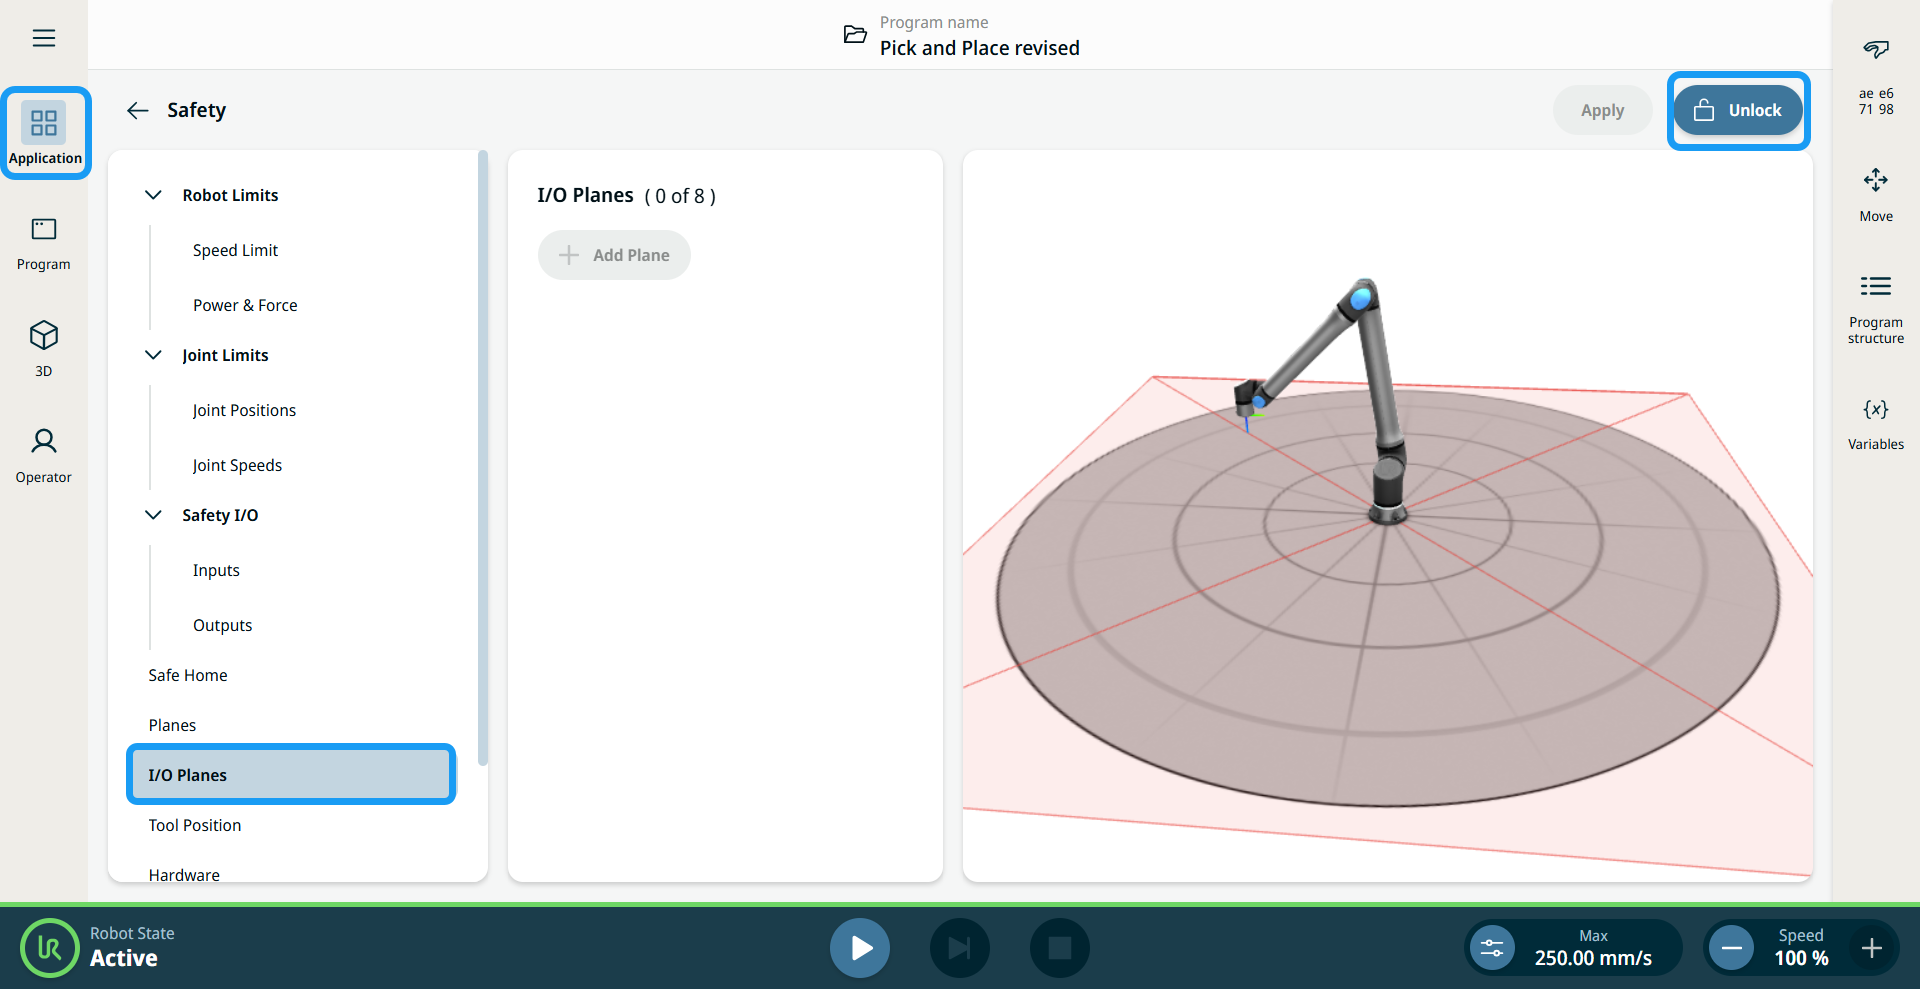
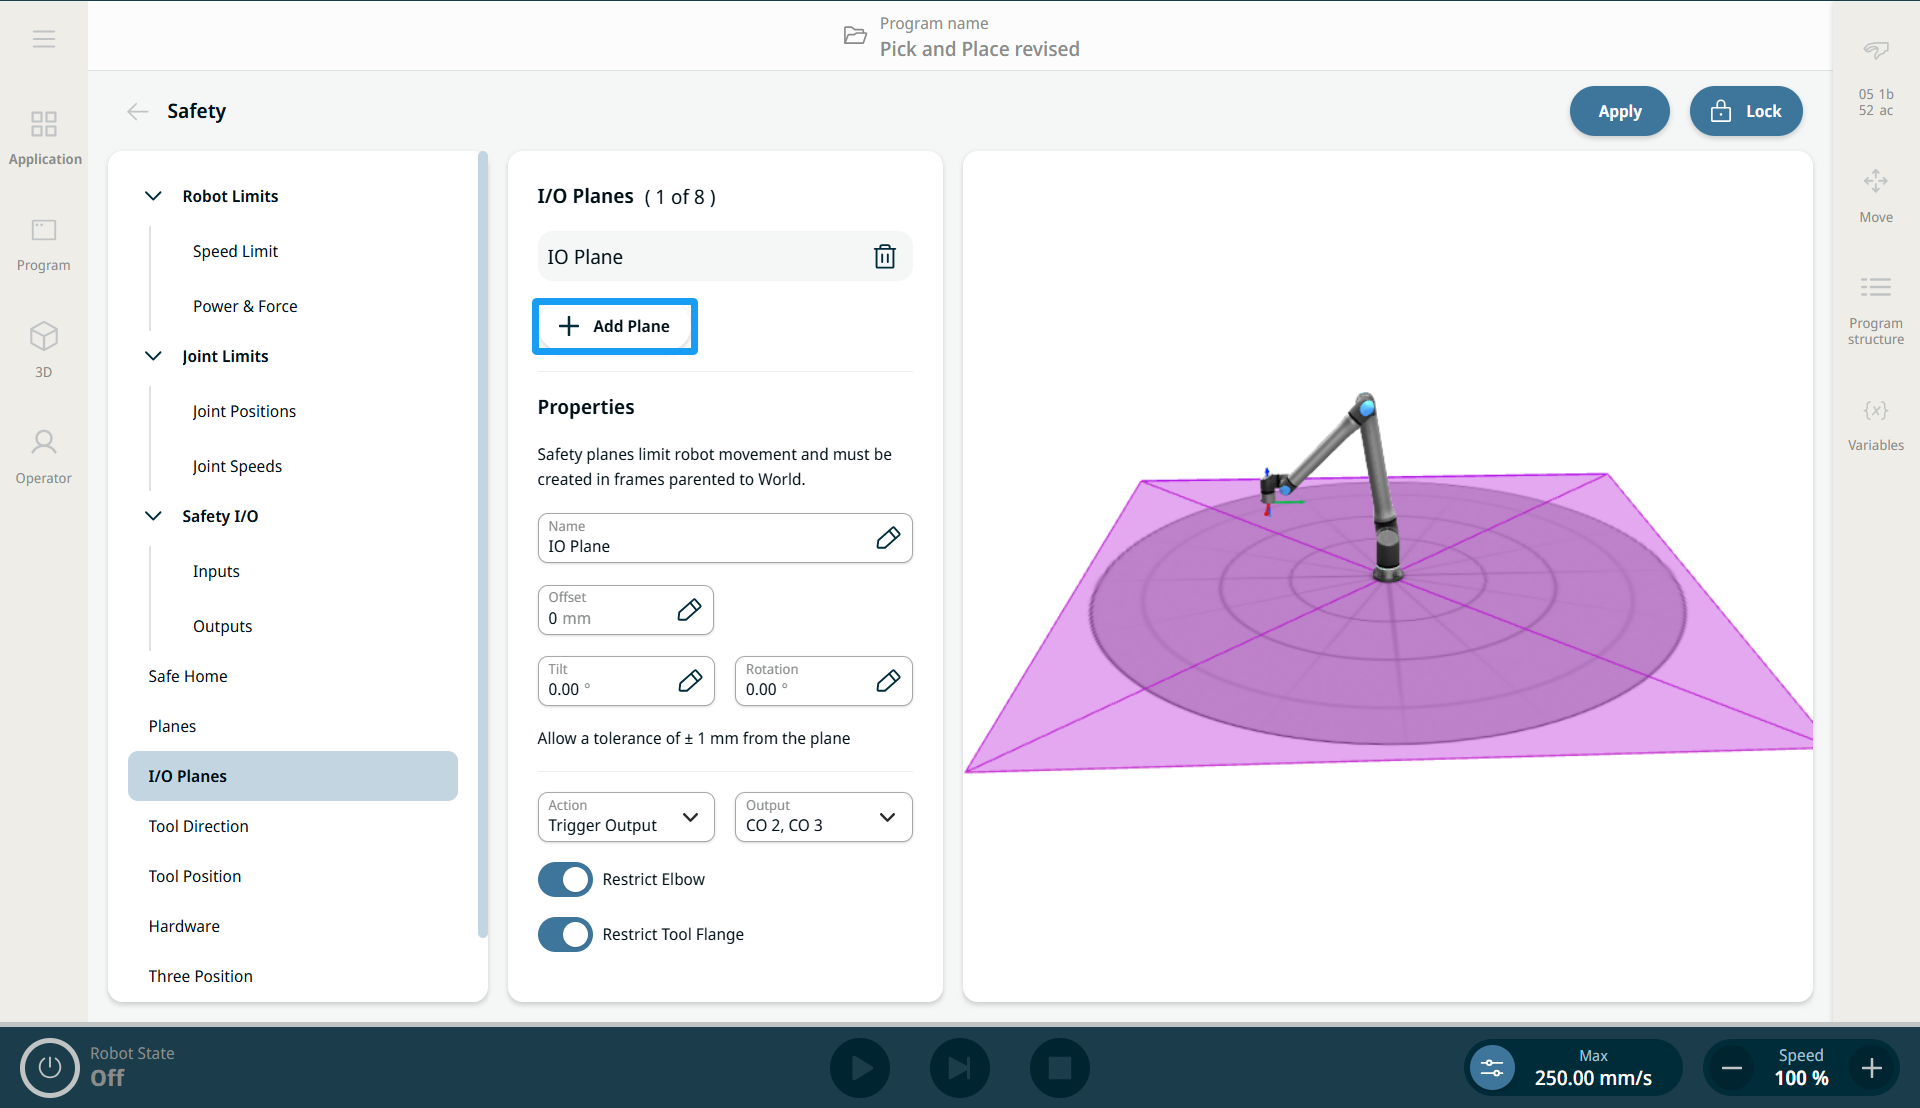
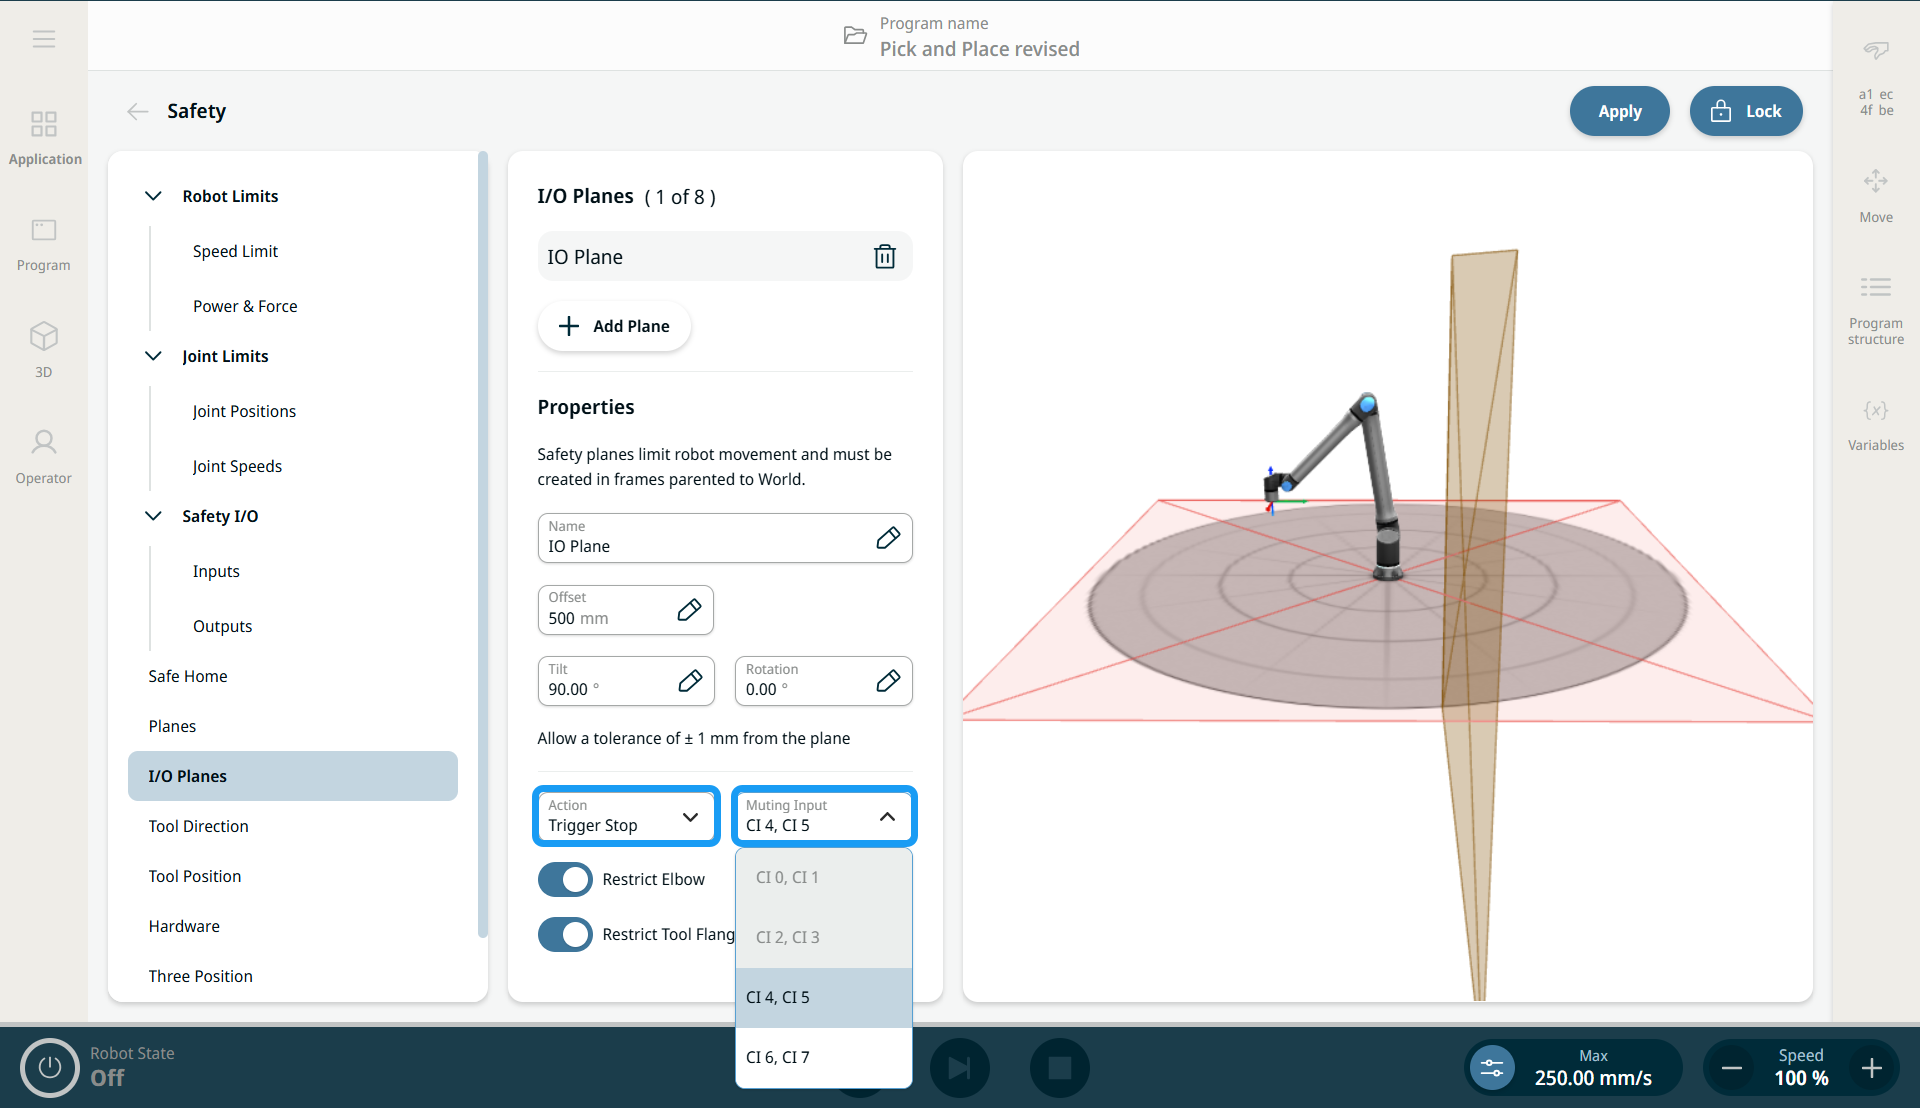
I/O Planes
| Description |
The I/O Planes feature provides more flexible use of safety planes compared to the standard Safety Planes functionality. It lets you activate and deactivate safety planes using terminal inputs, and/or generate an output signal when the safety spheres cross a safety plane.
|
|
Input/Stop Plane |
Trigger Stop triggers an I/O plane stop. It can be muted using a safety input. Unless muted, moving toward the plane causes the robot to stop and wait until the safety input mutes the plane. When the plane is inactive, the robot is allowed to move freely. When the plane is active and the robot has not crossed the plane, the robot will stop before crossing the plane. If the plane is activated, while the robot is moving on the edge of the plane, the robot can end up crossing the plane and will in worst case stop according to the configured distance and stopping time limits. When the plane is activated and the robot has crossed the plane, the robot will stop according to the configured stopping distance and stopping time limits.
|
|
|
|
|
Output Plane |
Trigger Output generates a safety output based on whether one or more of the safety spheres have crossed the plane. When one or more of the safety spheres have crossed a plane defined as trigger output, the safety output corresponding to that plane is activated. "Activated" means that the safety outputs are electrically set "Low". When any of the safety spheres has crossed a plane defined as trigger output, the safety output corresponding to that plane is activated.
|
