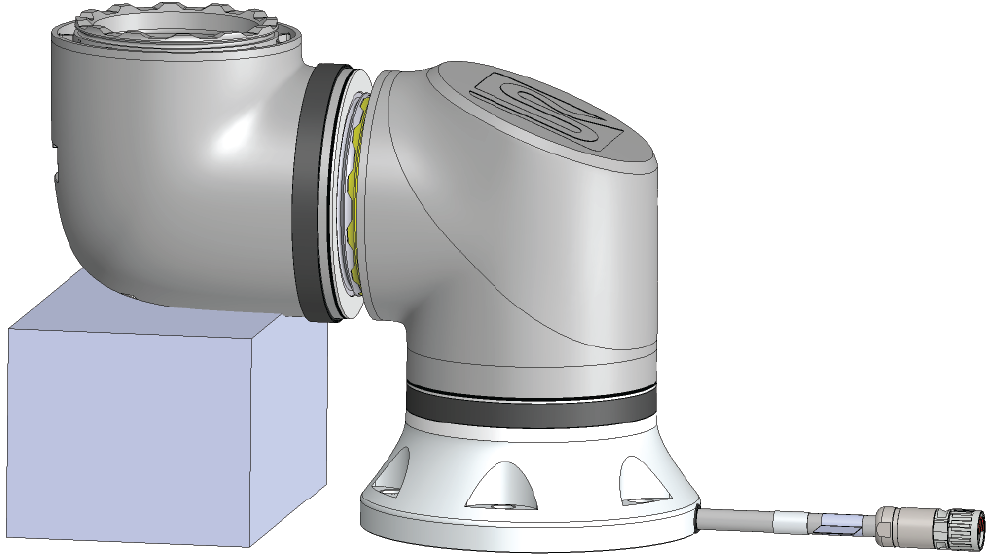
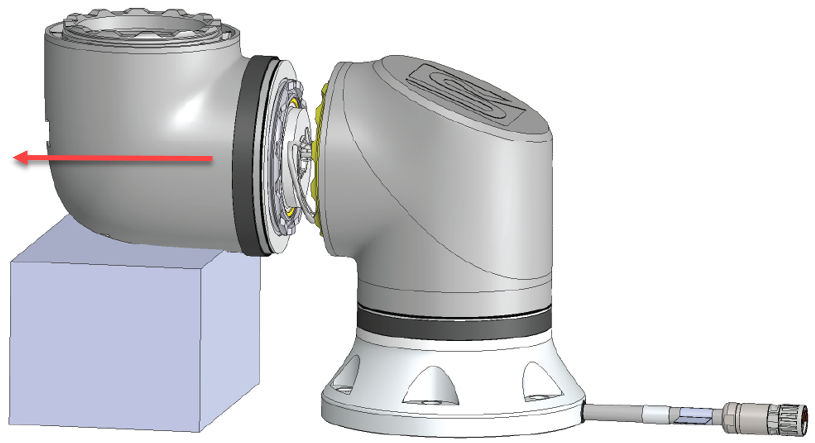
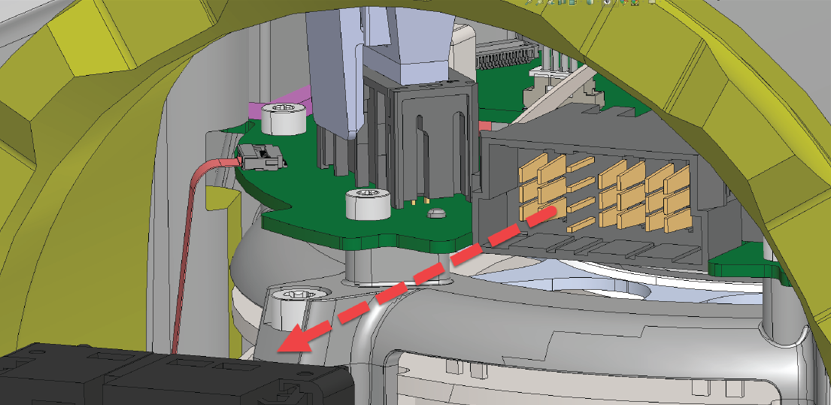
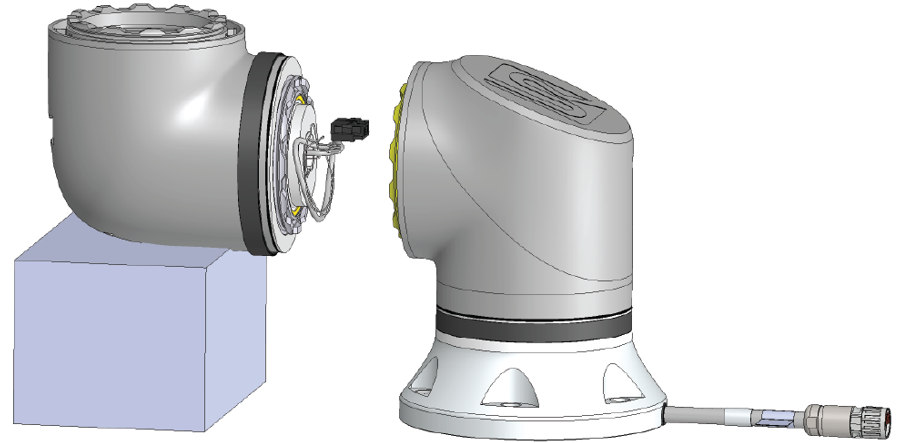
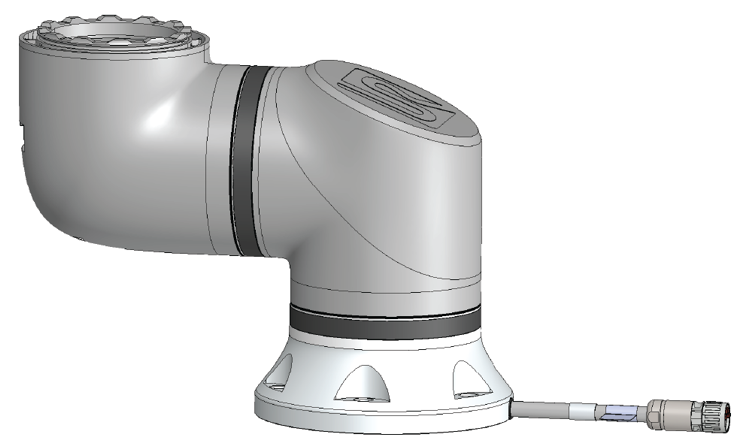
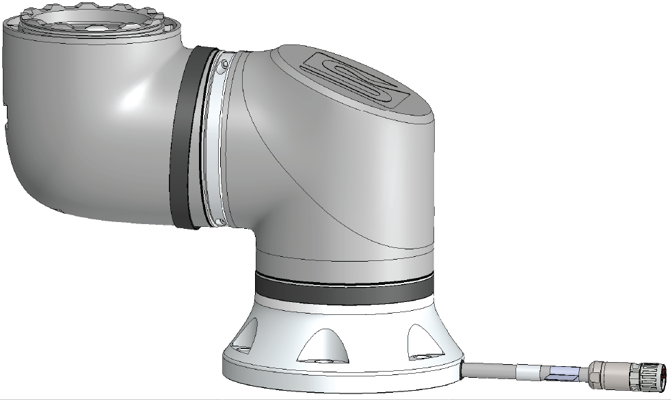
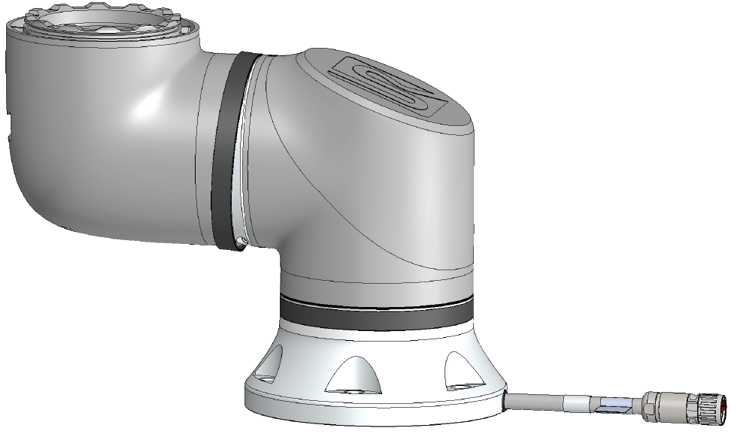
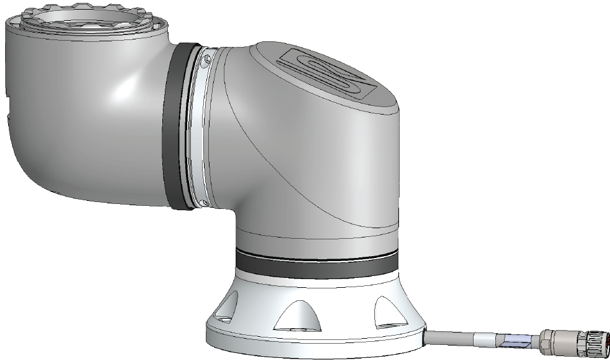
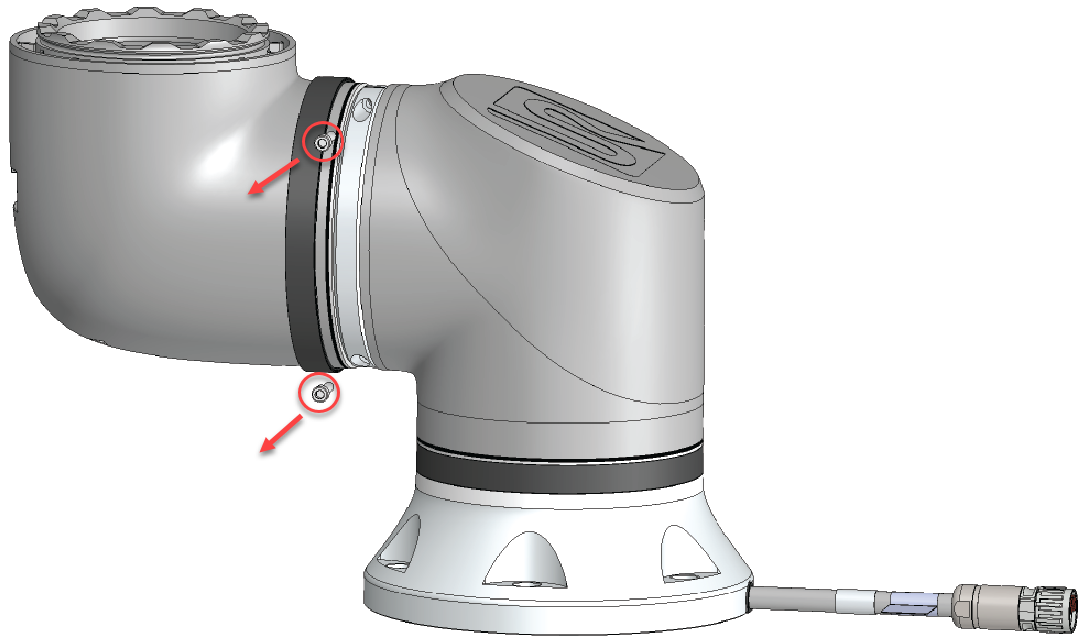
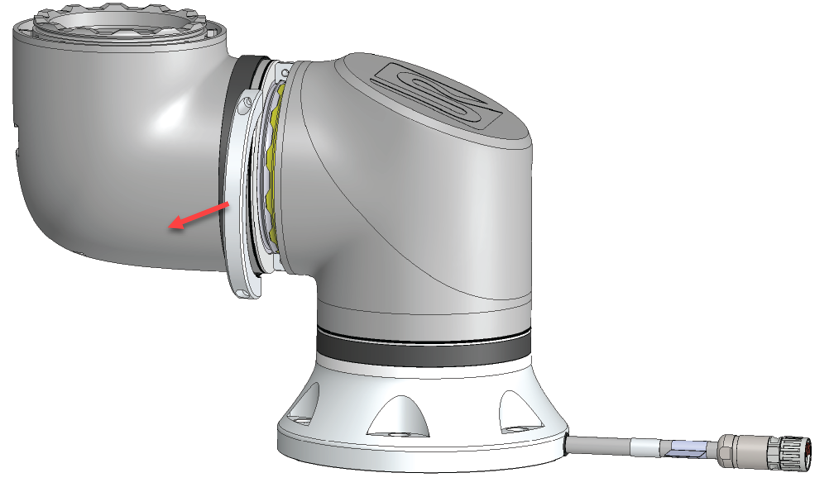
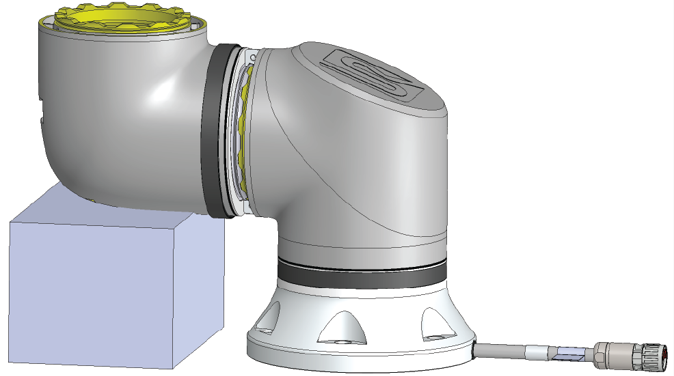
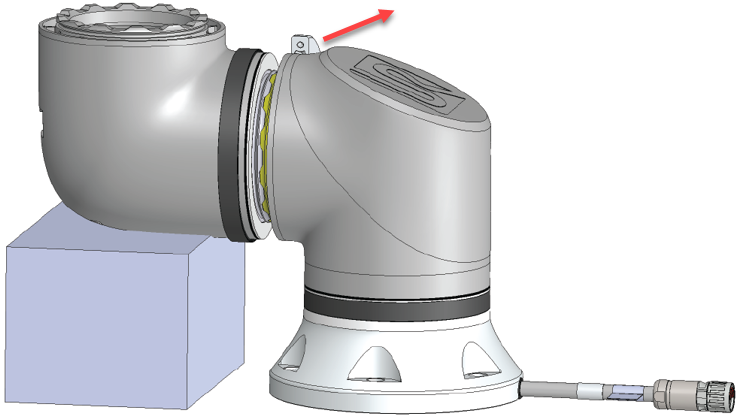
Disassembly

Description

Unsupported joints can fall or be dropped and cause injury.

  • Support joints while clamps are being removed.

Failure to support the joint/s while clamps are removed can result in damage to equipment.

  • Prevent joints from falling while you remove the clamps by doing any of the following:

    • Use something to support underneath the part that is coming off.

    • Disassemble the joint while it is laying down.

    • Support with lifting equipment.

If you do not test the old joint before you replace it, you can damage property or equipment.


Always perform a joint verification test before you replace a joint. See the Joint Verification section in the Service Manual for more information.


To Disassemble
  1. Attach the ESD wristband from the spare part package or tool kit to an electrically grounded surface.
  2. Remove the black flat-ring.
    You can use pointy tweezers or a small flat-head screwdriver.


  1. Remove the screws and the clamp on one side.

  1. Support the joint as you remove the second side of the clamp.

  1. The joint is now loose and you can remove it.

  1. Gently unplug the connector from the PCB on the joint.

  1. The joint is now dismounted.