Teach Mode

Description

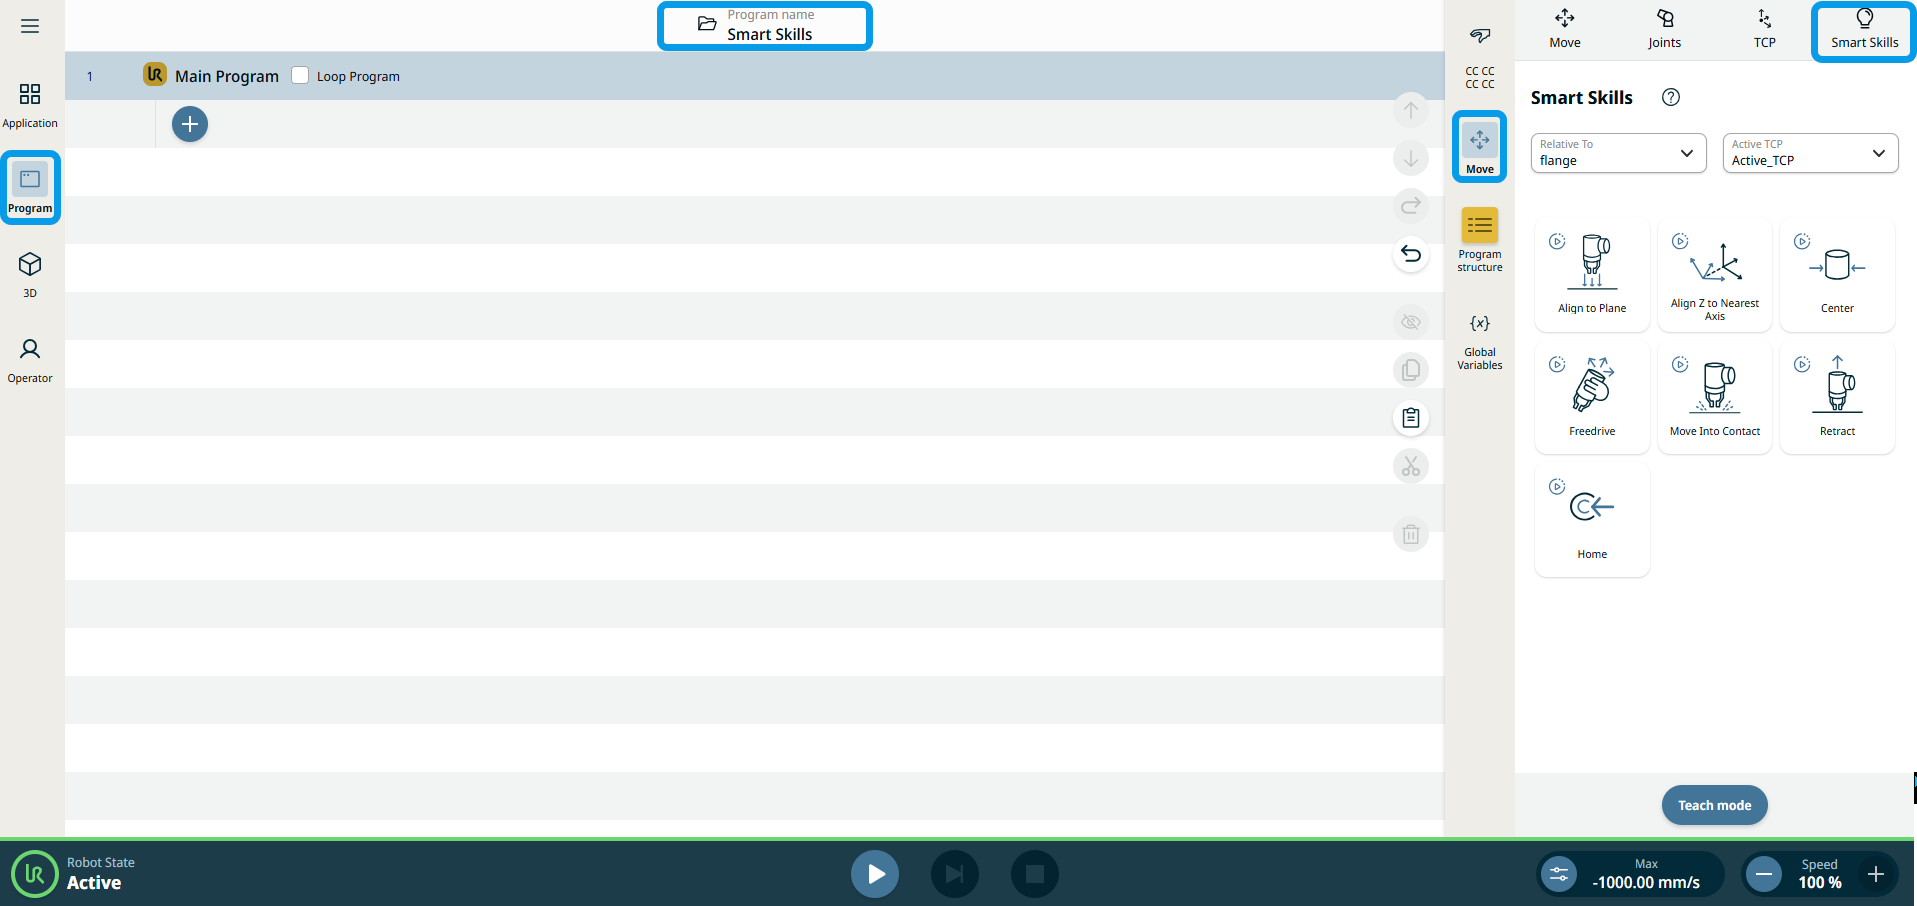
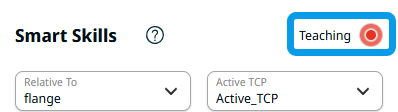
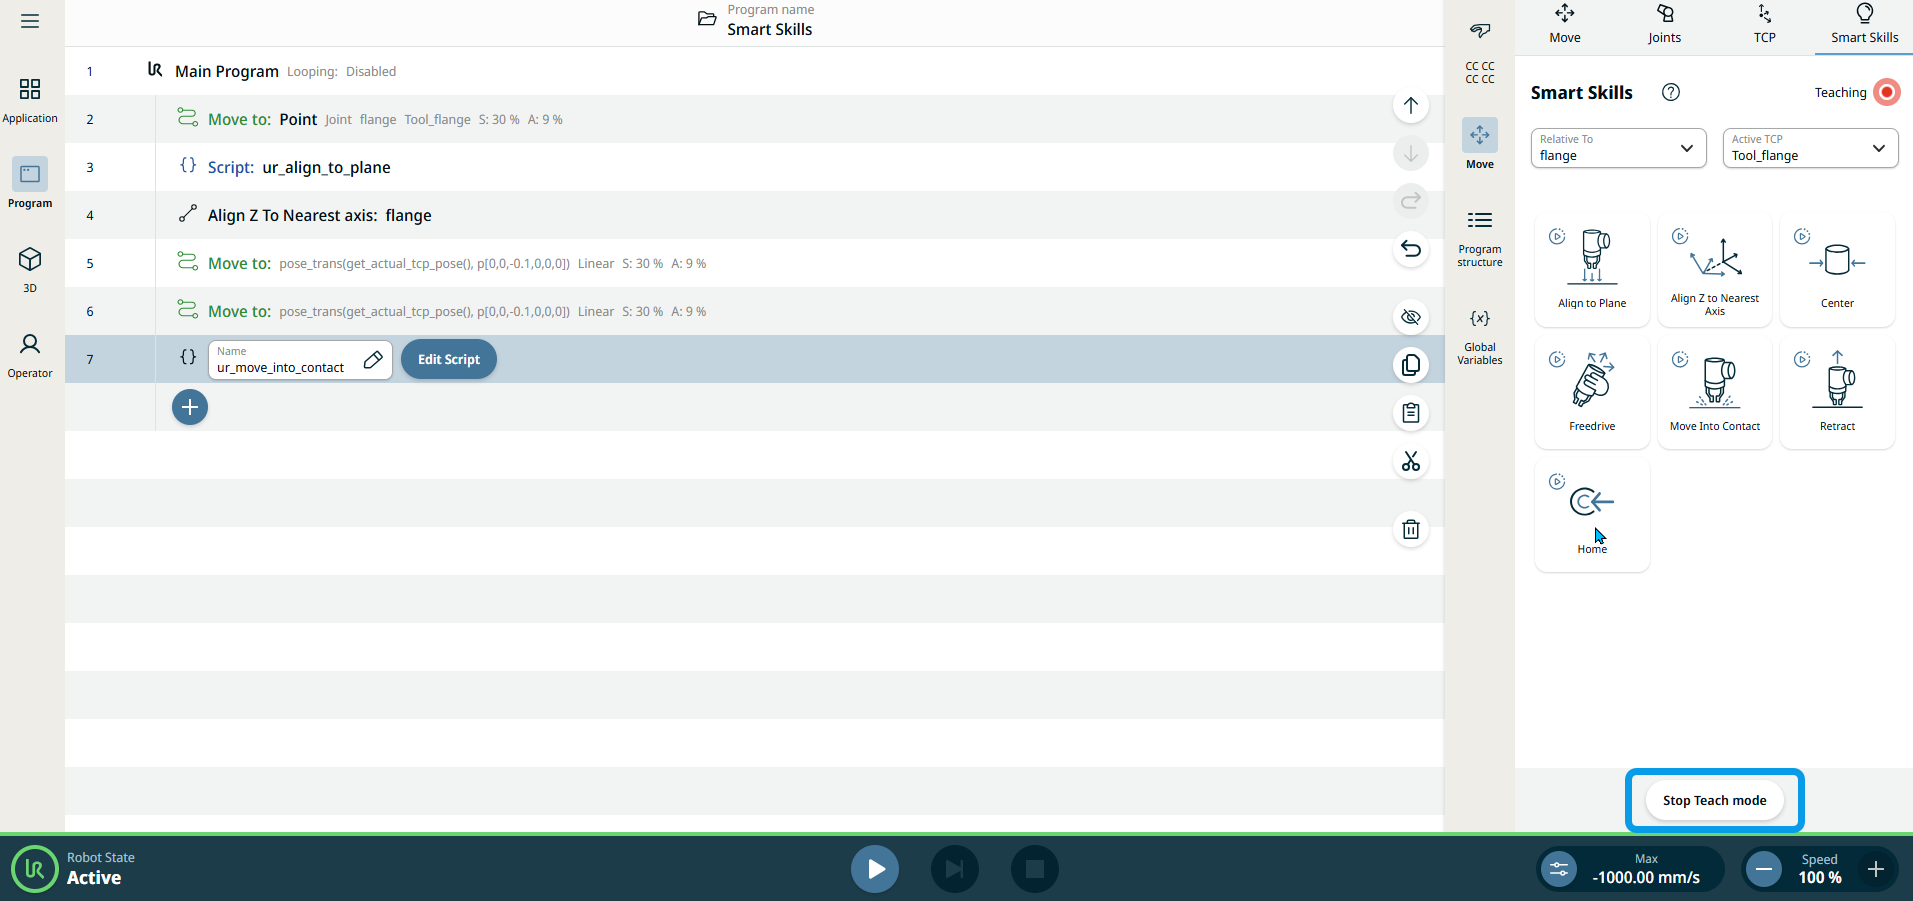
Teach Mode is a new way to program the robot by demonstration through teaching the robot what to do with a combination of freedrive and Smart Skills. Every action that is done in Teach Mode will be recorded and converted to program nodes.

To enable Teach Mode, navigate to the Smart Skills pane located in the Move drawer. Apply a Smart Skill or press the physical freedrive button to generate a program node in the tree. Additionally, you can undo the Smart Skill to restore the robot's previous state, for example, by returning it to its position before the action was performed. Read related topics Program and Smart Skills.


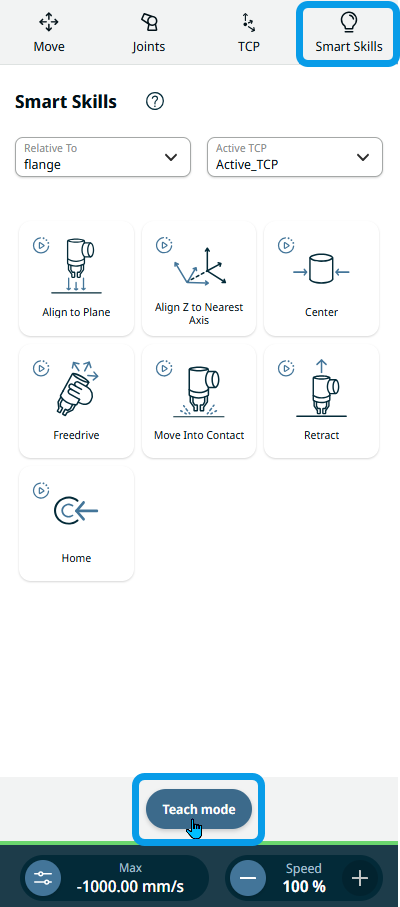
To access Teach Mode

  1. Tap Program in the main navigation.

  2. In the header, tap Program Name to use an existing program or create a new one where you want to apply Smart Skills program or freedrive.

  3. Tap Move in the sidebar to expand the multitask screen, and you can see the Smart Skills pane in the top right part.


  1. Tap Smart Skills , and you can see these components making up the Smart Skills screen:

    • Relative to field

    • Active TCP field

    • Align to Plane

    • Align Z to Nearest Axis

    • Center

    • Freedrive

    • Move Into Contact

    • Retract

    • Home

    • Teach Mode button


  1. Tap the Teach Mode button, and you see a blinking red point indicating Teaching.

  2. Tap a smart skill to start teaching, and tap it a second time to stop teaching. A configurable node is inserted into the program.

  3. Continue with other Smart Skills.

  4. Tap the Stop Teach Mode button when you are done.

    This is how the program tree looks like when, for example, you use three smart skills.