Premik člena
| Opis |
The Joint Move is a move command node that supports Motion Profiles. The command creates a movement from point A to point B that is optimal for the robot. Premik robota morda ne bo v ravni črti med točkama A in B, ampak optimalno glede na začetni položaj členov in končni položaj členov. Premik členov izvede premike, ki se izračunajo v prostoru členov robotove roke. Členi so nadzorovani, da zaključijo svoje premike ob istem času. Ta vrsta premikov ustvarja ukrivljeno pot za orodje.
|
|
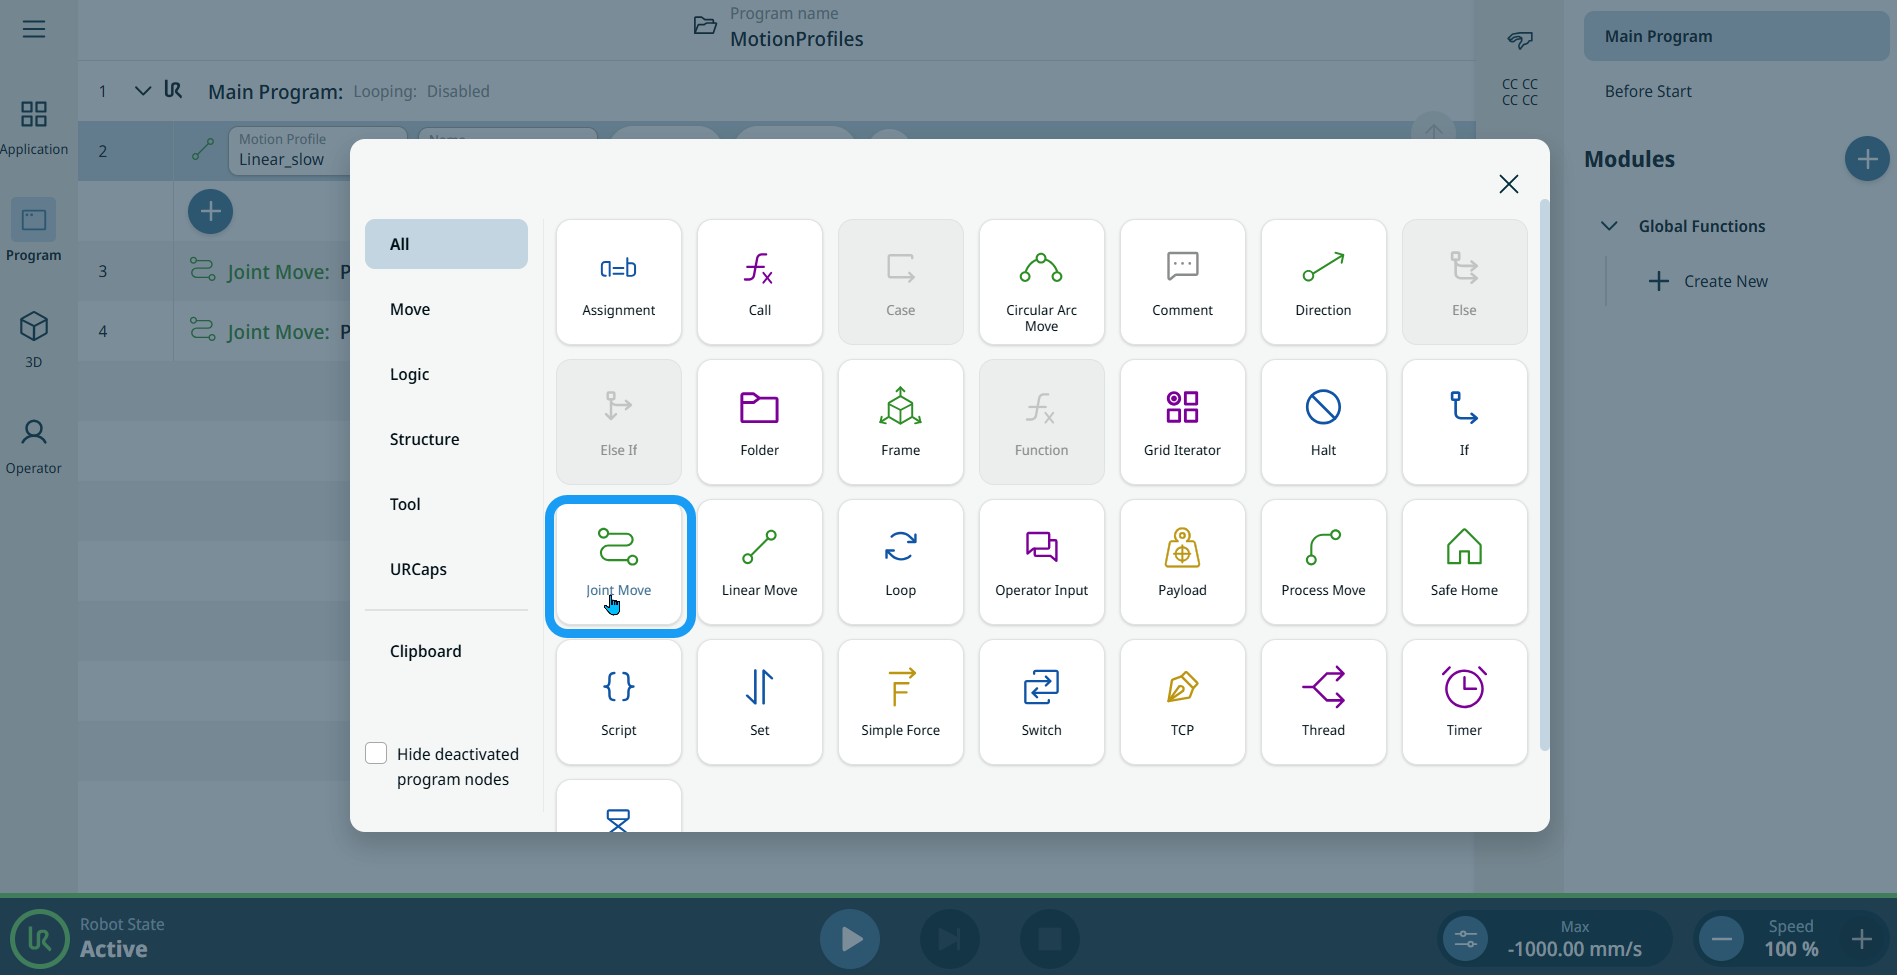
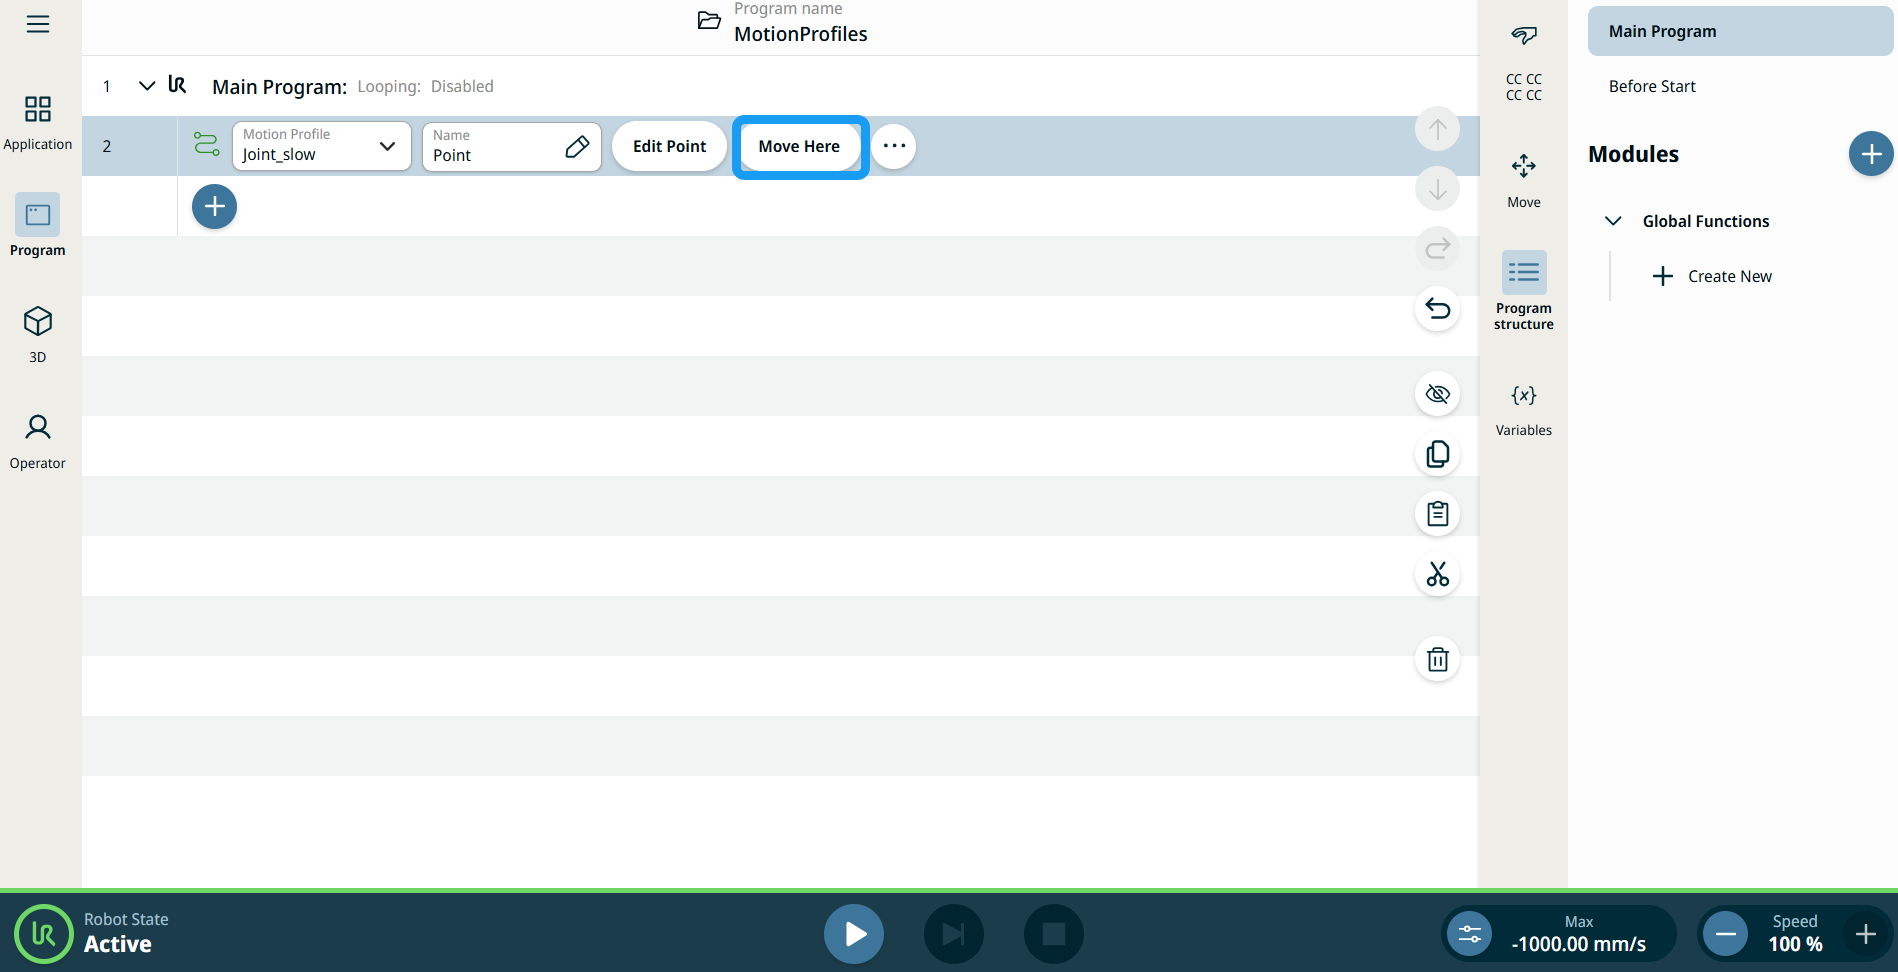
To access Joint Move command |
|
|
|
|
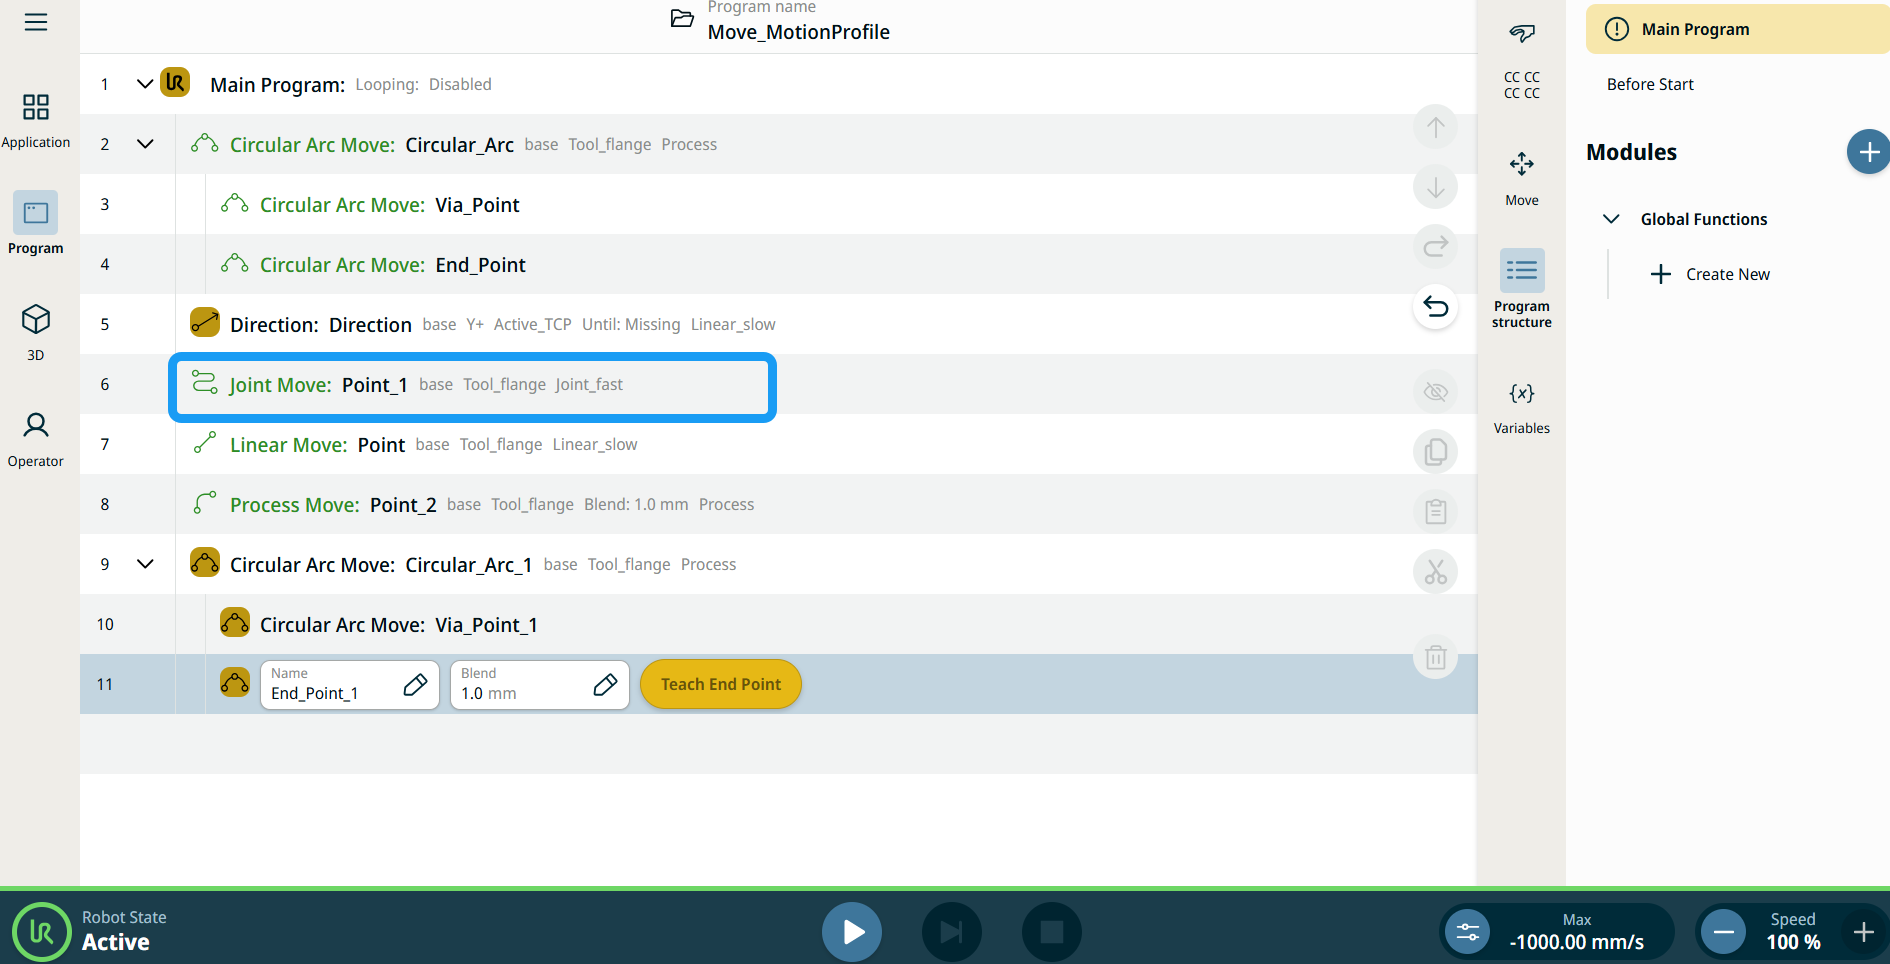
| Oznake profila premikanja na vozliščih premika |
Vsi ukazi, povezani s premikanjem v drevesu programa prikazujejo profil premika, povezan z vsakim vozliščem. Ta funkcija omogoča uporabnikom, da vidijo izbrani profil premikanja na vozlišču premika. Ta funkcija je implementirana na naslednjih ukaznih vozliščih: Vozlišča premika s profilom premikanja po meri bodo prikazala vrednosti za hitrost in pospešek namesto profila premikanja. |
|
|
|
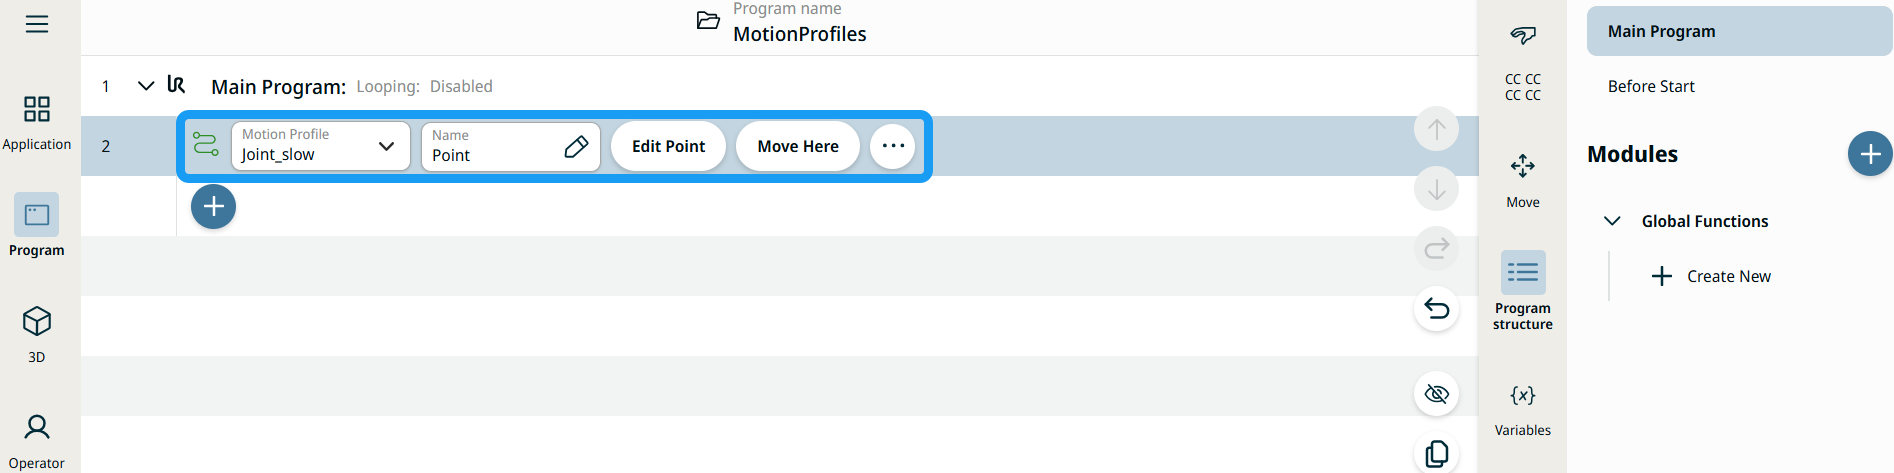
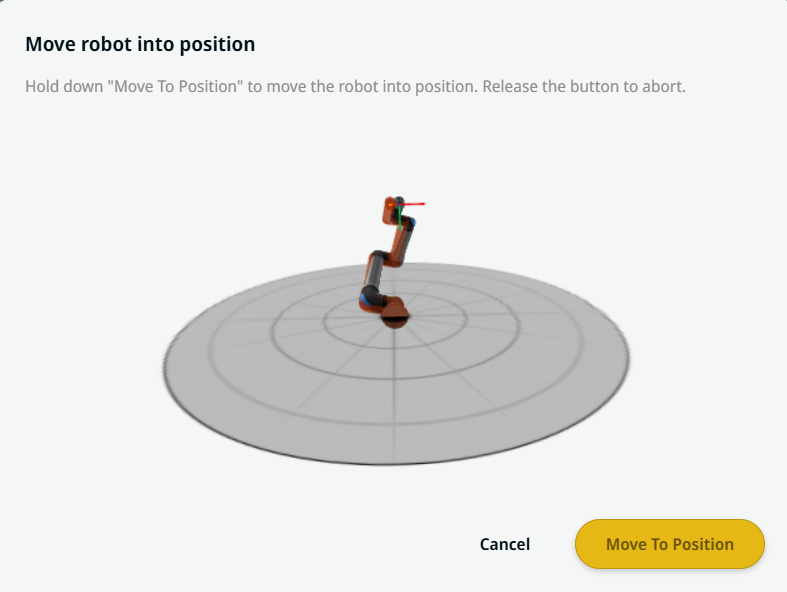
| Uporaba gumba Premik sem |
Gumb Premik sem je viden v ukazih Linearni premik in Premik člena. Ta funkcija vam omogoča, da se premaknete na smerno točko neposredno iz drevesa programa. S pritiskom gumba Premik sem se odpre pogovorno okno Premik robota v položaj. Gumb je viden, ko je bila naučena smerna točka, in je omogočen le, če je stanje robota v načinu Normalno ali Reducirano.
|
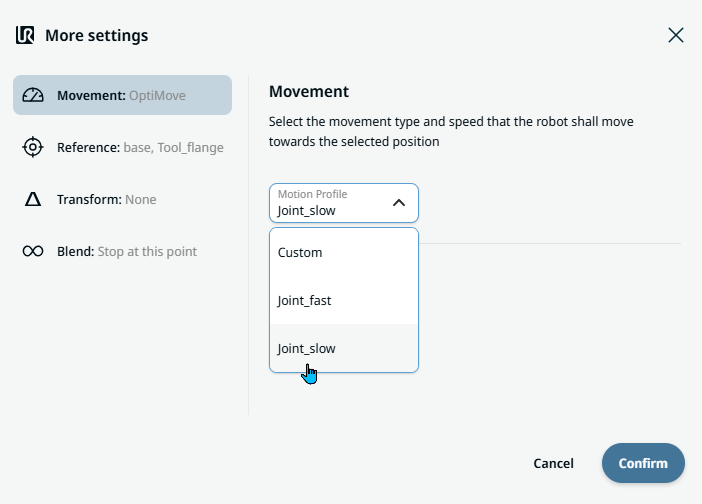
| Movement setting |
|
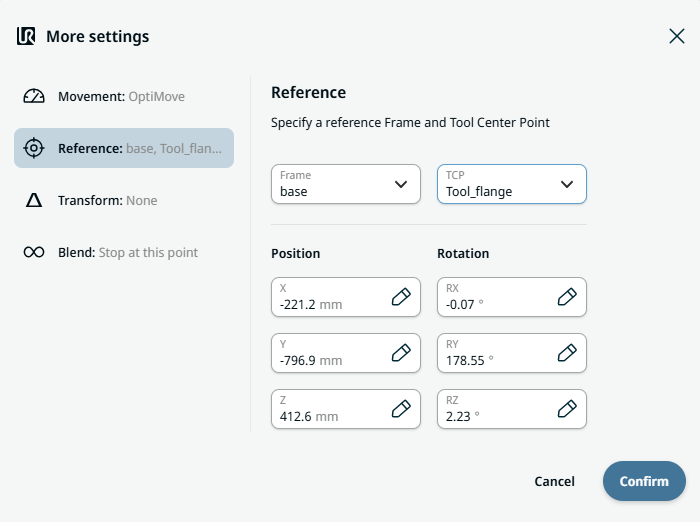
| Reference setting |
|
| Transform setting |
|
|
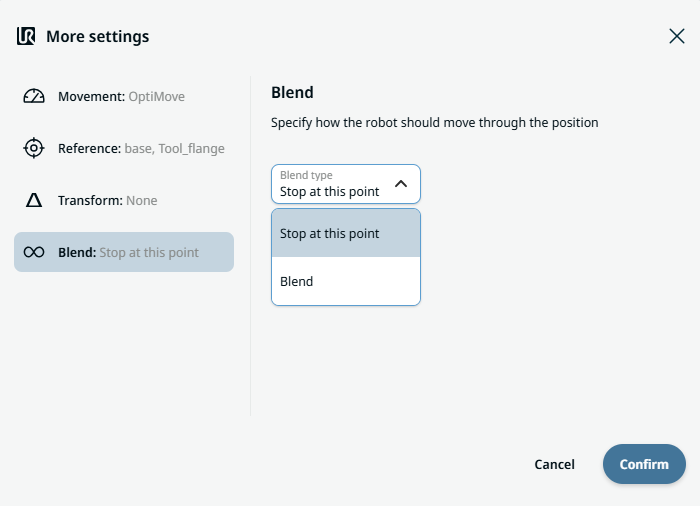
Blend setting |
|