Lineáris mozgás
| Leírás |
The Linear Move command node supports Motions Profiles as Joint Move, but it creates a movement that is a direct line from point A and point B. It moves the Tool Center Point (TCP) linearly between waypoints. Ez azt jelenti, hogy minden ízület bonyolultabb mozgást végez, hogy a szerszám egyenes vonalban maradjon.
|
|
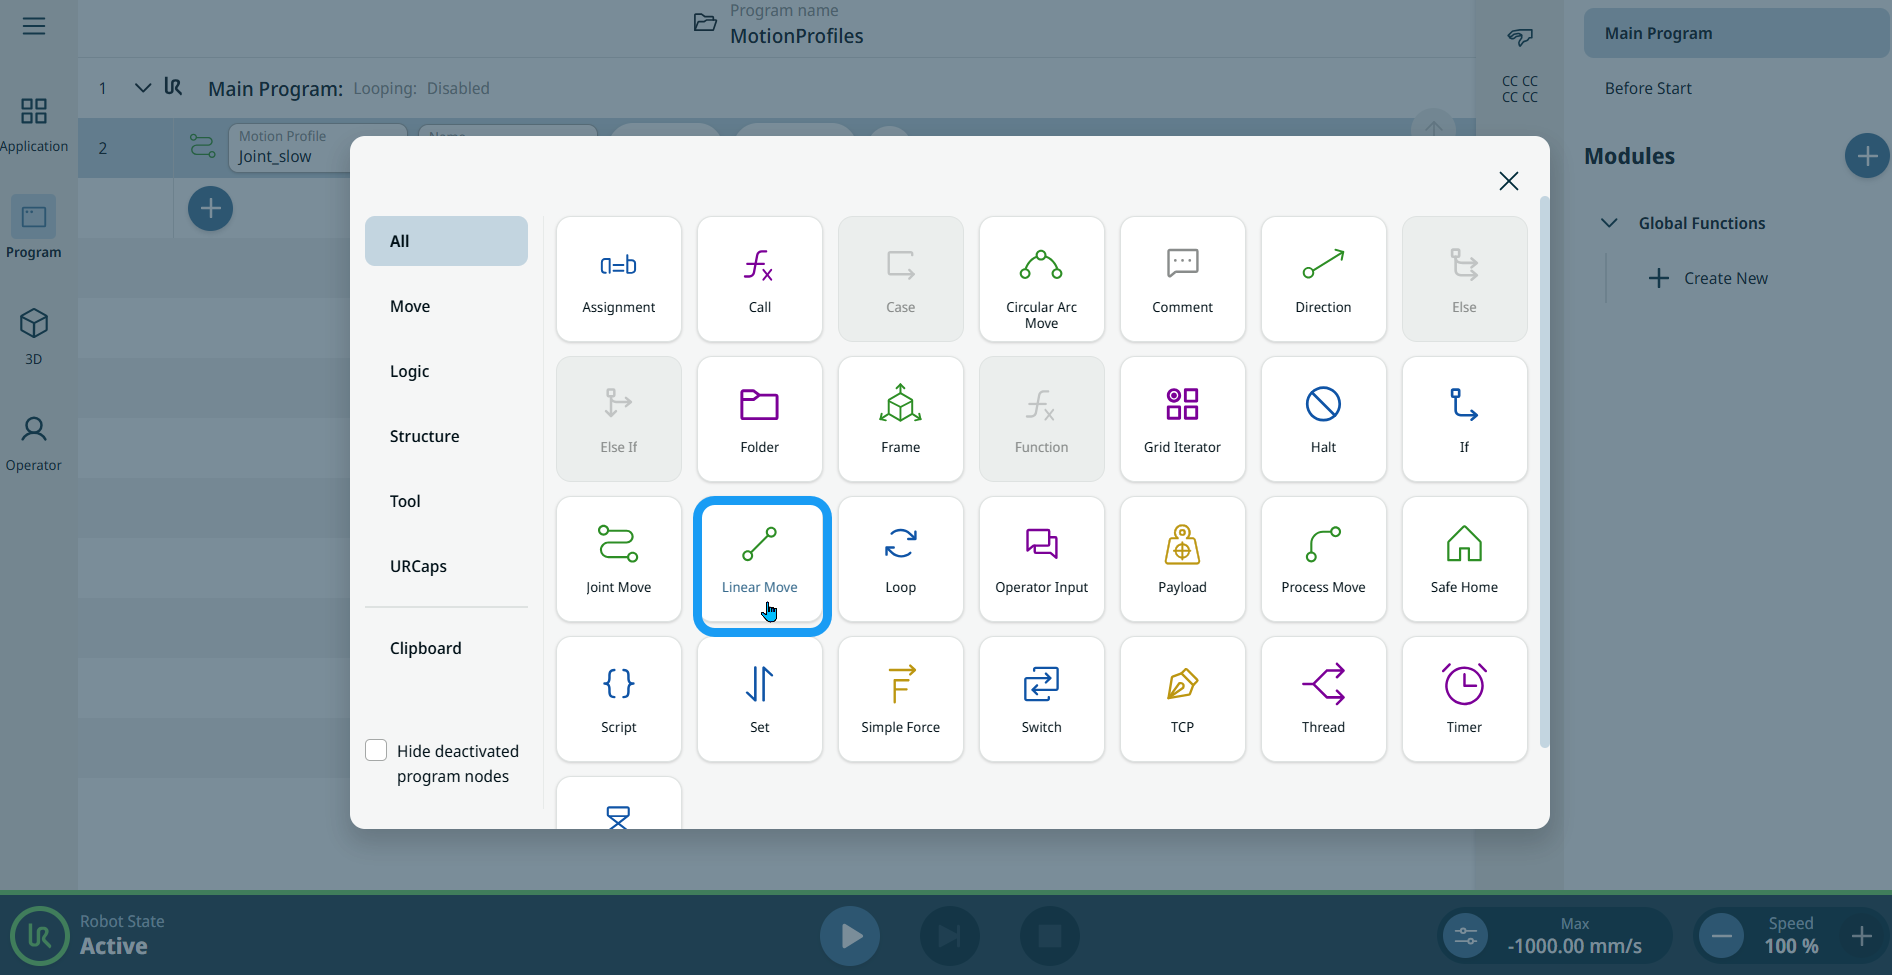
To access Linear Move command |
|
|
|
|
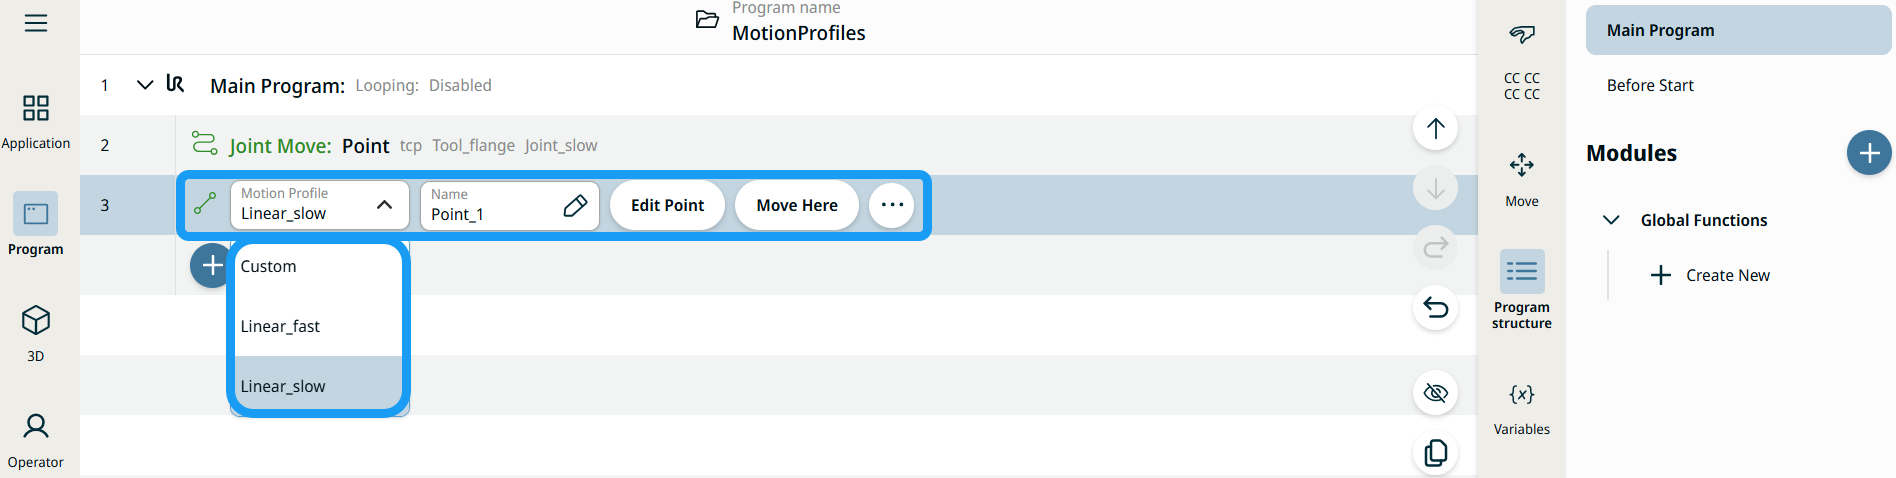
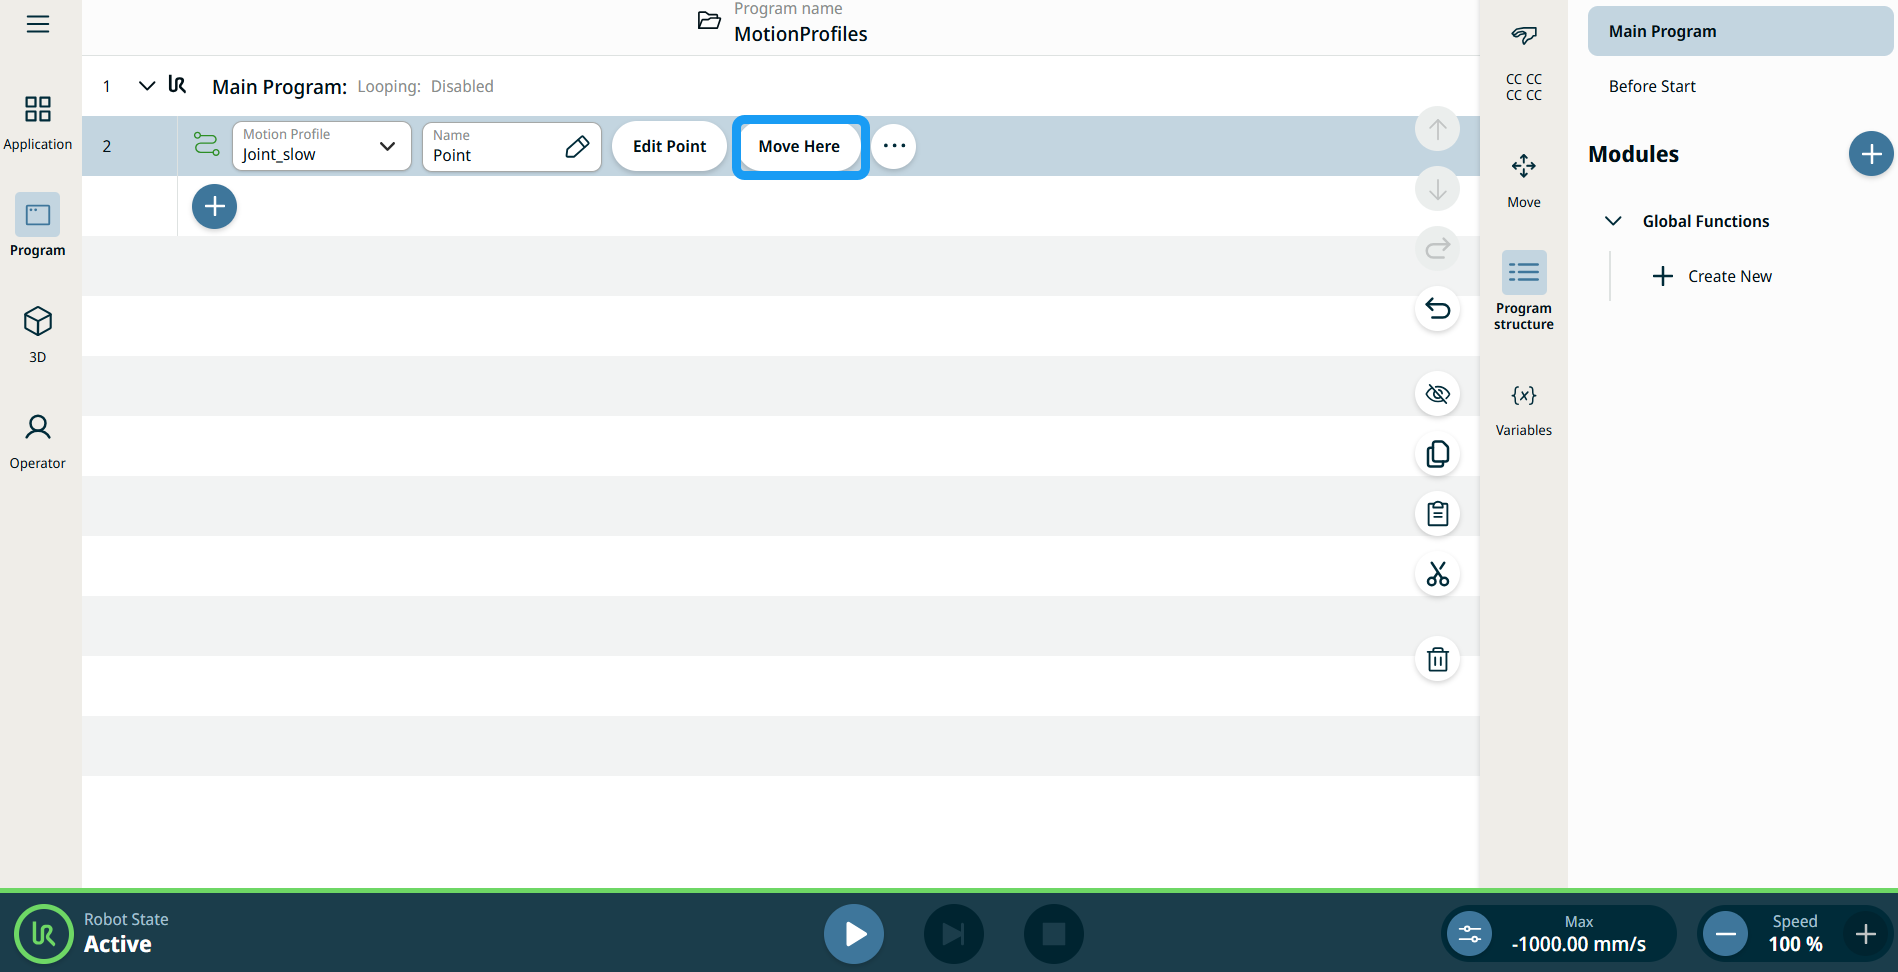
| A Mozgatás ide gomb használata |
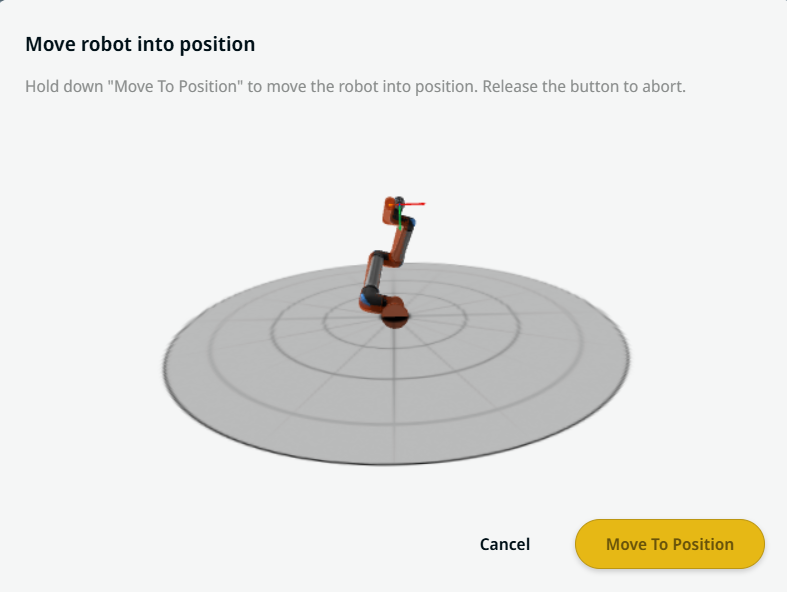
A Mozgatás ide gomb a Lineáris mozgás és az Ízület mozgatása parancsokban látható. A funkció lehetővé teszi, hogy a programfából közvetlenül egy útpont pozíciójába lépjen át. A Mozgatás ide gomb megnyomásával megnyílik a Robot mozgatása pozícióba párbeszédpanel. A gomb akkor látható, ha az útpont be lett tanítva, és csak akkor engedélyezett, ha a robot állapota Normál vagy Csökkentett módban van.
|
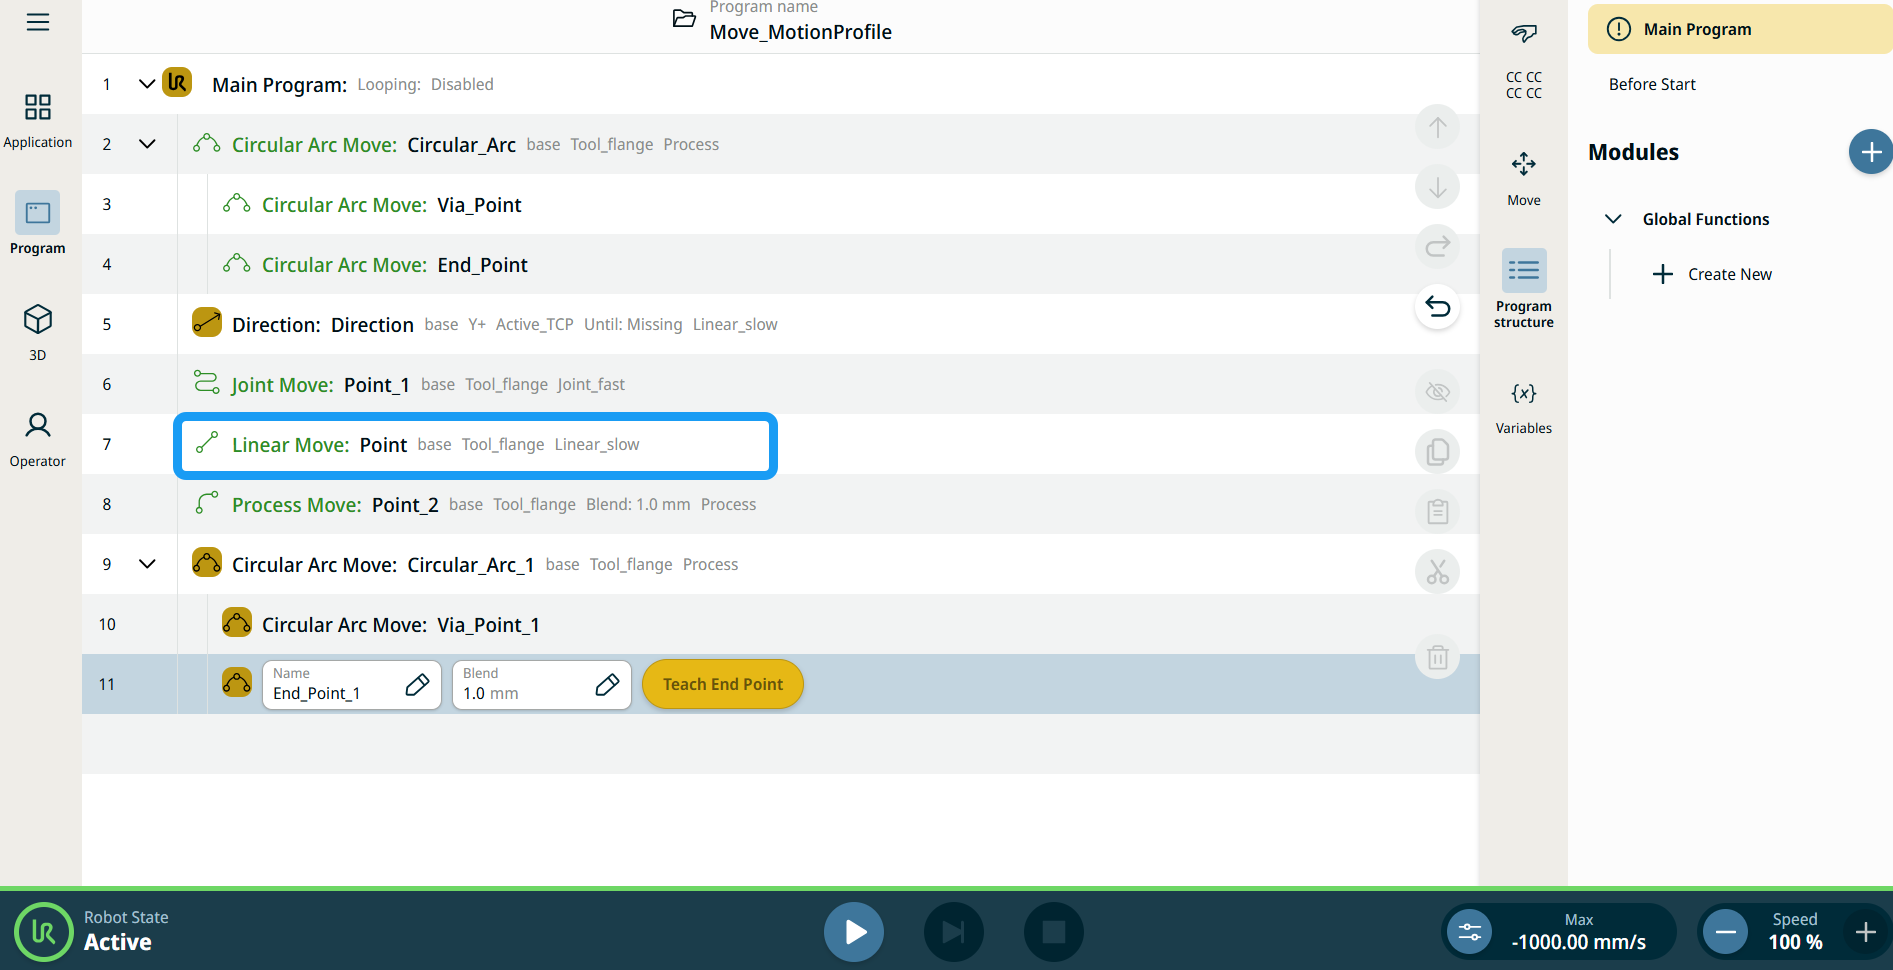
| Mozgásprofil címkék a mozgatási csomópontokon |
A programfa mozgással kapcsolatos parancs csomópontjai megjelenítik az egyes csomópontokhoz tartozó mozgásprofilt. A funkció lehetővé teszi, hogy a felhasználók megtekinthessék a kiválasztott mozgásprofilt egy Mozgatás csomóponton. A funkció a következő parancscsomópontokon működik: Az egyéni mozgásprofilú mozgáscsomópontok a Mozgásprofil helyett a sebesség és a gyorsulás értékeit jelenítik meg. |
|
|
|
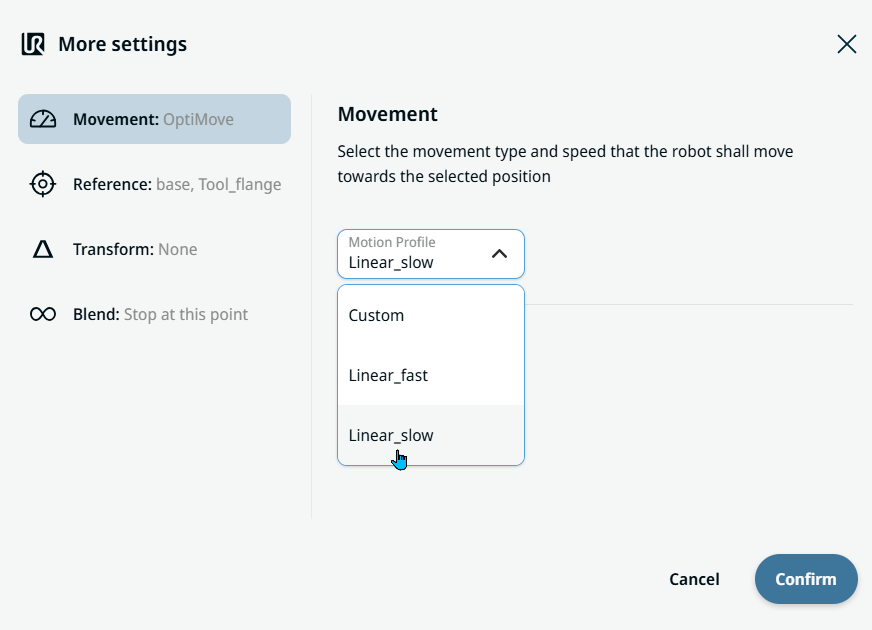
| Movement setting |
|
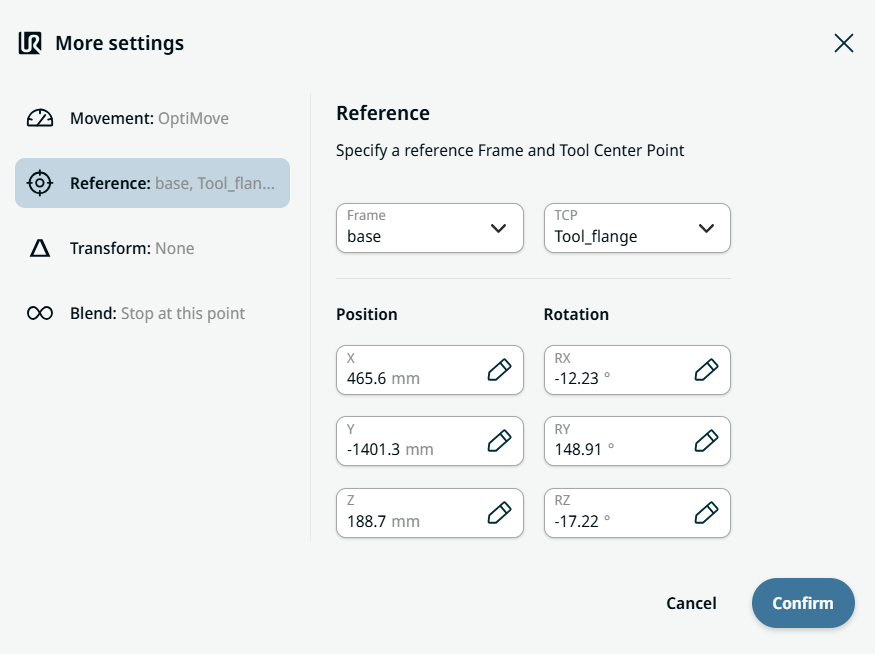
| Reference setting |
|
| Transform setting |
|
|
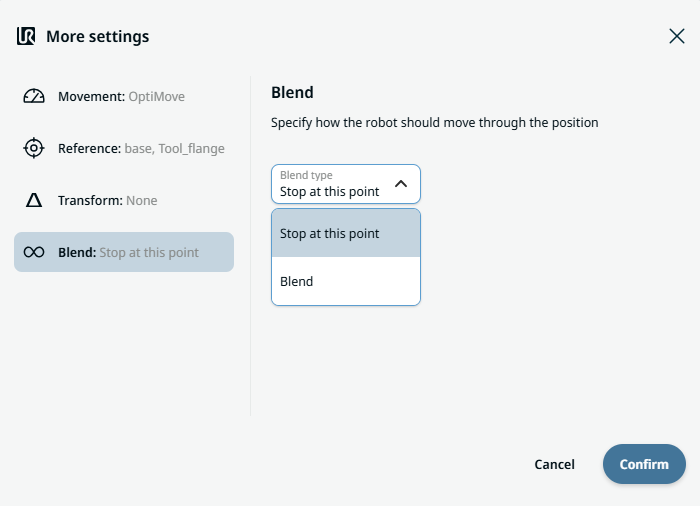
Blend setting |
|