Lineær bevægelse
| Beskrivelse |
The Linear Move command node supports Motions Profiles as Joint Move, but it creates a movement that is a direct line from point A and point B. It moves the Tool Center Point (TCP) linearly between waypoints. Det betyder, at hvert led udfører en mere kompliceret bevægelse for at holde værktøjet på en lige linje.
|
|
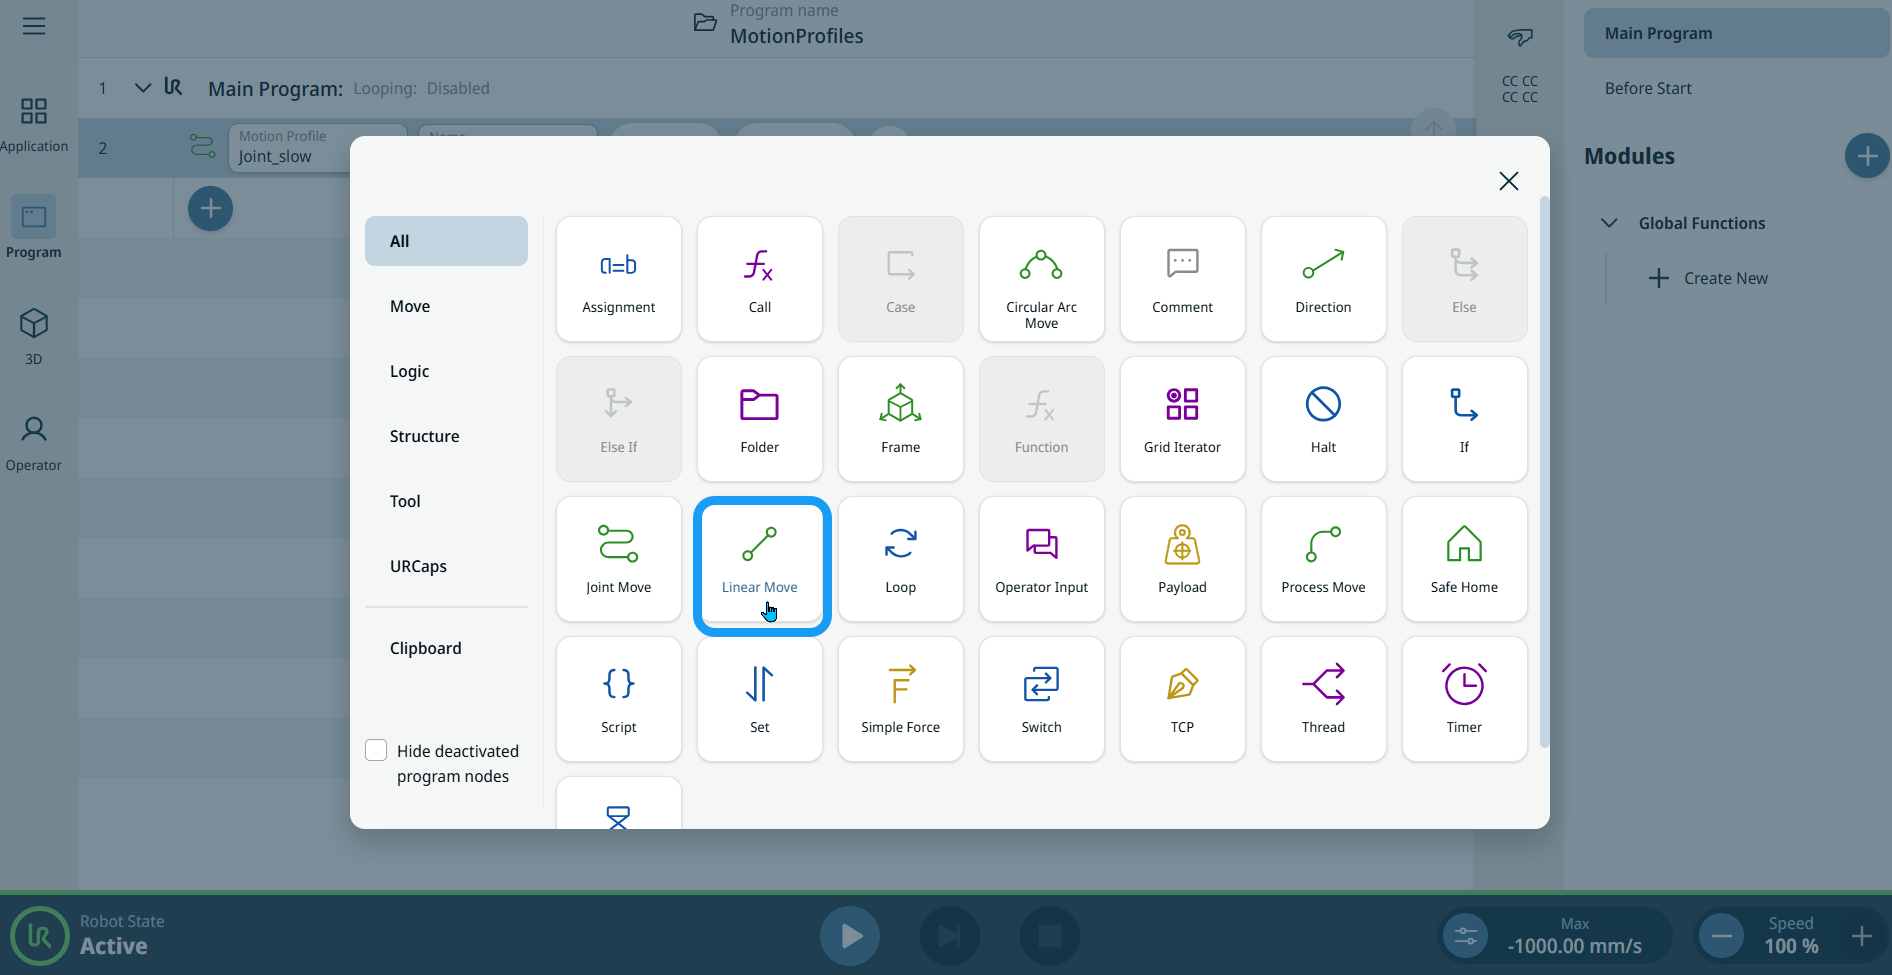
To access Linear Move command |
|
|
|
|
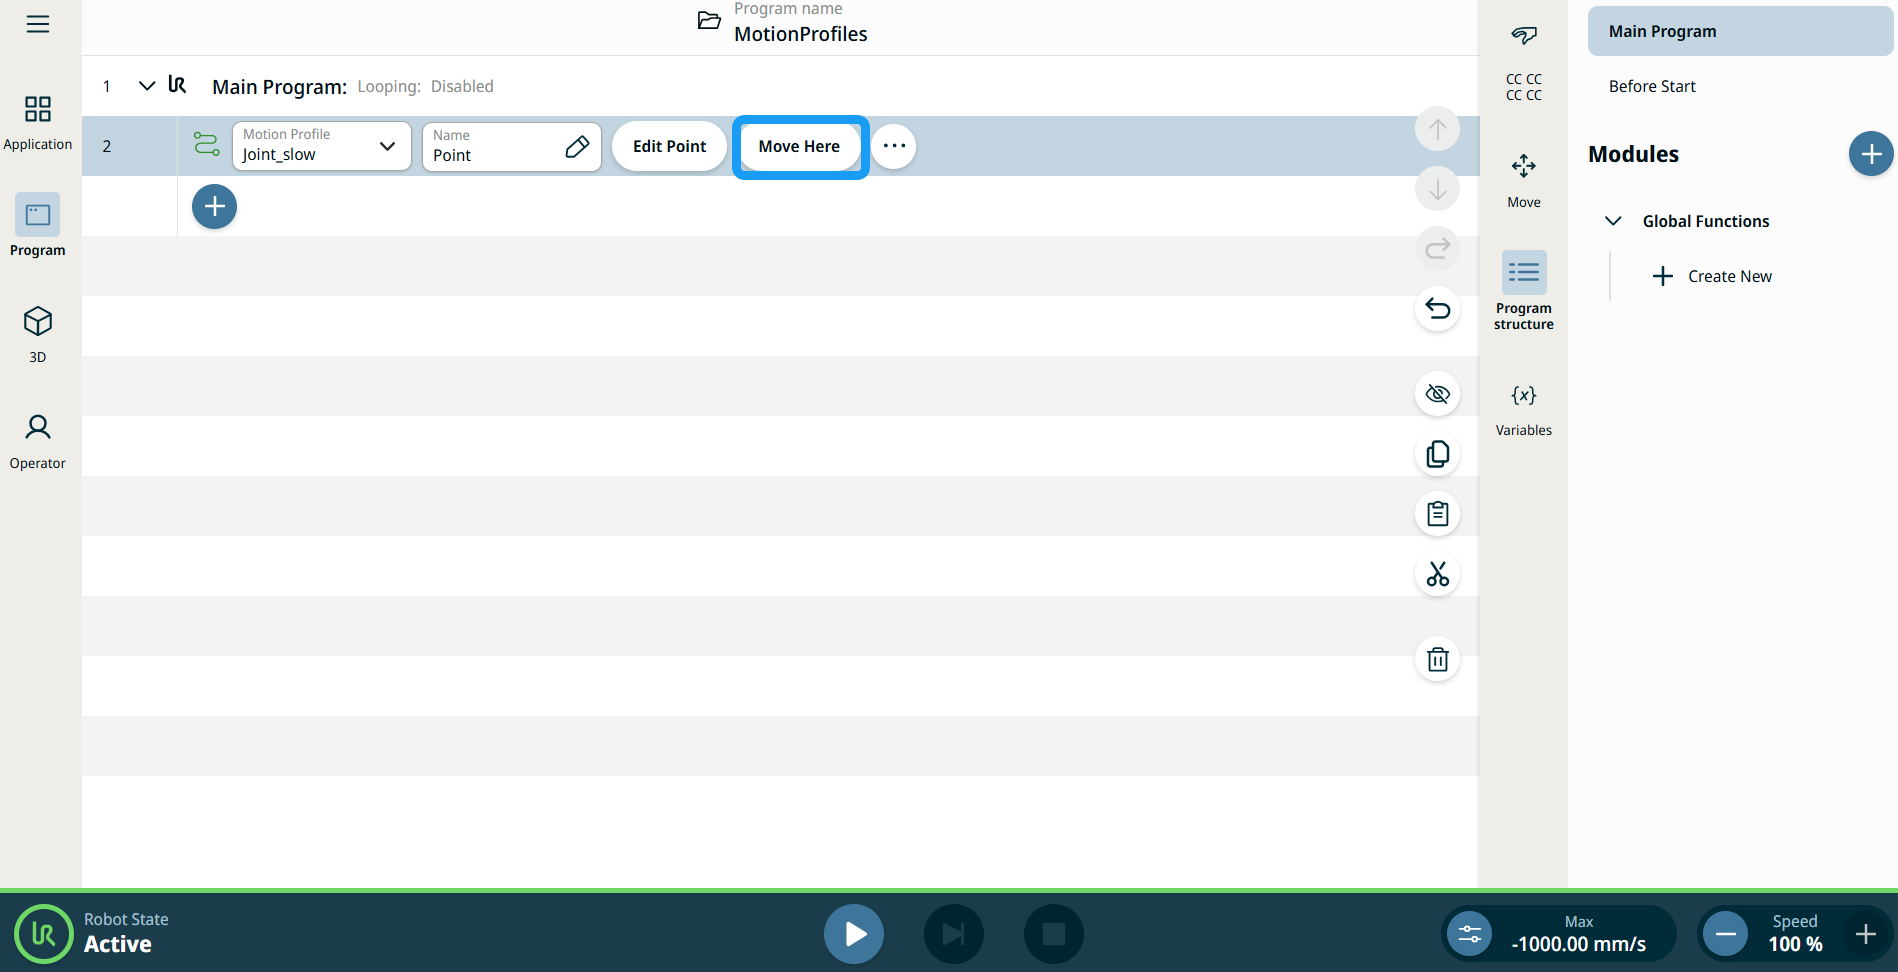
| Brug knappen Bevæg her |
Knappen Bevæg her ses i Lineær bevægelse og Ledbevægelse-kommandoer. Denne funktion giver dig mulighed for at flytte til positionen for et viapunkt direkte fra programtræet. Tryk på knappen Bevæg her åbner dialogen Bevæg robot i position. Knappen er synlig når viapunktet er blevet indlært og er kun aktiveret, når robottens status er i Normal eller Reduceret tilstand.
|

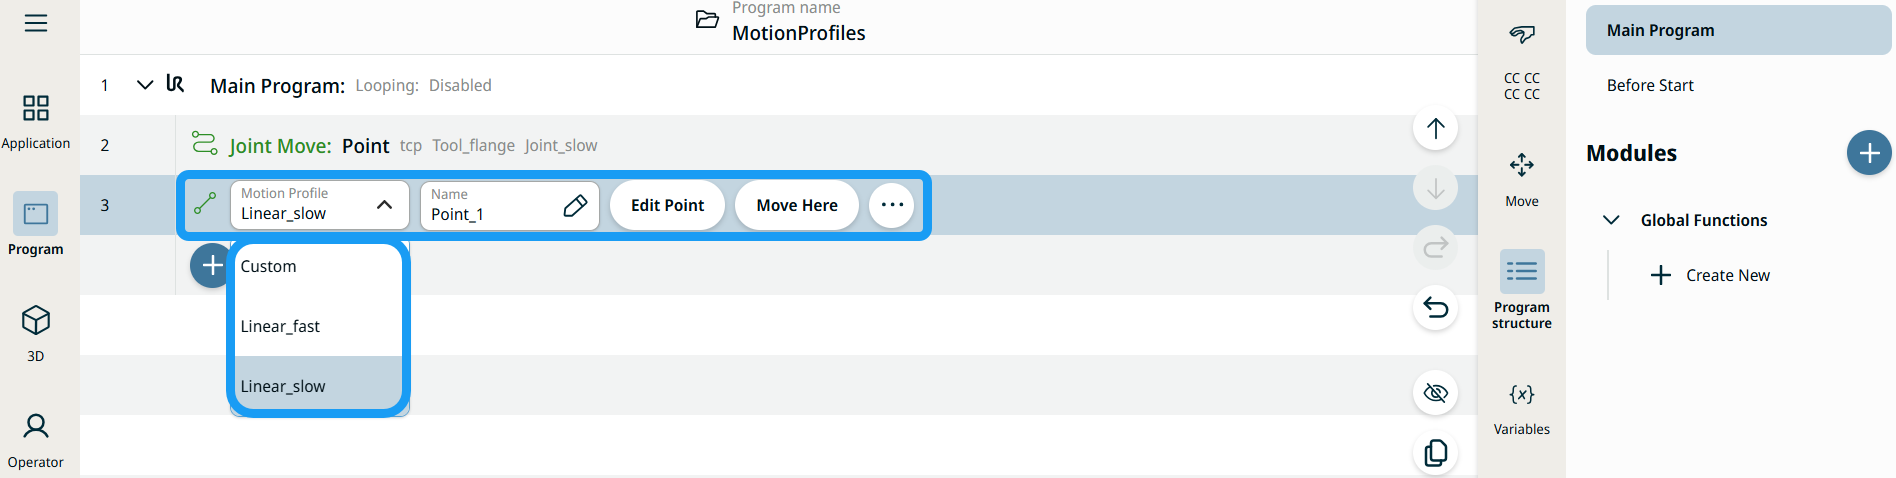
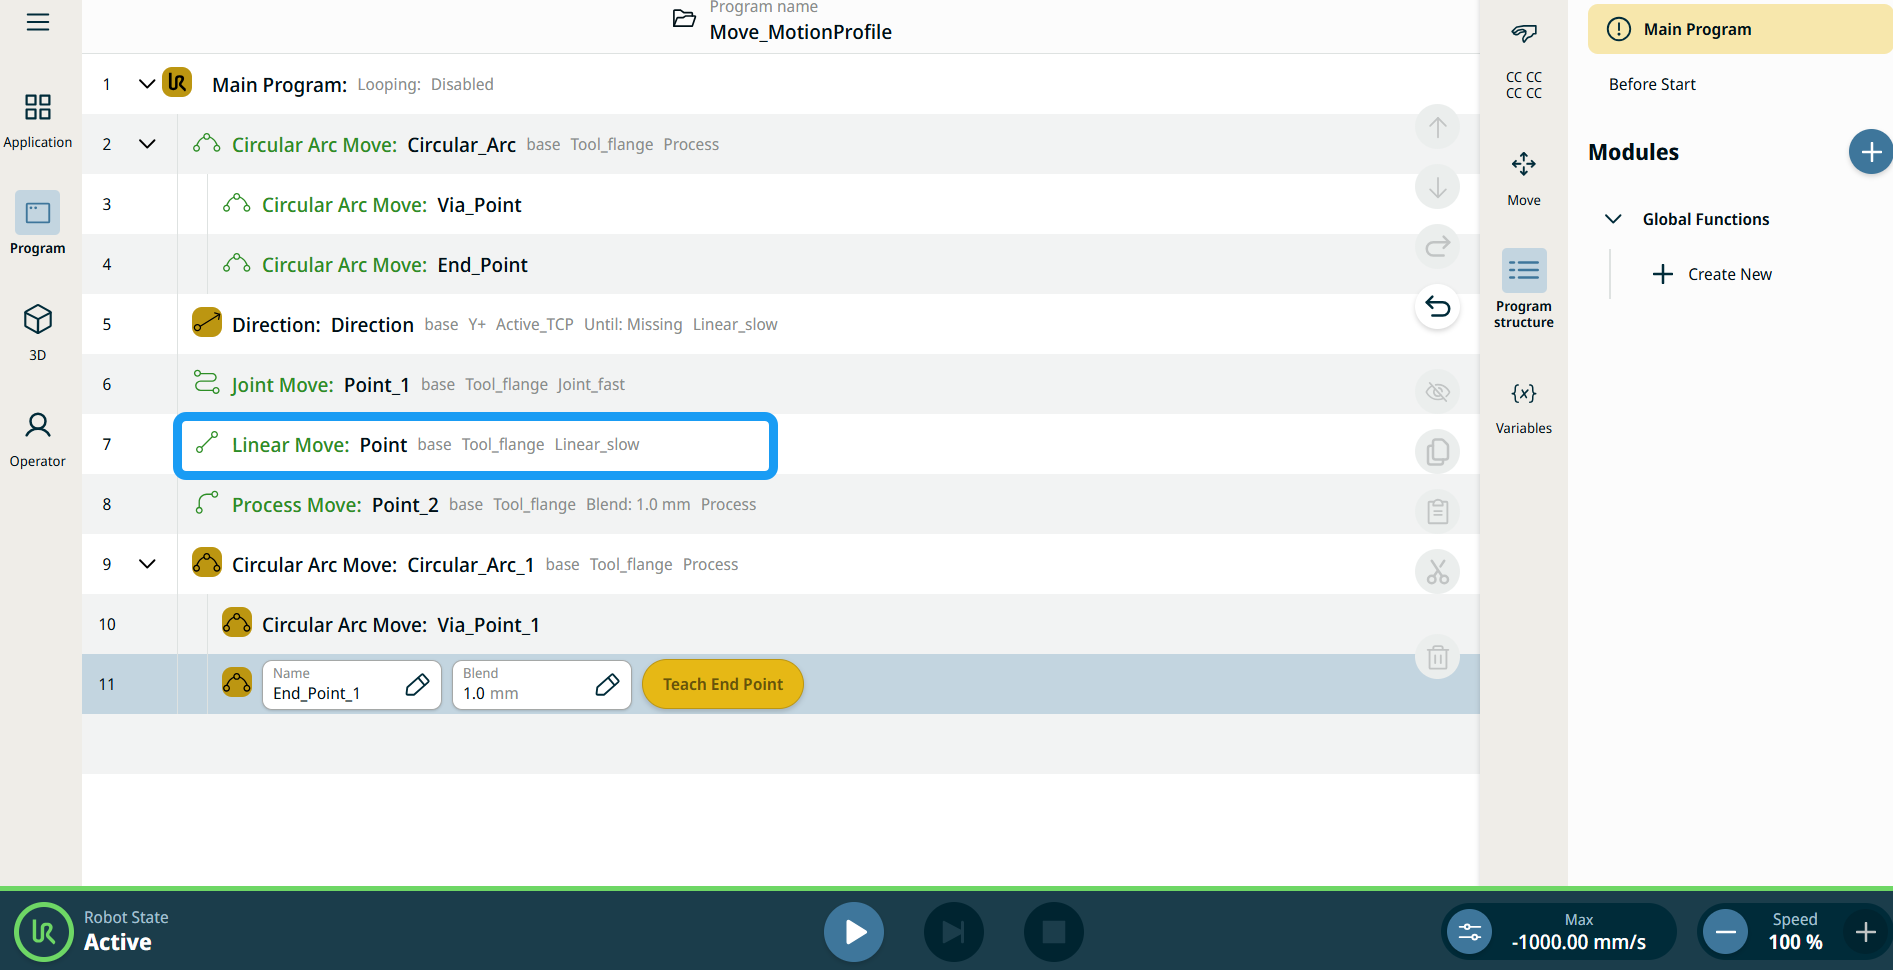
| Bevægelsesprofil-etiketter på Bevæg-knuder |
Alle Bevæg-relaterede kommandoknuder i programtræet viser den Bevægelsesprofil der er tilknyttet hver knude. Denne funktion giver brugerne mulighed for at se den valgte Bevægelsesprofil på en Bevæg-knude. Denne funktion implementeres på følgende kommando-knuder: Bevæg-knuder med brugerdefineret bevægelsesprofil vil vise værdierne for hastighed og acceleration i stedet for Bevægelsesprofil. |
|
|
|
| Movement setting |
|

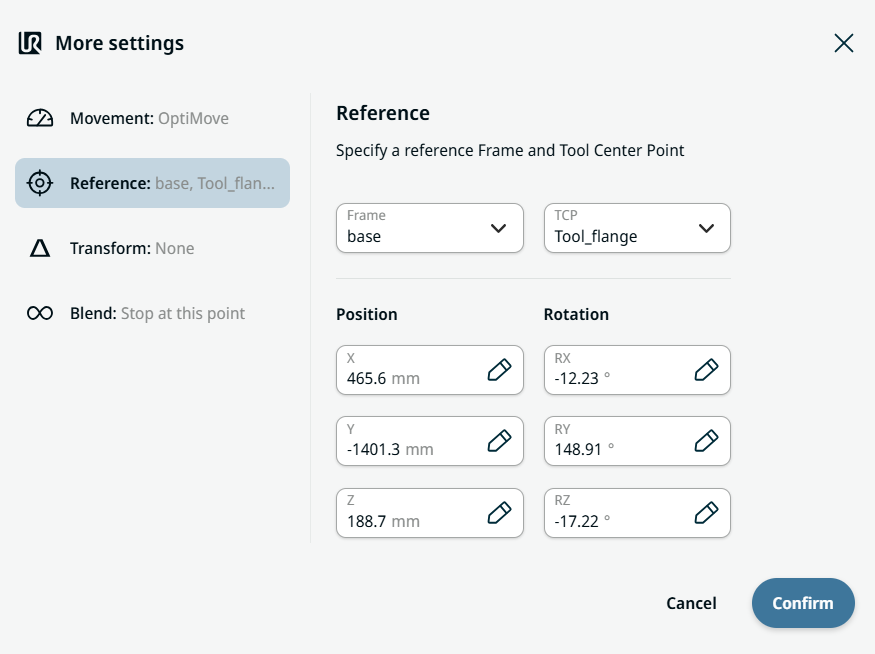
| Reference setting |
|
| Transform setting |
|
|
Blend setting |
|
