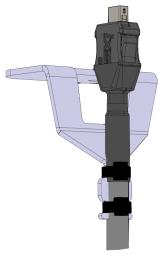
Replacing the Teach Pendant: 3PE TP

Description

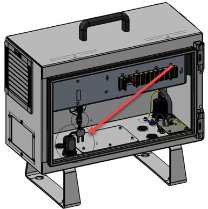
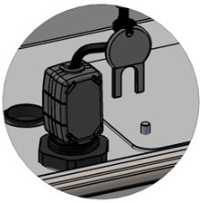
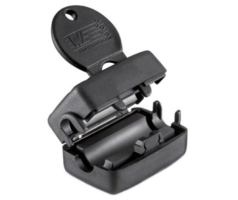
This section describes how to replace a Standard Teach Pendant with a 3PE Teach Pendant. For information on how to remove and replace a Standard Teach Pendant, see Replacing the Teach Pendant: Standard TP.

When the Teach Pendant is replaced, test the function of the 3PE buttons.

Replacing the Teach Pendant can result in the system reporting a fault on start-up.

  • Always select the correct configuration for the type of Teach Pendant.
To remove
  1. Power down the control box and disconnect the main power cable from the power source.

  2. If mounted, remove the ferrite core with snap lock from the teach pendant cable by cutting the cable ties of key.

  1. Insert the key into the ferrite core with snap lock to unlock it and remove it.

  1. Remove and discard the two cable ties used for mounting the Teach Pendant cables.

  2. Press in the clips on both sides of the Teach Pendant plug, as illustrated, and pull down to disconnect from the Teach Pendant port.

  3. Fully open/loosen the plastic grommet at the bottom of the Control Box and remove the Teach Pendant plug and cable.

  4. Gently remove the Teach Pendant cable and Teach Pendant.


To replace
  1. Place the 3PE Teach Pendant plug and cable in through the bottom of the control box and fully close/tighten the plastic grommet.

  2. Push the 3PE Teach Pendant plug into the Teach Pendant port to connect.

  3. Use two new cable ties to mount the 3PE Teach Pendant cables.

  4. Connect the main power cable to the power source and power on the Control Box.