Clamp Connection: Disassembly
Unsupported joints can fall, or be dropped, resulting in injury.
-
Support joints while clamps are being removed.
Failure to support the joint/s while clamps are removed can result in damage to equipment.
-
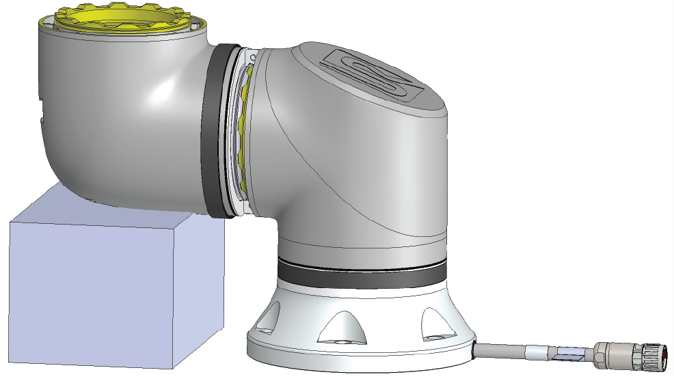
Prevent the joint/s from falling while removing the clamp/s by doing any of the following:
-
Use something to support underneath the part that is coming off.
-
Disassemble the joint while it is laying down.
-
Support with lifting equipment.
-
Failure to test the old joint before replacing it, can lead to damage to property and/or equipment.
-
Always perform a joint verification test before replacing a joint. See the Joint Verification section in the Service Manual for more information.
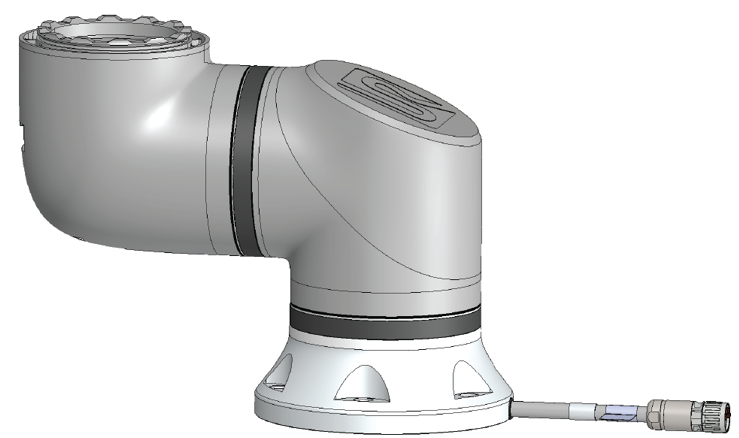
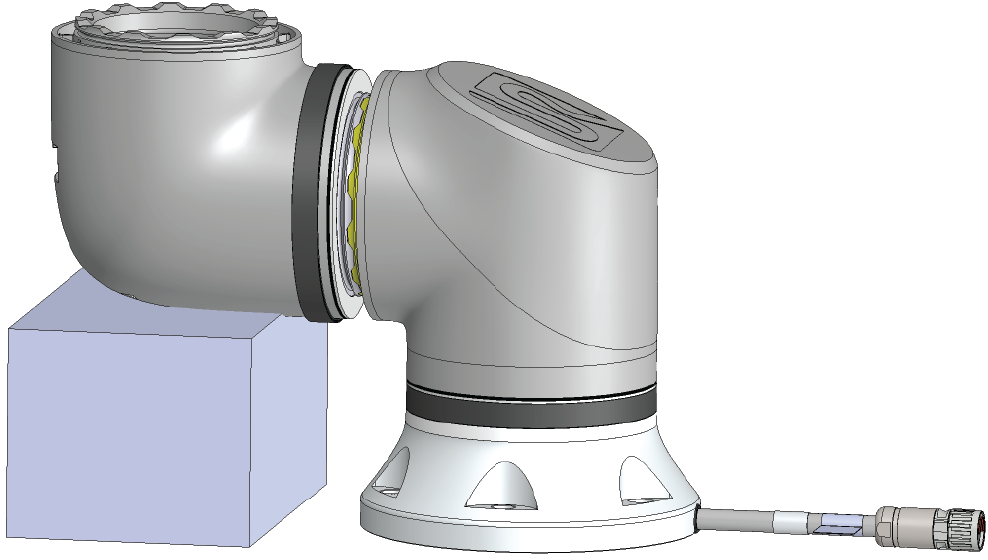
To disassemble:
- Attach the ESD wristband from the spare part package or tool kit to an electrical grounded surface.
- Remove the black flat-ring.
You can use a pair of pointy tweezers or a small flathead screwdriver.
|
1
3
|
2
4
|
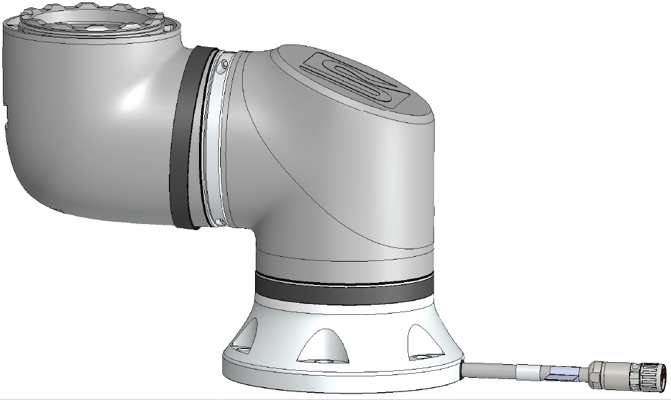
- Remove the screws and the clamp on one side.
|
|
|
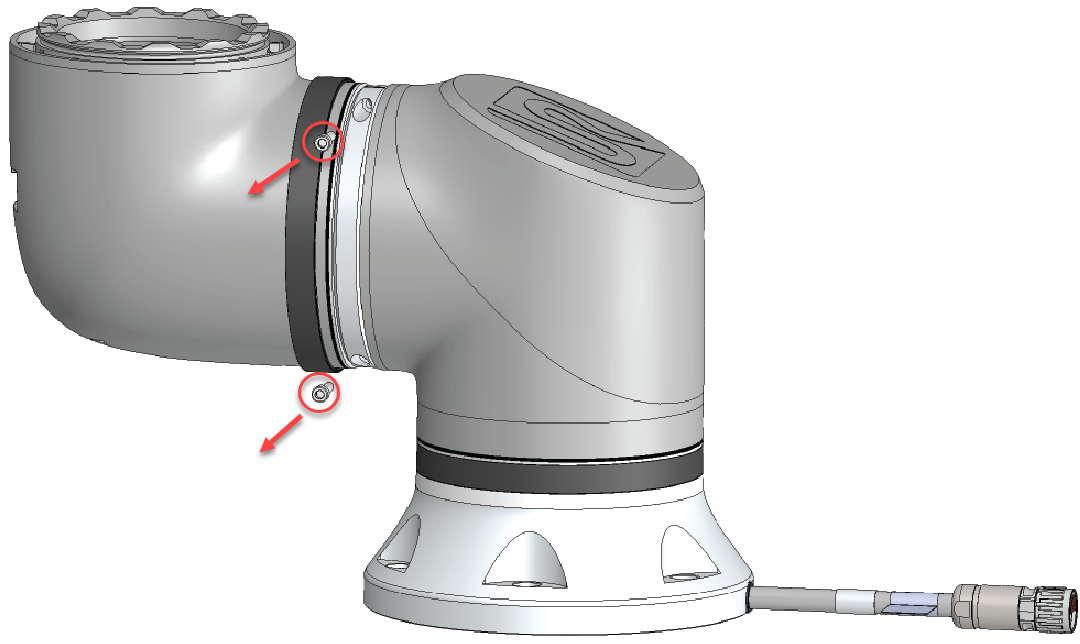
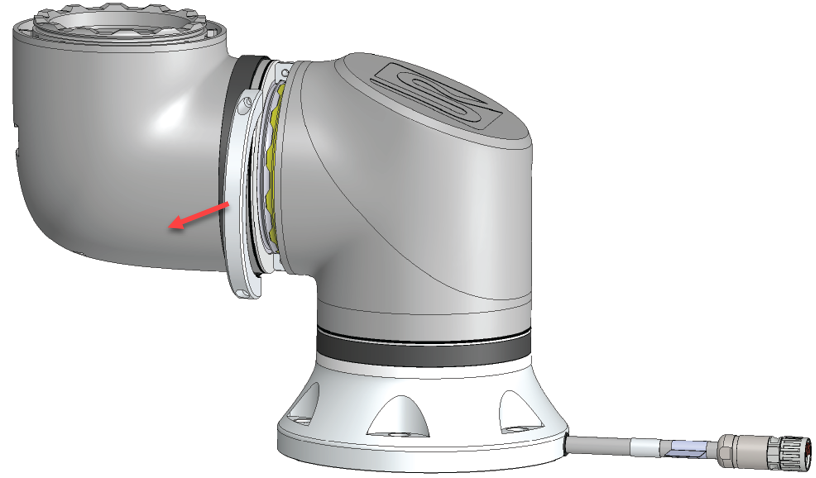
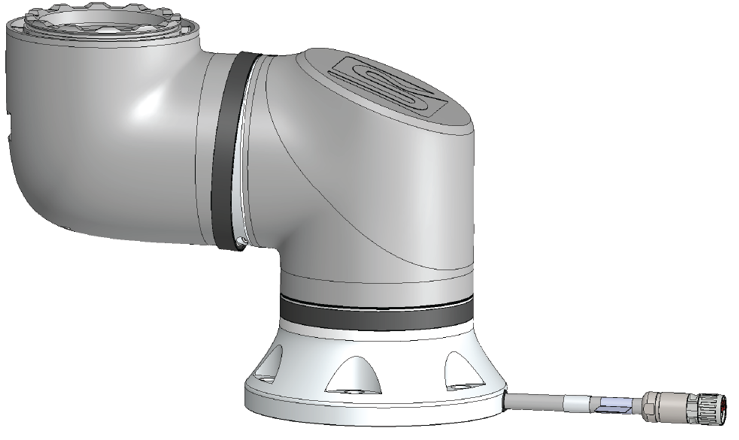
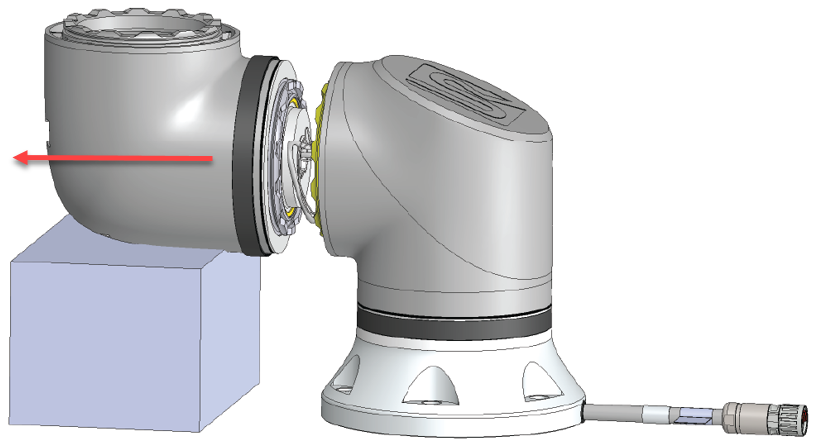
- Support the joint as you remove the second side of the clamp.
|
|
|
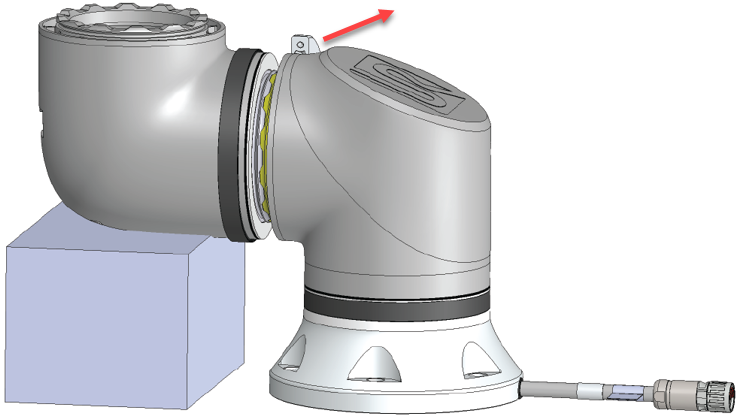
- The joint is now loose and can be removed.
|
|
|
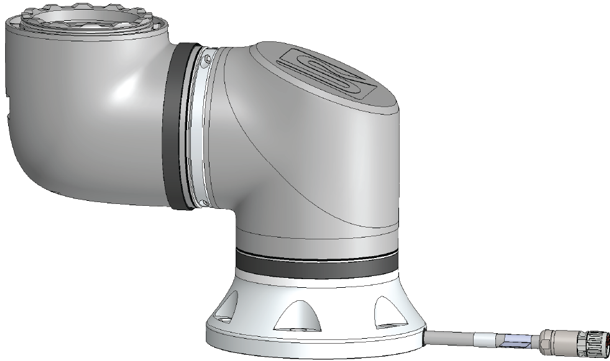
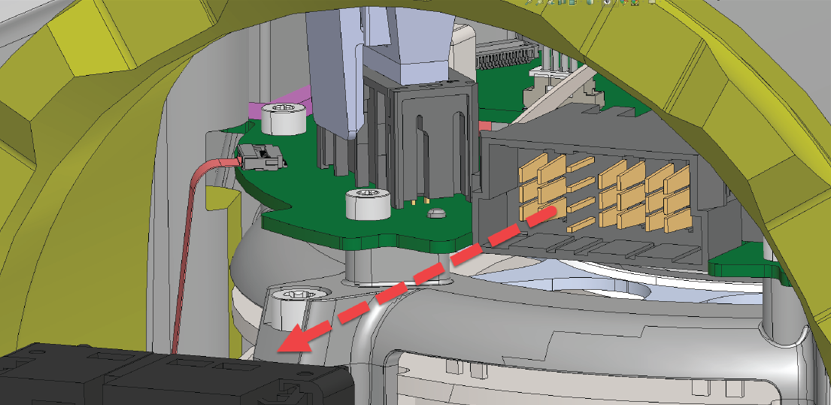
-
Gently unplug the connector from the PCB on joint.
|
|
|
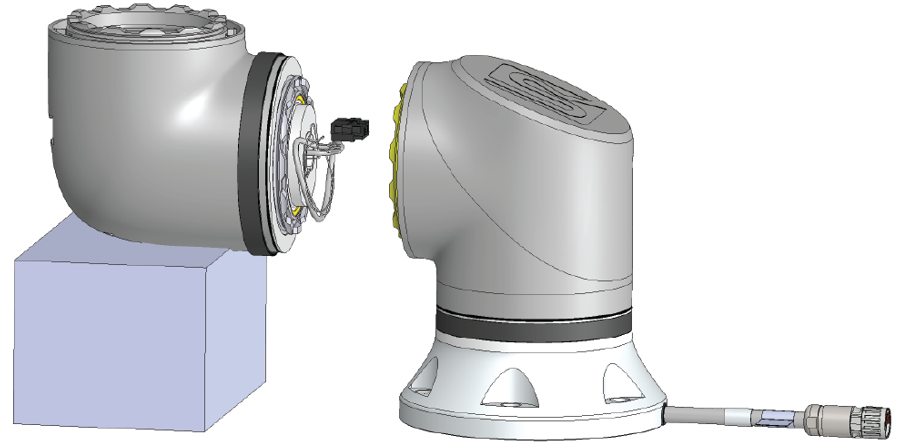
-
The joint has now been dismounted.