Move To
| Description |
The Move to command allows the robot to move from different points with various directions and movements.
|
| To access Move to program |
|
|
|
|


|
To use Edit Point field |
|

| To use Move |
|
|
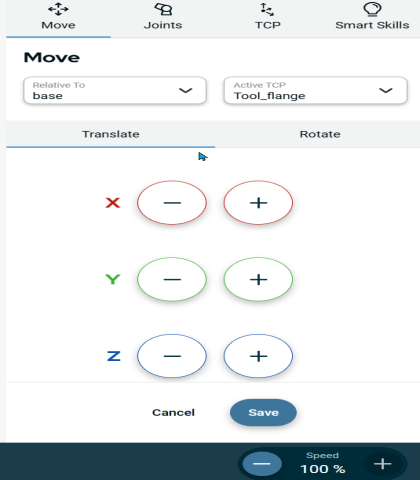
|
To use Joints |
|
|
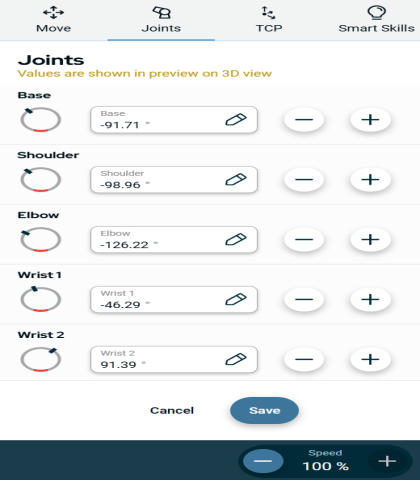
|
To use TCP |
|
|
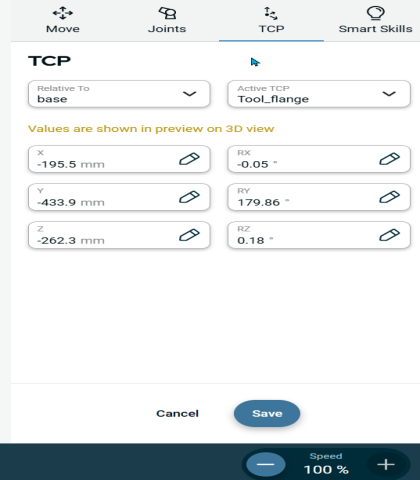
|
To use Smart Skills |
|
Six smart functionalities are given for you to move the robot:
|
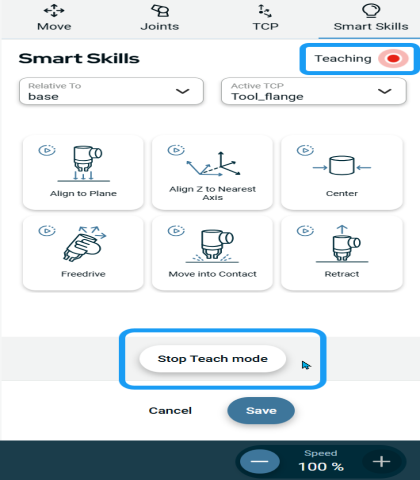
|
To use More option |
|
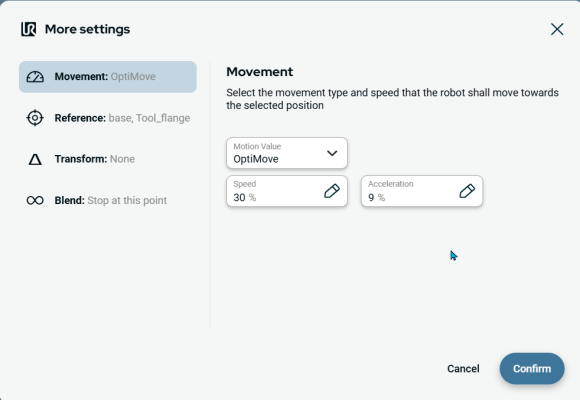
| To use Movement setting |
A self-definition of its function is given below its name.
|

| To use Reference setting |
A self-definition of its function is given below its name.
|

| To use Transform setting |
A self-definition of its function is given below its name.
|
| To use Blend setting |
A self-definition of its function is given below its name.
|
