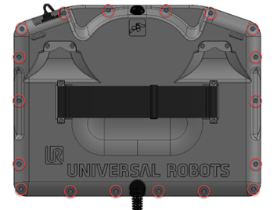
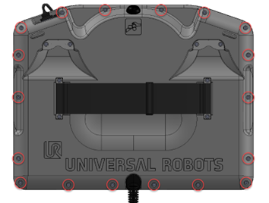
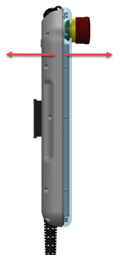
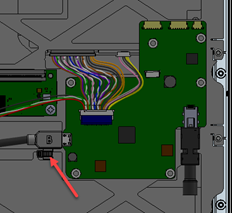
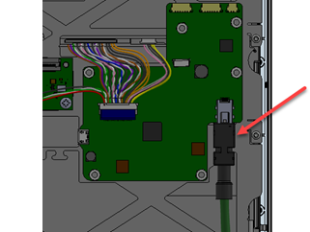
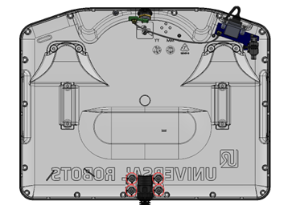
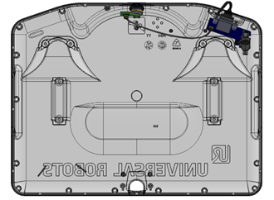
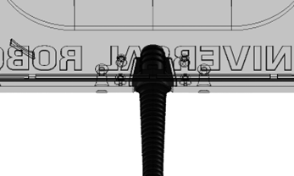
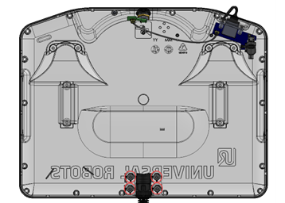
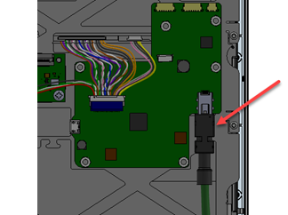
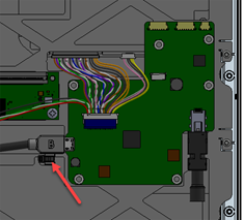
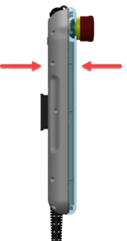
Replacement of Teach Pendant Cable

Use the teach pendant cable repair kit

The teach pendant cable can be replaced with a teach pendant cable repair kit.

Note: Read thoroughly the disclaimer in the kit before installing.

13-step process
  1. Turn the teach pendant around and place it screen down on a soft surface. Be careful not to damage the E-stop button.

  1. Remove the eighteen (18) bolts connecting the front frame to the back plate using a T8 torx screwdriver.

  1. Pull the front frame and back plate apart. This will, in some cases, require some force, but note that there is a cable connecting the two parts. Be careful that this cable or connectors do not get damaged.

 
  1. On the front frame, cut the cable tie and unplug the cable that connects the front frame and back plate.

  1. Unplug the teach pendant cable.

  1. On the back plate, remove the four bolts on the teach pendant cable bracket using a T8 torx screwdriver, and remove the bracket.


  1. Teach pendant cable can now be removed.

  1. Find the new teach pendant cable from the kit. Pull it through the hole of the back plate. Make sure that the rubber cable collar is mounted correctly at the hole.

  1. Mount the teach pendant cable bracket again and mount the four bolts with 0.3 Nm using a T8 torx screwdriver.

 
  1. On the front frame, reconnect the teach pendant cable on the PCB connector.

  1. Connect the cable between the front frame and back plate on the other PCB and mount the new cable tie from the kit.

  1. Connect the front frame and back plate again.

 
  1. Mount the eighteen (18) bolts connecting the front frame to the back plate with 0.3 Nm, using a T8 torx screwdriver.