3PE Teach Pendant Installation

Hardware Installation

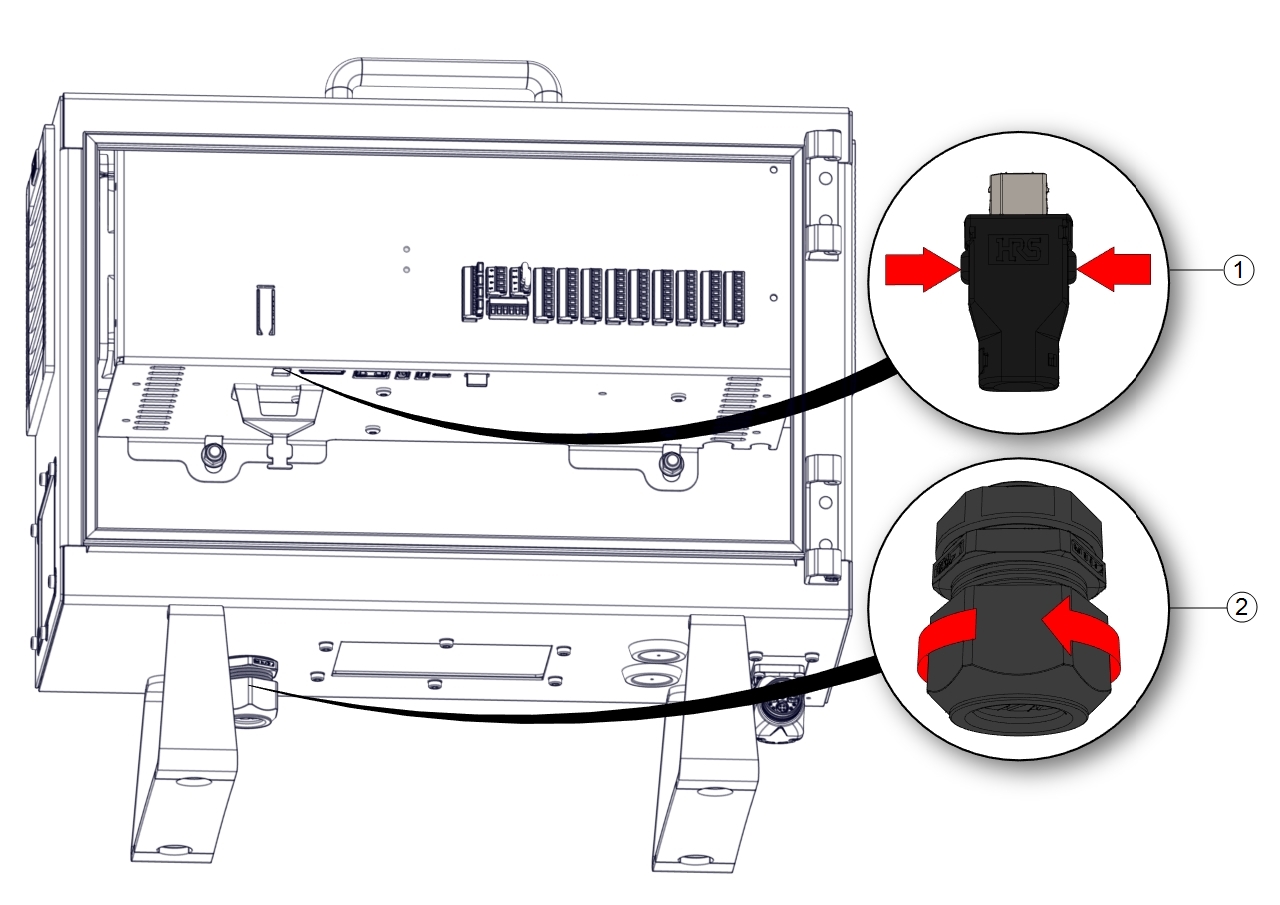
To remove a Teach Pendant

Replacing the Teach Pendant can result in the system reporting a fault on start-up.

  • Always select the correct configuration for the type of Teach Pendant.

To remove the standard Teach Pendant:

  1. Power down the control box and disconnect the main power cable from the power source.

  2. Remove and discard the two cable ties used for mounting the Teach Pendant cables.

  3. Press in the clips on both sides of the Teach Pendant plug as illustrated, and pull down to disconnect from the Teach Pendant port.

  4. Fully open/loosen the plastic grommet at the bottom of the control box and remove the Teach Pendant plug and cable.

  5. Gently remove the Teach Pendant cable and Teach Pendant.

  6. 1 Clips 2 Plastic grommet

1 Cable ties
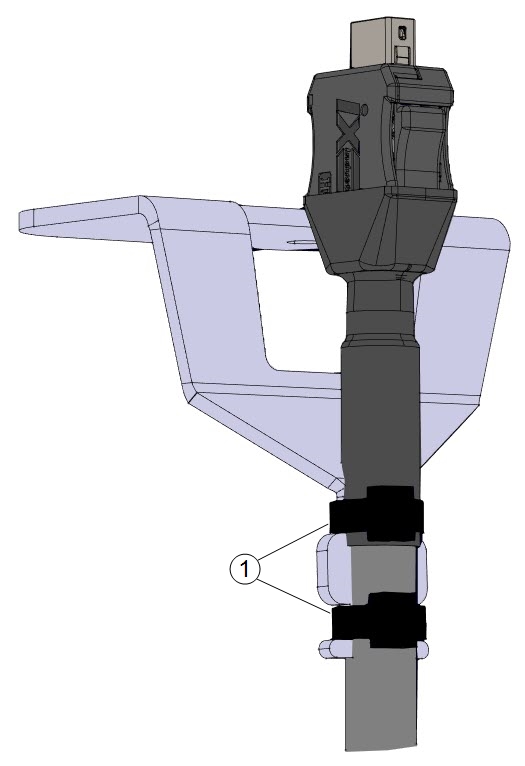
To install a 3PE Teach Pendant
  1. Place the Teach Pendant plug and cable in through the bottom of the control box and fully close/tighten the plastic grommet.

  2. Push the Teach Pendant plug into the Teach Pendant port to connect.

  3. Use two new cable ties to mount the Teach Pendant cables.

  4. Connect the main power cable to the power source and power on the control box.

There is always a length of cable with the Teach Pendant that can present a tripping hazard if it is not stored properly.

  • Always store the Teach Pendant and the cable properly to avoid tripping hazards.


New Software Installation
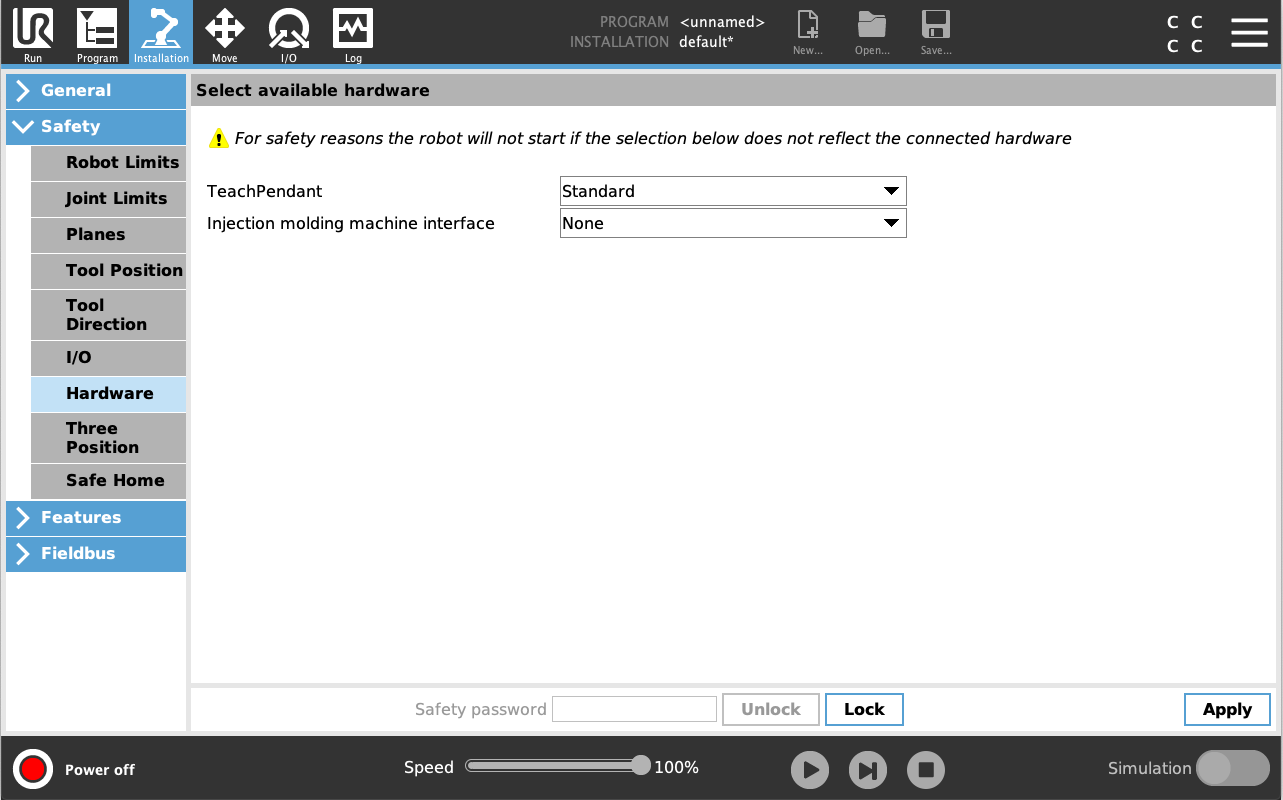
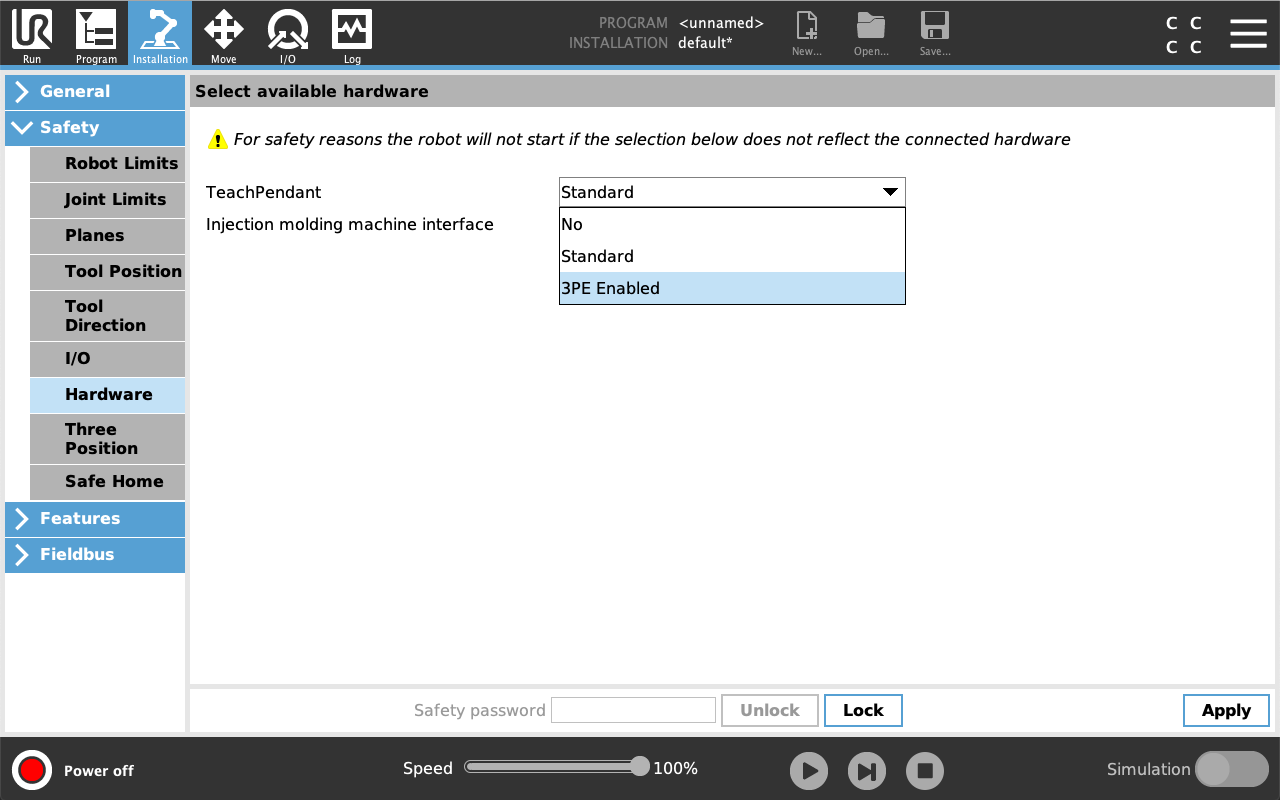
To configure the
3PE TP software

  1. On PolyScope, in the Header, tap Installation and select Safety.

  2. Tap Hardware and unlock the options on the Select available hardware screen.

    A password is required to unlock this screen.

  3. In the Teach Pendant drop-down list, select 3PE Enabled.

  4. Tap Apply to restart the system. PolyScope continues to run.

  5. Tap Confirm Safety Configuration to complete the 3PE Teach Pendant software installation.

  6. As the robot restarts and initializes, light-press the 3PE button and tap Start on PolyScope.