General Guidance to Separate Joint from Counterpart

Separating joint from counterpart
Before replacing any components inside the control box, it is important to completely shut it down first. Follow the first three steps in Complete Rebooting Sequence
Exercise caution when handling ESD-sensitive parts. See section 2:

Disassemble

  1. Before repairing the robot, make sure the necessary tools are available:
    • service tools with torque tools
    • ESD wristband
    • etc.

If you must disassemble the robot arm, you will need:

    • new flat rings

    • wear rings

    • M3 and M4 tap tool ("roll tap" or "forming tap") for threads

    • pre-coated screws or Loctite

Before continuing, read the complete guide in this manual.
  1. Move the robot to an appropriate position for disassembly.
  2. Shut down the control box and remove the main power.
  3. If necessary, dismount the entire robot arm from the work cell and place it on a solid surface.
  4. Remove screws and the blue lid.

A picture containing map, text

Description generated with high confidence

A close up of a logo

Description generated with high confidence

 
  1. Reattach one of the screws on one of the standoffs and mount the alligator clip on your ESD wristband, as shown below.

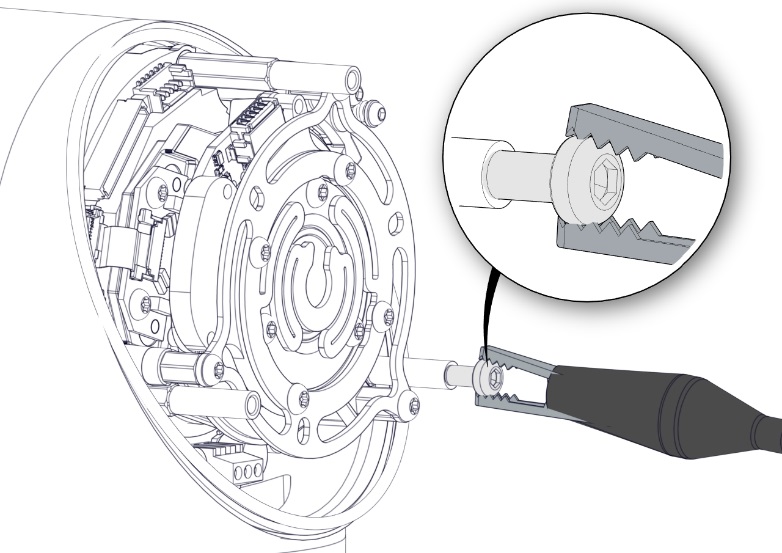
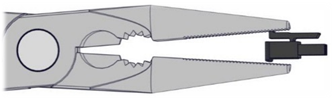
Some connectors have a lock that must be engaged before it is pulled out of the PCB.
  1. Gently unplug the cable connectors without bending the PCB.