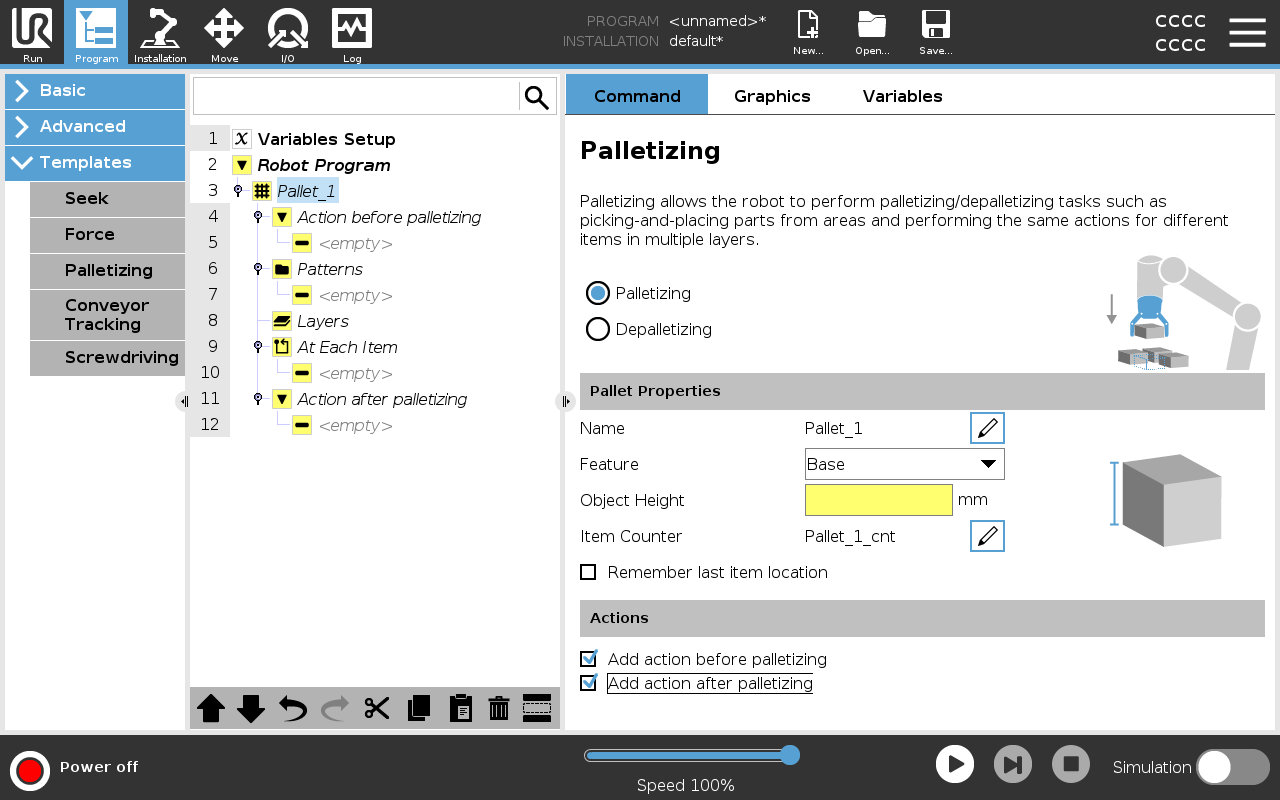
Palletizing

Description

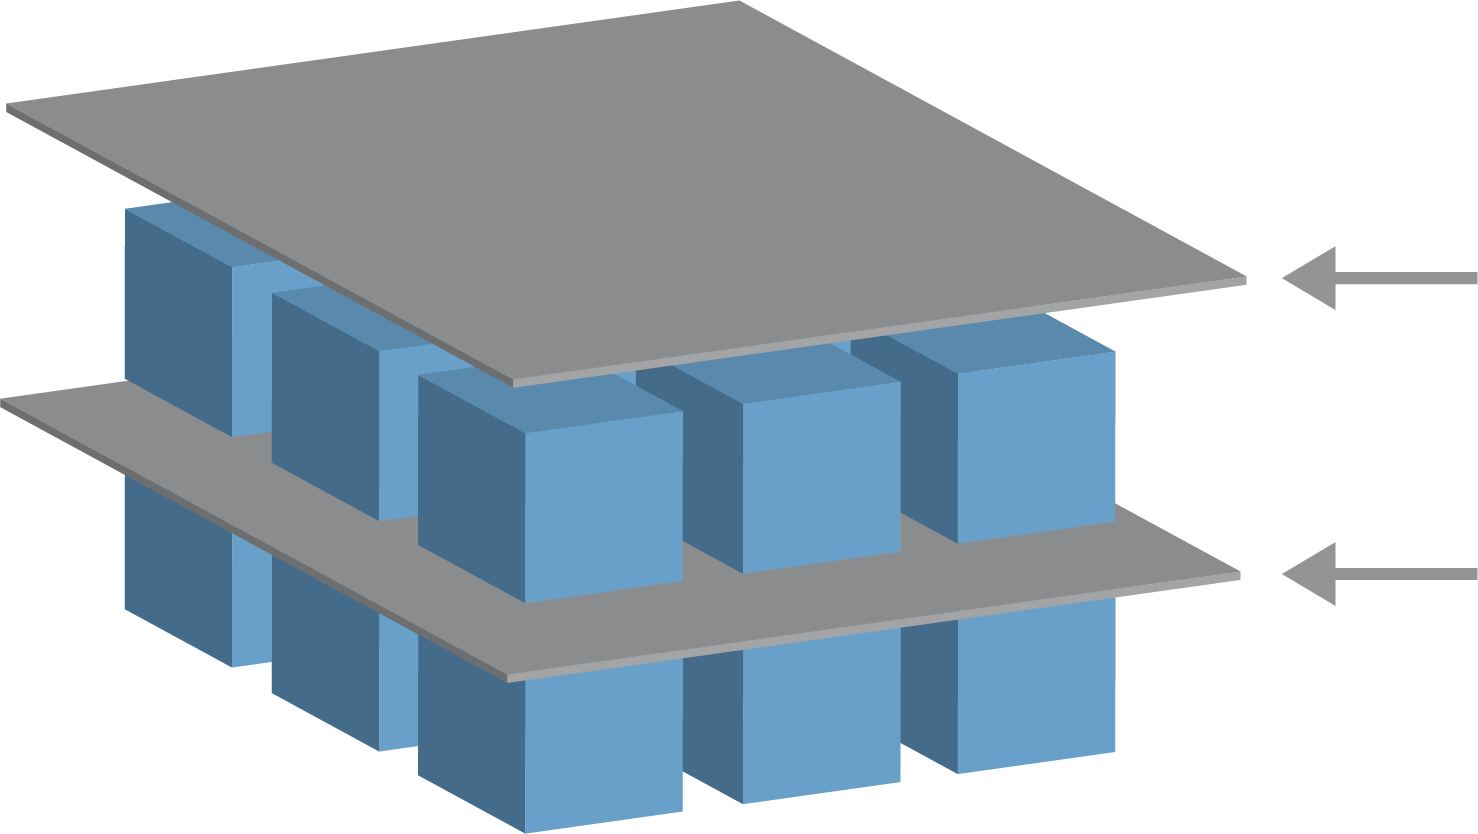
Palletizing is a template to easily program palletizing and depalletizing tasks, picking-and-placing parts (i.e., from trays, fixtures, etc.), and having the robot perform repeatable actions for different items in multiple layers with different patterns.

You can create different patterns and apply them to specific layers. You can also place a separator between each layer (see ).

Furthermore, you can use Features from Pallet Properties to easily adjust the placement of your pallet.

To learn about Features, see

Follow the Creating a Palletizing Program section below to use the Palletizing template.


Creating a Palletizing Program
  1. Decide if you want to teach a Feature (see ) or use a Base as a reference plane.

  2. In the Program Tab, under Templates, tap Palletizing.

  3. On the Palletizing screen, select one of the following actions depending on the desired action.

    1. Select Palletizing to organize items onto a pallet.

    2. Select Depalletizing to remove items from a pallet.

  4. Under Pallet Properties, specify the Name, Feature (see Step 1), Object Height, and Item Counter name for your program. Select the Remember last item location box if you want the robot to restart at the item it was handling when it stopped.

  5. On the Palletizing screen, under Actions, add additional actions to be performed before or after palletizing sequence by selecting the following:

    1. Add Action Before Palletizing: These actions are performed before starting to palletize.

    2. Add Action After Palletizing: These actions are performed after finishing palletizing.

  6. On the Program Tree, tap the Patterns node to designate patterns for your layers. You can create the following type of patterns: Line, Grid, or Irregular (see figure below). On this screen, you can select if you want to include a separator between layers (see ).

  7. Tap the pattern node(s) on the Program Tree to teach the robot layer-specific positions (e.g., start/end points, grid corners, and/or number of items). See for teaching instructions. All positions must be taught at the bottom of the pallet. To duplicate a pattern, tap the Duplicate pattern button on the Pattern node screen that you wish to duplicate.

  8. In the Program Tree, tap the Layers node to configure the layers of your palletizing sequence. Use the Choose Pattern drop-down menu to select the pattern for each layer. Tap the Add layer button to add additional layers to your program. Layers must be added in the correct order, as they cannot be reordered later.


Creating a Palletizing Program
  1. In the Program Tree, tap At Each Item node. Choose to use the default option (A) At Each Item Wizard, or (B) Manually Configure At Each Item. Instructions for each option are below.


At Each Item Wizard

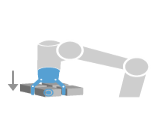
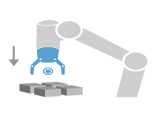
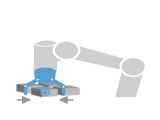
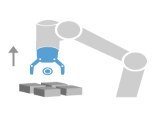
The At Each Item Wizard assists in defining the actions performed at each item on a pallet, such as the ReferencePoint, the Approach Waypoint, ToolActionPoint Waypoint, and Exit Waypoint (described in the table below). The Approach and Exit Waypoints for each item remains in the same orientation and direction regardless of the different items’ orientation.


  1. Tap the At Each Item node on the Program Tree.

  2. On the At Each Item screen, tap Next.

  3. Tap the Move Here button. Then, hold the Auto button or use the Manual button to move the robot to the ReferencePoint. Tap the Continue button. Tap Next.

  4. Tap Set Waypoint to teach the Approach Waypoint (see ). Tap Next.

  5. Repeat Step 3.

  6. Tap Set Waypoint to teach the Exit Waypoint (see ). Tap Next.

  7. Tap Finish.

  8. You can now add appropriate gripper action nodes in the Tool Action folder in the Program Tree.


Manual Configuration
  1. Tap the At Each Item node on the Program Tree.

  2. On the At Each Item start screen, tap Manual Configuration.

  3. Use the drop-down menus to select a Pattern and a ReferencePoint item. Tap the Use this ReferencePoint button to set the ReferencePoint.

  4. Move the robot to the ReferencePoint by tapping Move Here.

  5. Tap the Approach node in the Program Tree to teach the robot the Approach Waypoint (see ). The Approach Waypoint remains in the same orientation and direction regardless of the different items’ orientation.

  6. Tap the At Each Item node in the Program Tree. Repeat Step 4.

  7. Tap the Exit node in the Program Tree to teach the robot the Exit Waypoint (see ).

  8. You can now add appropriate gripper action nodes in the Tool Action folder in the Program Tree.


Adding a Separator Between Layers in a Palletizing Sequence

Separators, such as paper or Styrofoam, can be placed between layers in a palletizing sequence. To add separators between layers, follow the instructions below:

  1. On the Program Tree, select the Patterns node.

  2. On the Patterns screen, select Separator and define the height using the Separator Height text box. If the height is not defined, the program will not run.

  3. Select Layers in the Program Tree. On the Layers screen, select which layers you want the separators to go between (separators are automatically placed between each layer).

  4. Tap the Separator node in the Program Tree. Tap Set Separator to teach the Separator Position.

  5. Choose between using the default option (A) Separator Wizard, or (B) Manually Configure the Separator sequence. Instructions for each option are below.

When the wizard is complete, or if you cancel the wizard, a template appears in the Program Tree under Separator Action. In addition to the Tool Action folder under the Separator Action node, you can select one of the following folders:

  • Pick Up Separator to program the robot to pick up separators for palletizing

  • Drop Off Separator to drop off separators for depalletizing


(A) Separator Wizard
  1. Tap the Separator Action node on the Program Tree.

  2. On the Separator Action screen, tap Next.

  3. Tap the Move Here button and hold the Auto button or use the Manual button to move the robot to the Separator Point. Tap the Continue button. Tap Next.

  4. Tap Set Waypoint to teach the Approach Waypoint (see ). Tap Next.

  5. Repeat Step 3.

  6. Tap Set Waypoint to teach the Exit Waypoint (see ). Tap Next.

  7. Tap Finish.

  8. You can now add appropriate action nodes in the Pick Up Separator, Drop Off Separator, and Tool Action folders in the Program Tree.

(B) Manual Configuration
  1. Tap the Separator Action node on the Program Tree.

  2. On the Separator Action start screen, tap Manual Configuration.

  3. Move the robot to the Separator Point by tapping Move to Separator Point.

  4. Tap the Approach node in the Program Tree to teach the robot the Approach Waypoint (see ).

  5. Tap the Separator Action node in the Program Tree. Repeat Step 3.

  6. Tap the Exit node in the Program Tree to teach the robot the Exit Waypoint (see ).

  7. You can now add appropriate action nodes in the Pick Up Separator, Drop Off Separator, and Tool Action folders in the Program Tree.


Options to Customize A Palletizing Program

You can customize your palletizing program in the following ways:

  • If your pallet needs to be adjusted or re-positioned after you have created a palletizing program, you only need to re-teach the pallet Feature (see ) because the palletizing sequence is fixed relative to the Feature. Thus, all other program components automatically adjust to the newly taught position.

  • You can edit the properties of the move commands (see ).

  • You can change the speeds and blends radii (see ).

  • You can add other program nodes to the At Each Item sequence or the Separator Action sequence.


Positions
   
Line

To teach the positions, select each item in the Program Tree:

  • StartItem1

  • EndItem1

Insert the number of items in your sequence using the Items text box at the bottom of the screen.

Grid

To teach the positions, select each item in the Program Tree:

  • CornerItem1

  • CornerItem2

  • CornerItem3

  • CornerItem4

Insert the number of rows and columns in the appropriate text boxes to set the dimensions of the pattern.

Irregular

To teach the positions, select each item in the Program Tree:

  • Item1

  • Item2

  • Item3

Tap Add Item to add and identify a new item in the sequence.

Actions
   
Tool Action Point The location and position you want the robot to be in when conducting an action for each item in a layer. The ToolActionPoint Waypoint is the ReferencePoint by default, but it can be edited in the Program Tree by tapping the ToolActionPoint Waypoint node. When using the wizard, the ReferencePoint is the first position in the first defined layer on the pallet. The ReferencePoint is used to teach the robot the Approach Waypoint, ToolActionPoint Waypoint, and Exit Waypoint for each item in a layer.
Approach The collision-free position and direction you want the robot to take when approaching an item in a layer.
Tool Action

The action you want the robot attachment to perform for each item.

Exit Waypoint The position and direction you want the robot to take when moving away from an item in a layer.