Clamp Connection: Assembly

Description

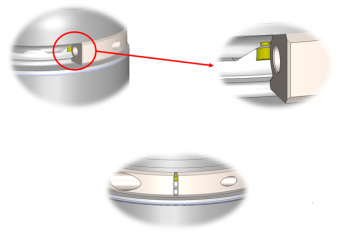
You can now reassemble the clamp connection with the new joint in reverse of the disassembly. However, be aware of the following before you start reassembling the clamp connection.

Failure to replace the black flat ring can lower the IP classification and cause damage to property and/or equipment.

  • Always replace the flat ring with a new one to maintain the IP classification.
    The dots must be aligned otherwise the connection cannot be made.

Failure to test the new joint after replacement can lead to damage to property and/or equipment.

  • Always perform a joint replacement test before using a new joint. See the Joint Verification section in the Service Manual for more information.

  • Joints should be assembled in a vertical position to ensure proper mating between the joints.


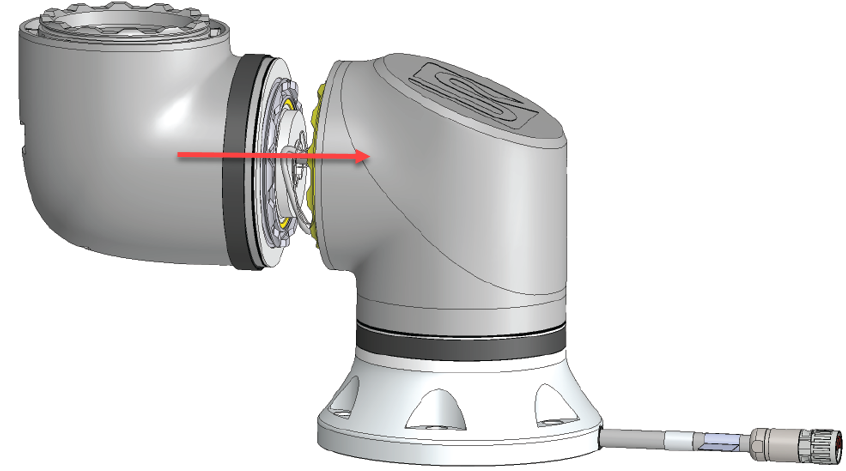
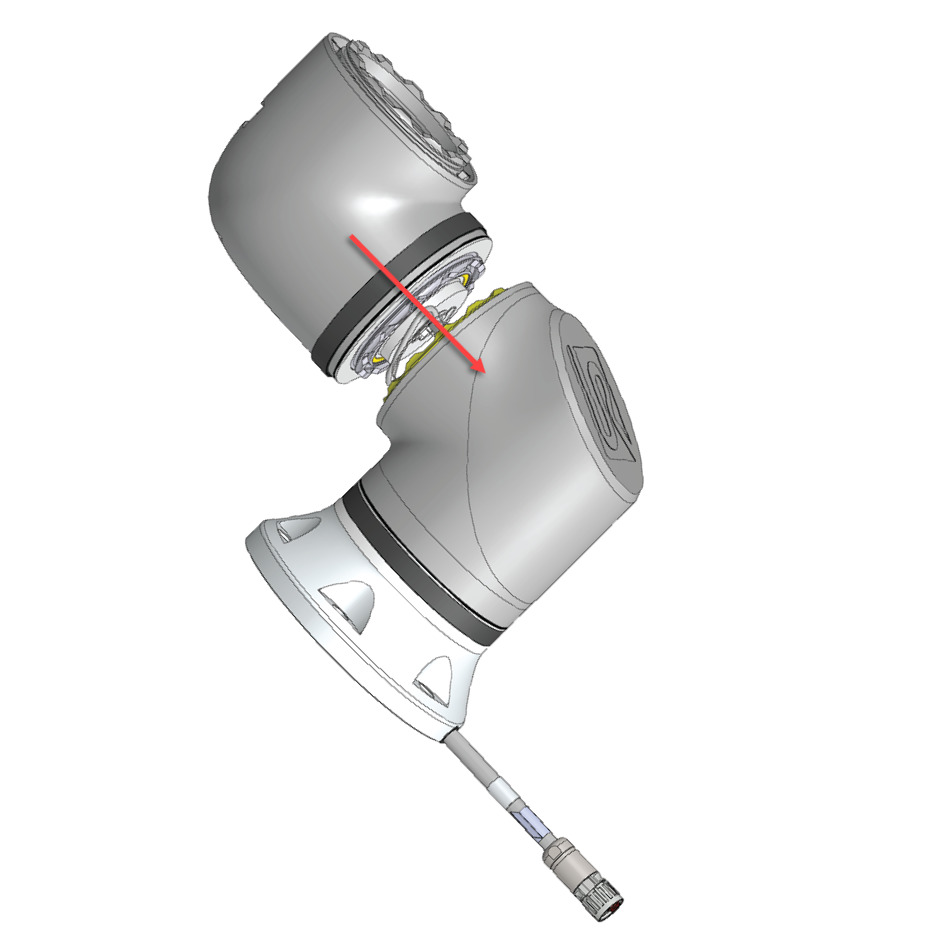
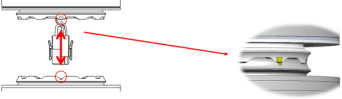
Improper connection between the joints can lead to damage to property and/or equipment

  • Assemble the joints in a vertical position to ensure proper connection.

  • Ensure that the index marks are vertically aligned.

  • The clamps must be assembled at the index marks as illustrated below.


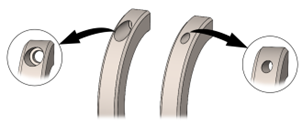
Ensure the screws are inserted in the correct clamp.

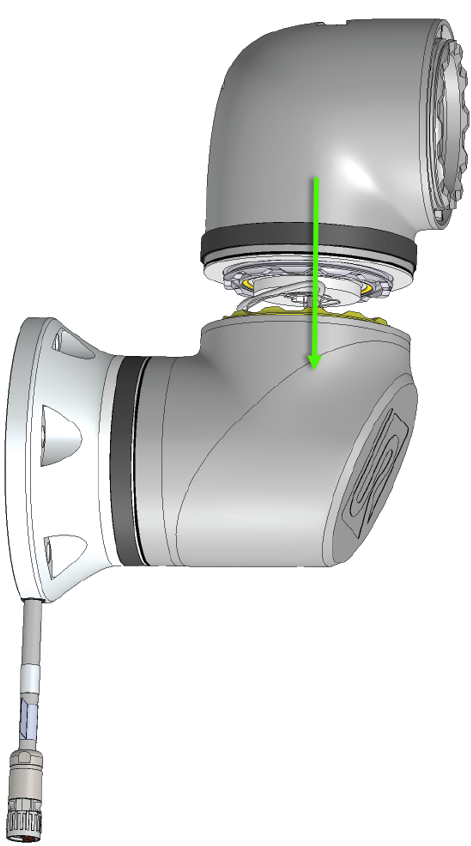
When tightening the clamp must be done in steps. Do not exceed recommended torque.

To assemble:

  1. Tighten the bolt at one side so there is a 2 mm gap between the clamp ends.

  2. Tighten the bolt at the other side with half the specified moment.

  3. Tighten the bolt from step 1 with full moment.

  4. Tighten the bolt from step 2 with full moment.

  5. Ensure same gap at both ends.