Assembly Clamp Connection
| Description |
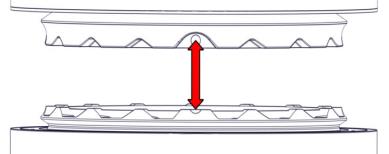
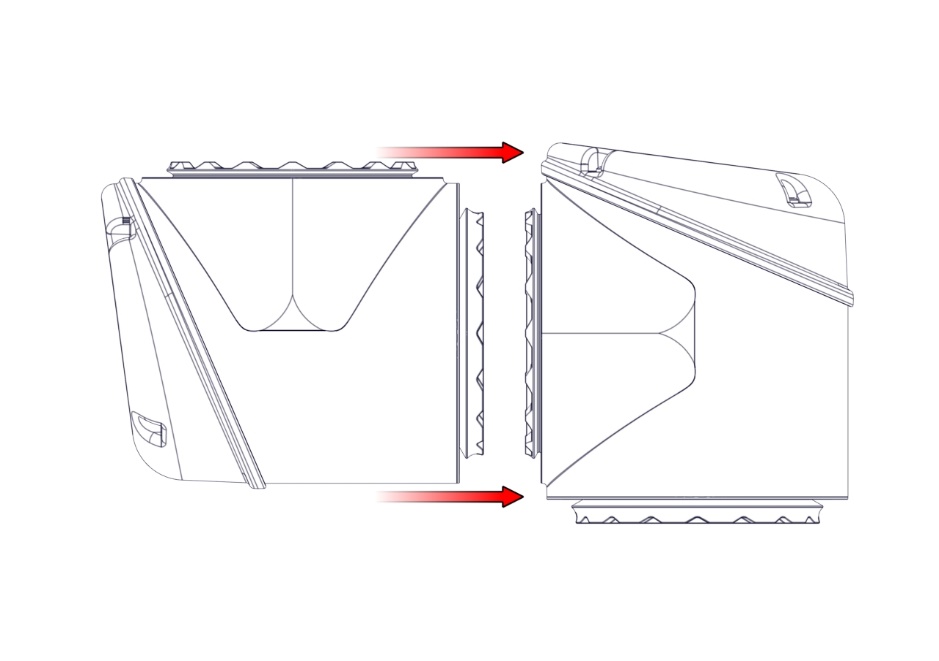
The assembly is done in reverse of the disassembly. However, a few things must be noted before assembly is begun. Always replace the black flexible flat ring with a new one to maintain the IP classification.
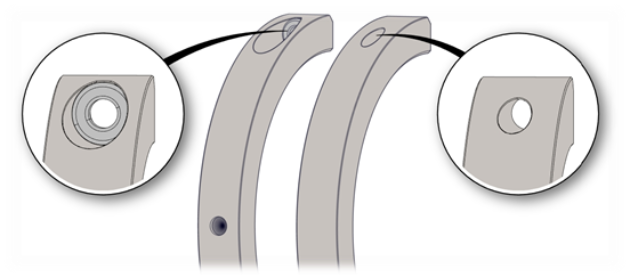
Replace the foam seal on the clamps if damaged to maintain the IP classification. Replace the wear rings if extensive wear or damage is shown. The dots must be aligned otherwise the connection cannot be made.
|


|
|
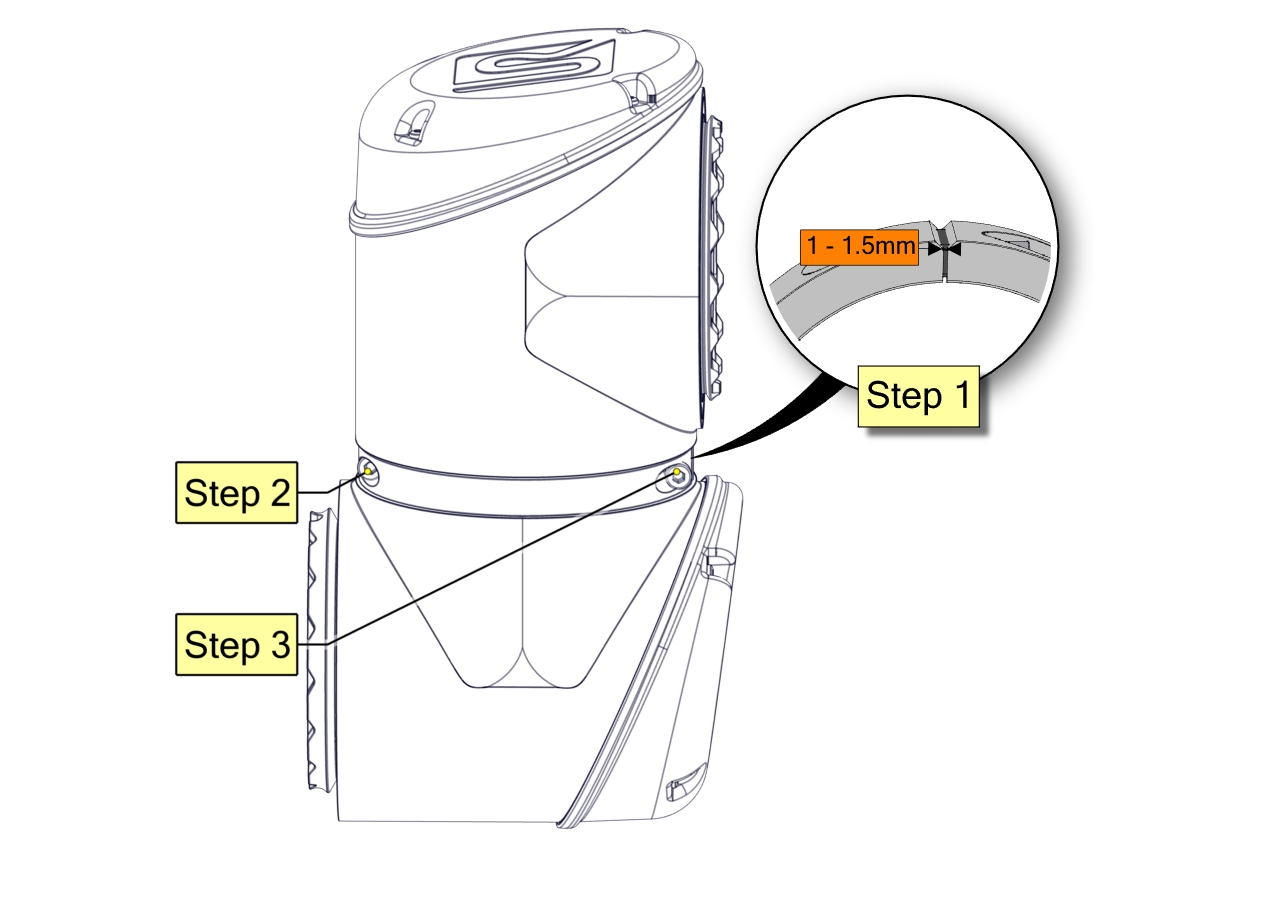
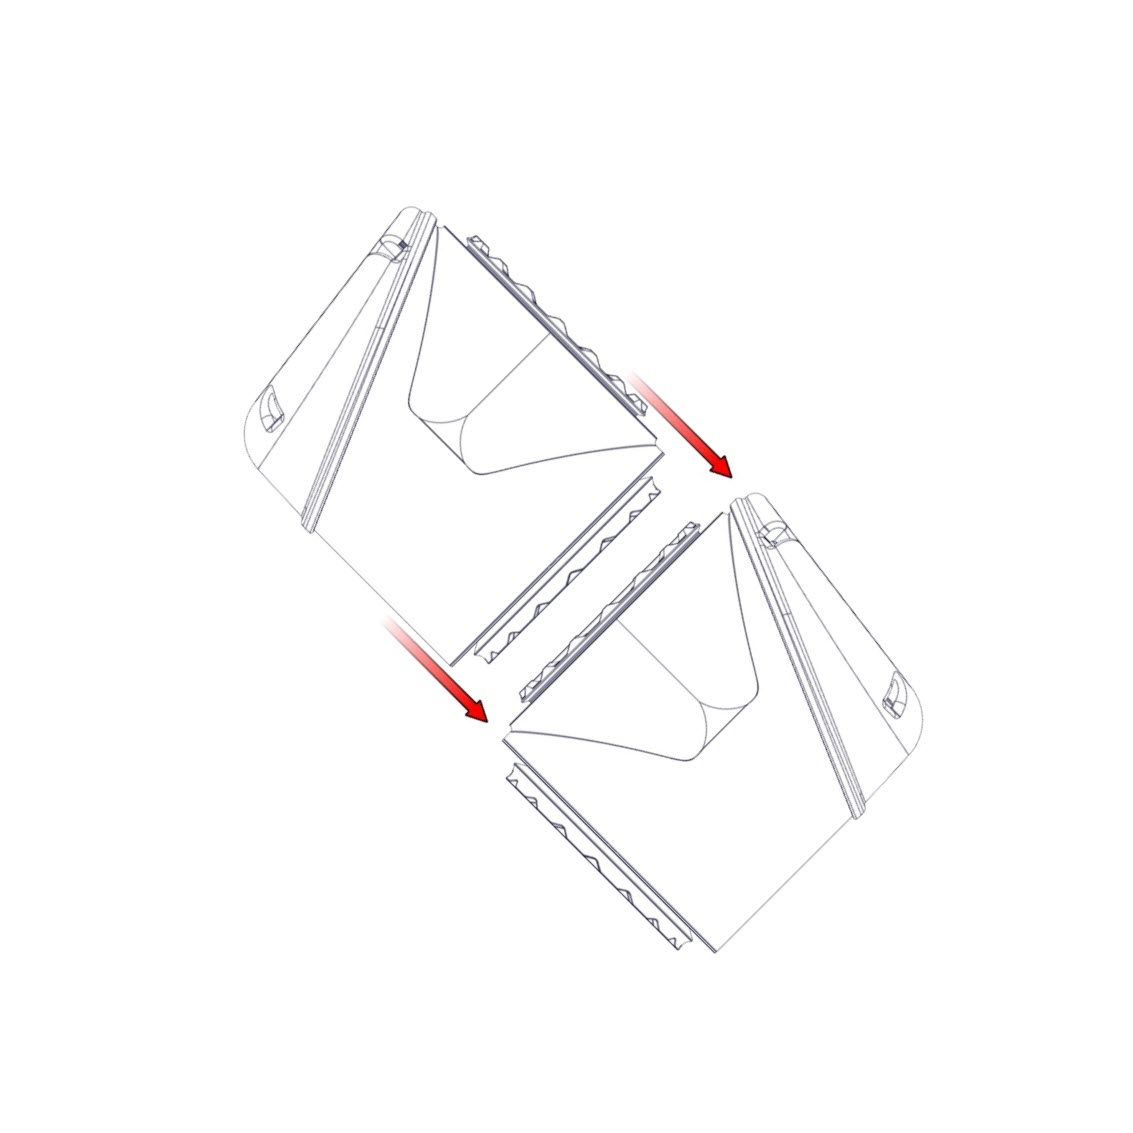
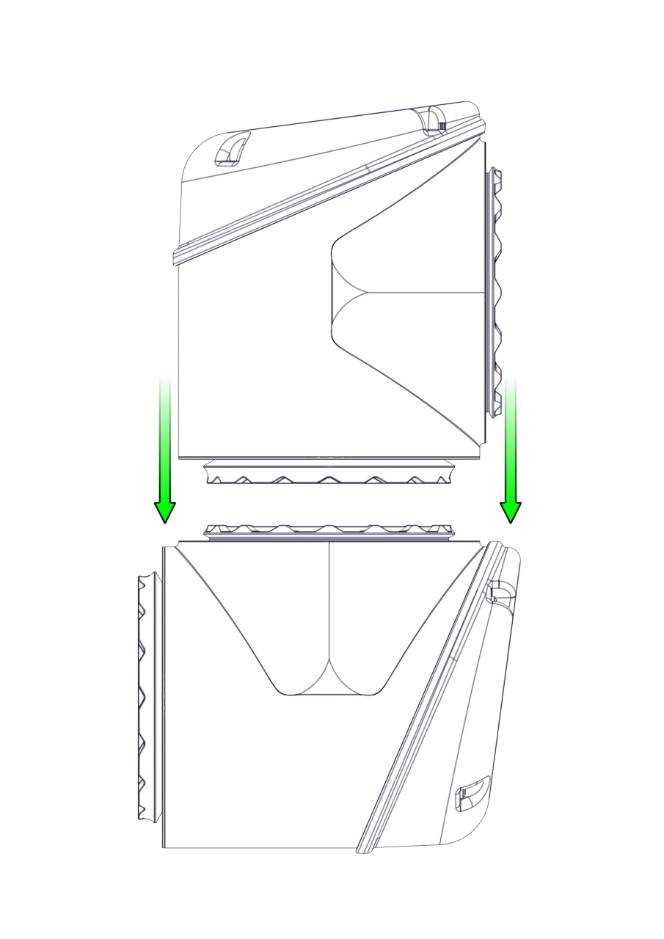
Joints should be assembled in a vertical position to ensure proper mating between the joints.
Ensure the screws are inserted in the correct clamp. Only apply to early version of brackets where one side has a circular marker.
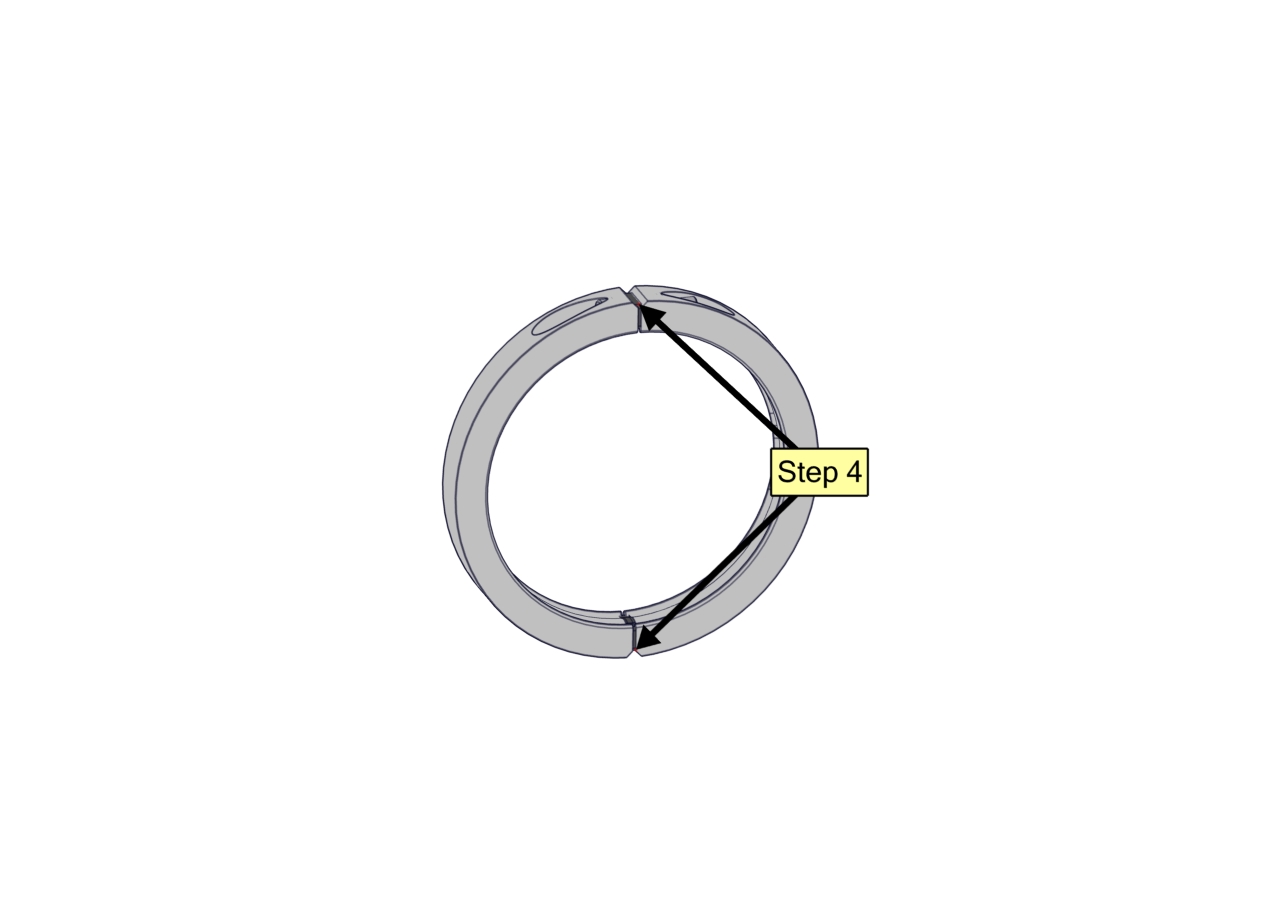
When tightening the clamps, it must be done in steps. Do not exceed recommended torque:
|