Robot Arm Cleaning and Inspection
| Description |
As part of regular maintenance the robot arm can be cleaned, in accordance with the recommendations in this manual and local requirements.
|
| Cleaning Methods |
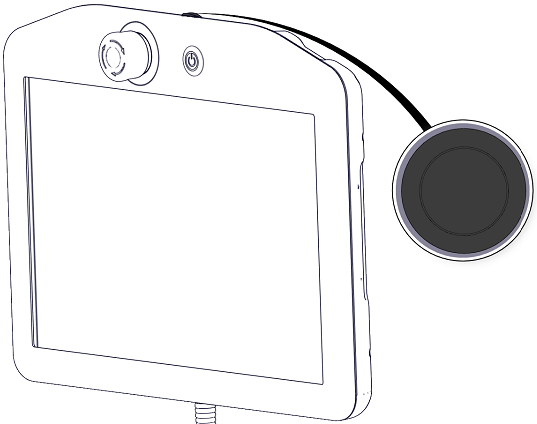
To address the dust, dirt, or oil on the robot arm and/or Teach Pendant, simply use a cloth alongside one of the cleaning agents provided below.
Surface Preparation: Before applying the below solutions, surfaces may need to be prepared by removing any loose dirt or debris.
Cleaning agents:
Application: The solution is typically applied to the surface that needs cleaning using a spray bottle, brush, sponge, or cloth. It can be applied directly or diluted further depending on the level of contamination and the type of surface being cleaned. Agitation: For stubborn stains or heavily soiled areas, the solution may be agitated using a brush, scrubber, or other mechanical means to help loosen the contaminants. Dwell Time: If necessary, the solution is allowed to dwell on the surface for a up to 5 minutes to penetrate and dissolve the contaminants effectively. Rinsing: After the dwell time, the surface is typically rinsed thoroughly with water to remove the dissolved contaminants and any remaining cleaning agent residue. It's essential to ensure thorough rinsing to prevent any residue from causing damage or posing a safety hazard. Drying: Finally, the cleaned surface may be left to air dry or dried using towels. DO NOT USE BLEACH in any diluted cleaning solution. |
|
Grease is an irritant and can cause an allergic reaction. Contact, inhalation or ingestion can cause illness or injury. To prevent illness or injury, adhere to the following:
|
| Robot Arm Inspection Plan |
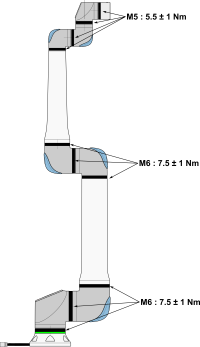
The table below is a checklist of the type of inspections recommended by Universal Robots. Perform inspections regularly as advised in the table. Any referenced parts found to be in an unacceptable state must be rectified or replaced.
|
||||||||||||||||||||||||||||||||||||||||||||||||
| Robot Arm Inspection Plan |
Using compressed air to clean the robot arm can damage the robot arm components.
|
| Robot Arm Inspection Plan |
If any damage is observed on a robot within the warranty period, contact the distributor where the robot was purchased.
|
| Inspection |
|


