Zeroing of Joints
When a joint has been replaced and verified it may be necessary to zero the joint so that it is aligned with the rest of the robot arm. There are two ways this can be done.
- Automatically - Dual robot calibration – this is recommended method as it is done via controlled procedure and removes human errors. Please consult Calibration manual for this process.
- Manually - Access Expert mode and use a spirit level, to level the joint.
The following step guides how to zero the joint(s) manually.
- Power on the robot and ensure the brakes are released.
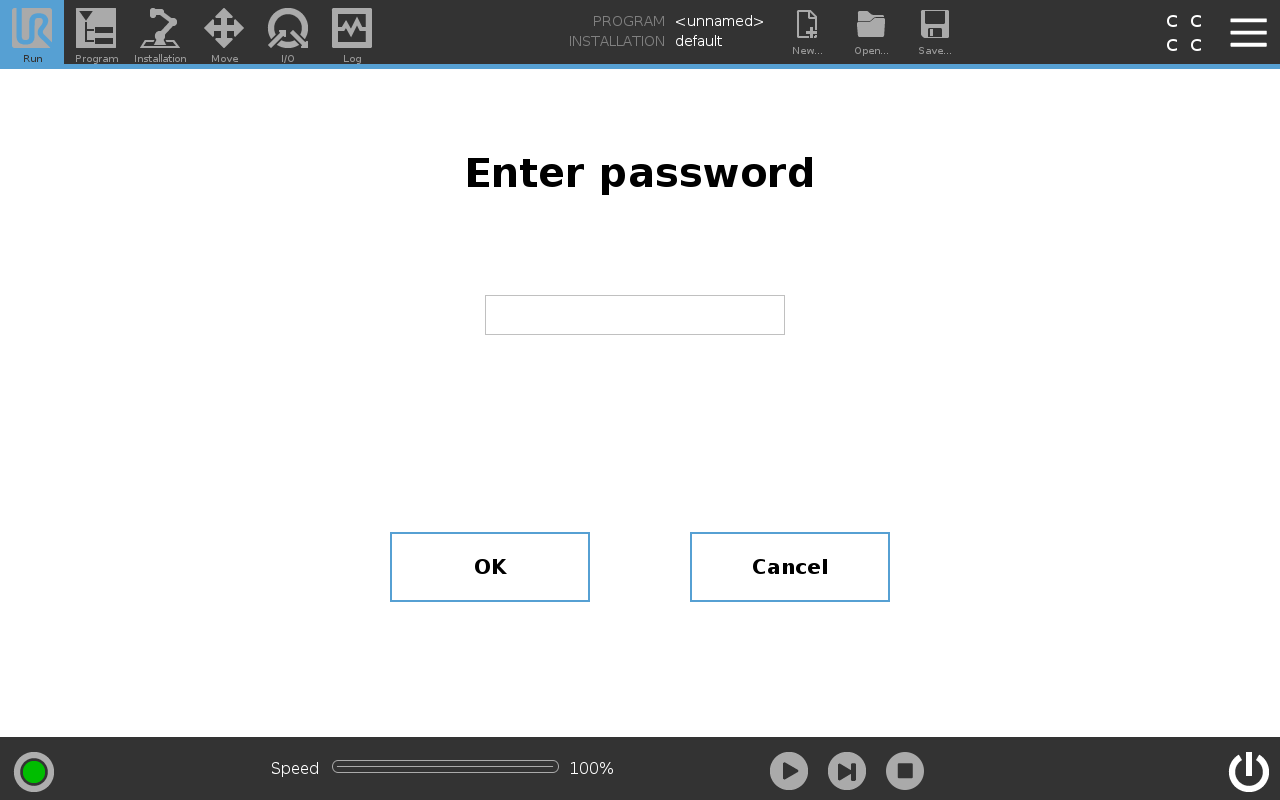
- Press and hold the UR logo for approximately 5 seconds. The screen will change.
- Press the gray box and type the password lightbot and press OK
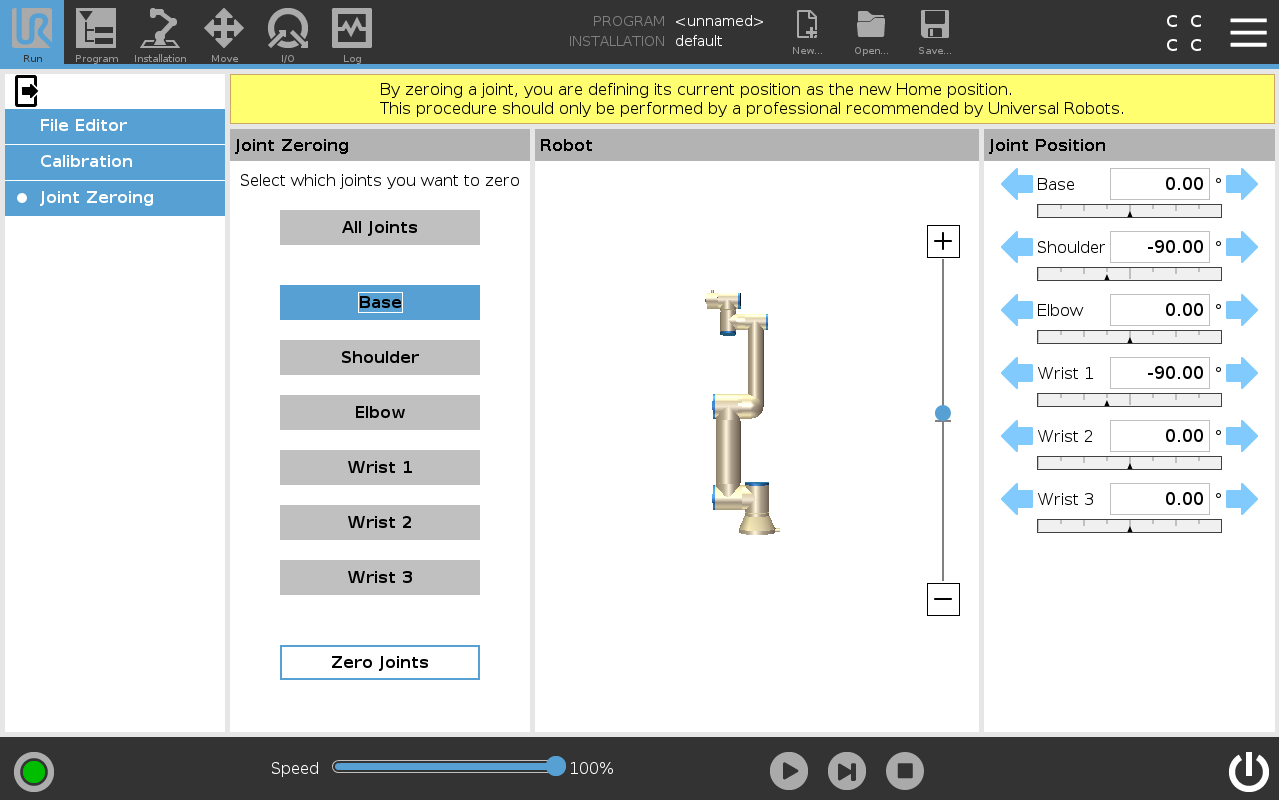
- Select Joint Zeroing in the menu to the left.
- Use the arrows in the Joint Position window on the right side of the screen to move each joint to align as shown in the images below. The Speed Slider can be used to reduce the speed of movement.
|
Base |
Shoulder, Elbow, Wrist 1 |
|
|
|
|
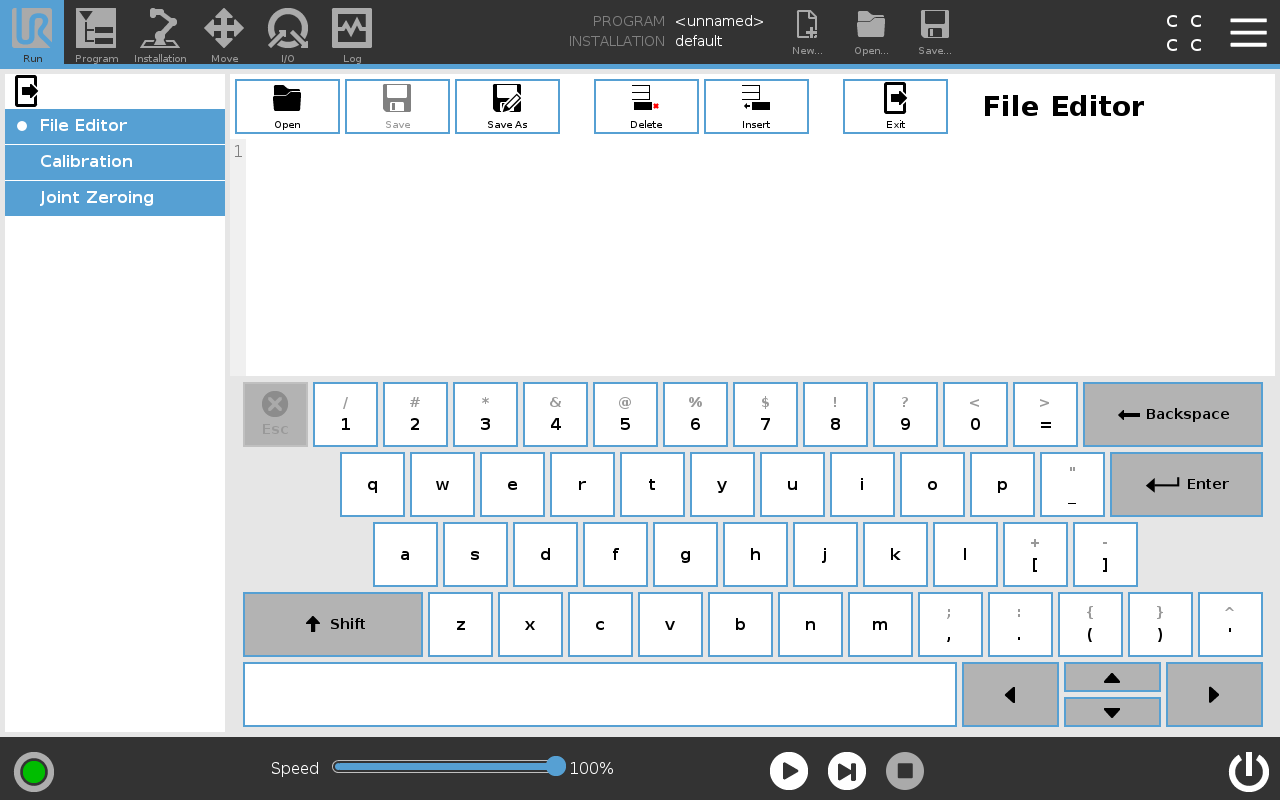
Base zero position is aligned so the Base joint is offset 180 degrees from the cable at the back of the robot base. |
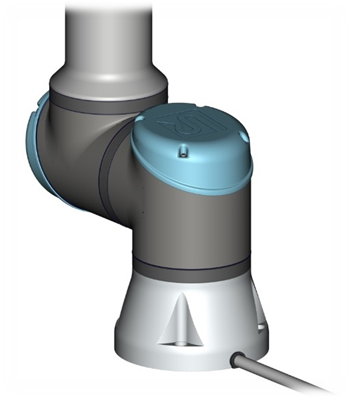
Shoulder, Elbow and Wrist 1 zero output flange vertically align (assuming Base is horizontal). Make sure that Base of the robot is horizontal, use spirit level to align joints. |
|
Wrist 2 |
Wrist 3 |
|
|
|
|
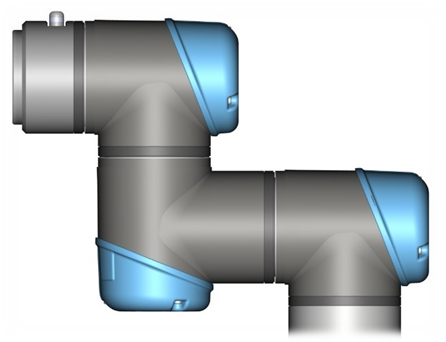
Wrist 2 zero position is aligned like the Base joint, with tool flange parallel with Wrist 1 output flange. |
Wrist 3 zero position is aligned so the tool connector is pointing upward. Mount two bolts in tool holes and use spirit level to align joint. |

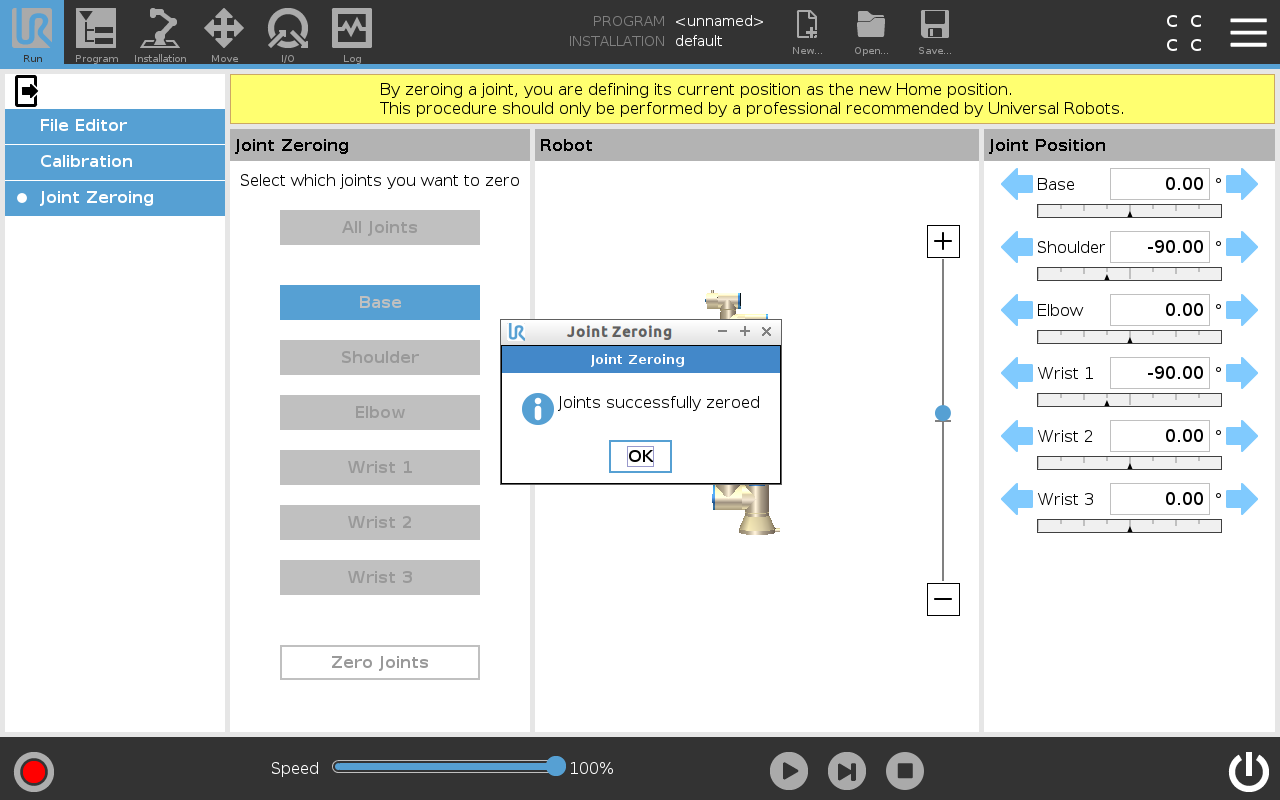
- In the Joint Zeroing window select the joint you want to zero. When selected the box will change from gray to blue. Press Zero Joints
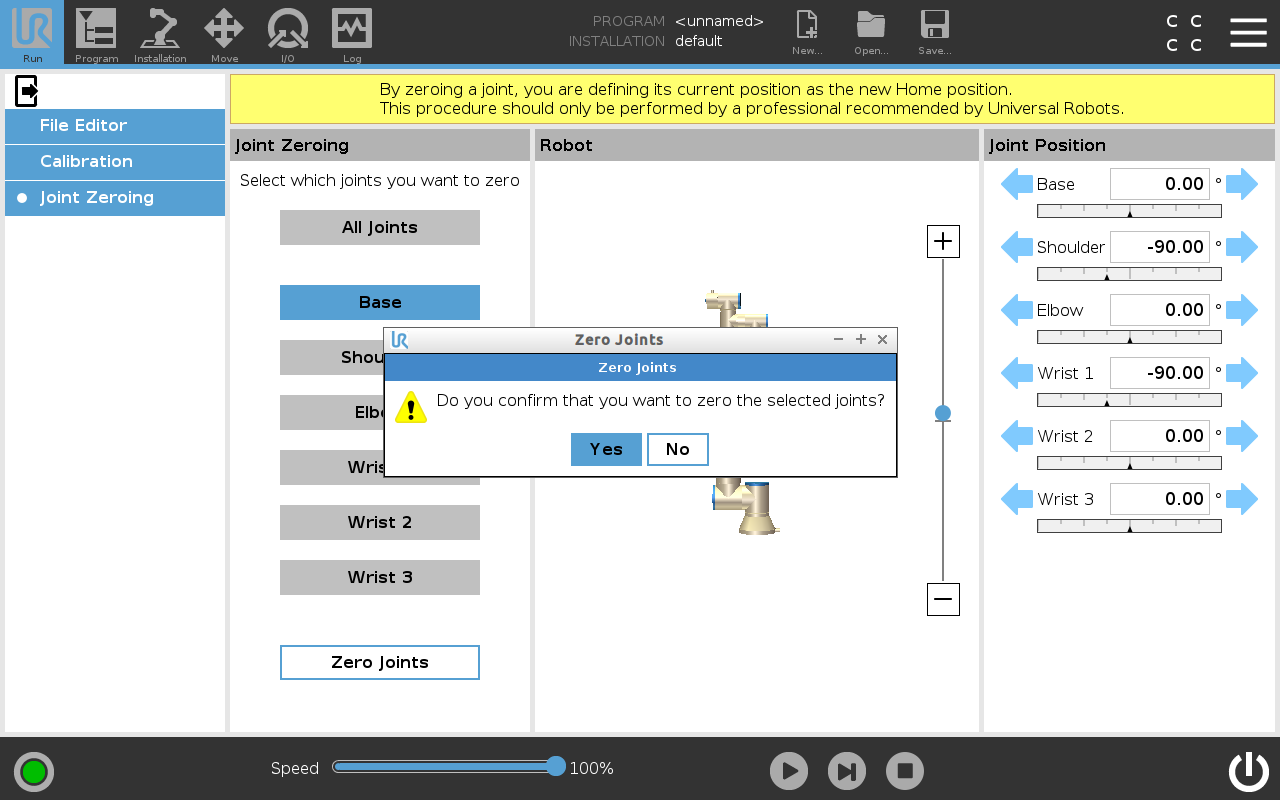
- Confirm you want to zero the joint. The robot will power down after confirmation.
- A popup shows to confirm that the joint(s) has now been zeroed. Press OK to close the popup and return it to normal.