Replacing Robot Arm Joints
| Description |
The replacement procedure applies to all joints, tool mounting brackets, and tool mounting brackets with force/torque sensor. For detailed information on how to safely perform service-related operations and troubleshooting, refer to the Universal Robots service manuals at universal-robots.com/download. For direct support, create a support ticket on our customer portal, MyUR @ https://myur.universal-robots.com/. |
| Warnings |
Unsupported joints can fall, or be dropped, resulting in injury
Failure to support the joint/s while screws are removed can result in damage to equipment.
Failure to test the new joint after replacement can lead to damage to property and/or equipment.
|
|
Connections |
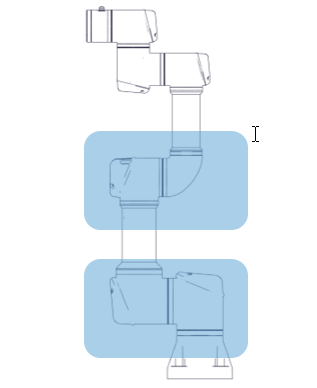
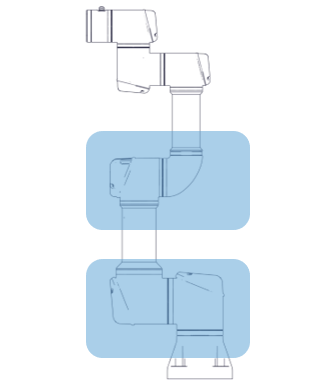
There are two different ways the joints are assembled.
|
||||||||||||||||||||||||||||||||||||||||||||||||
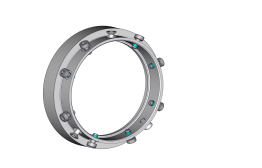
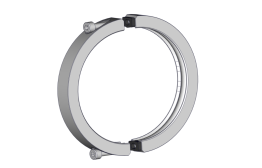
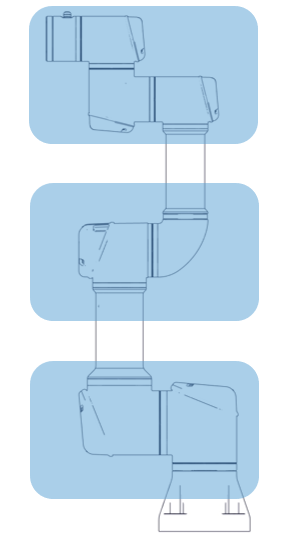
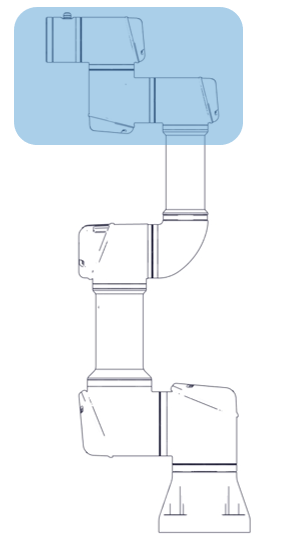
| Robot Joints |
|
|||||||||||||||