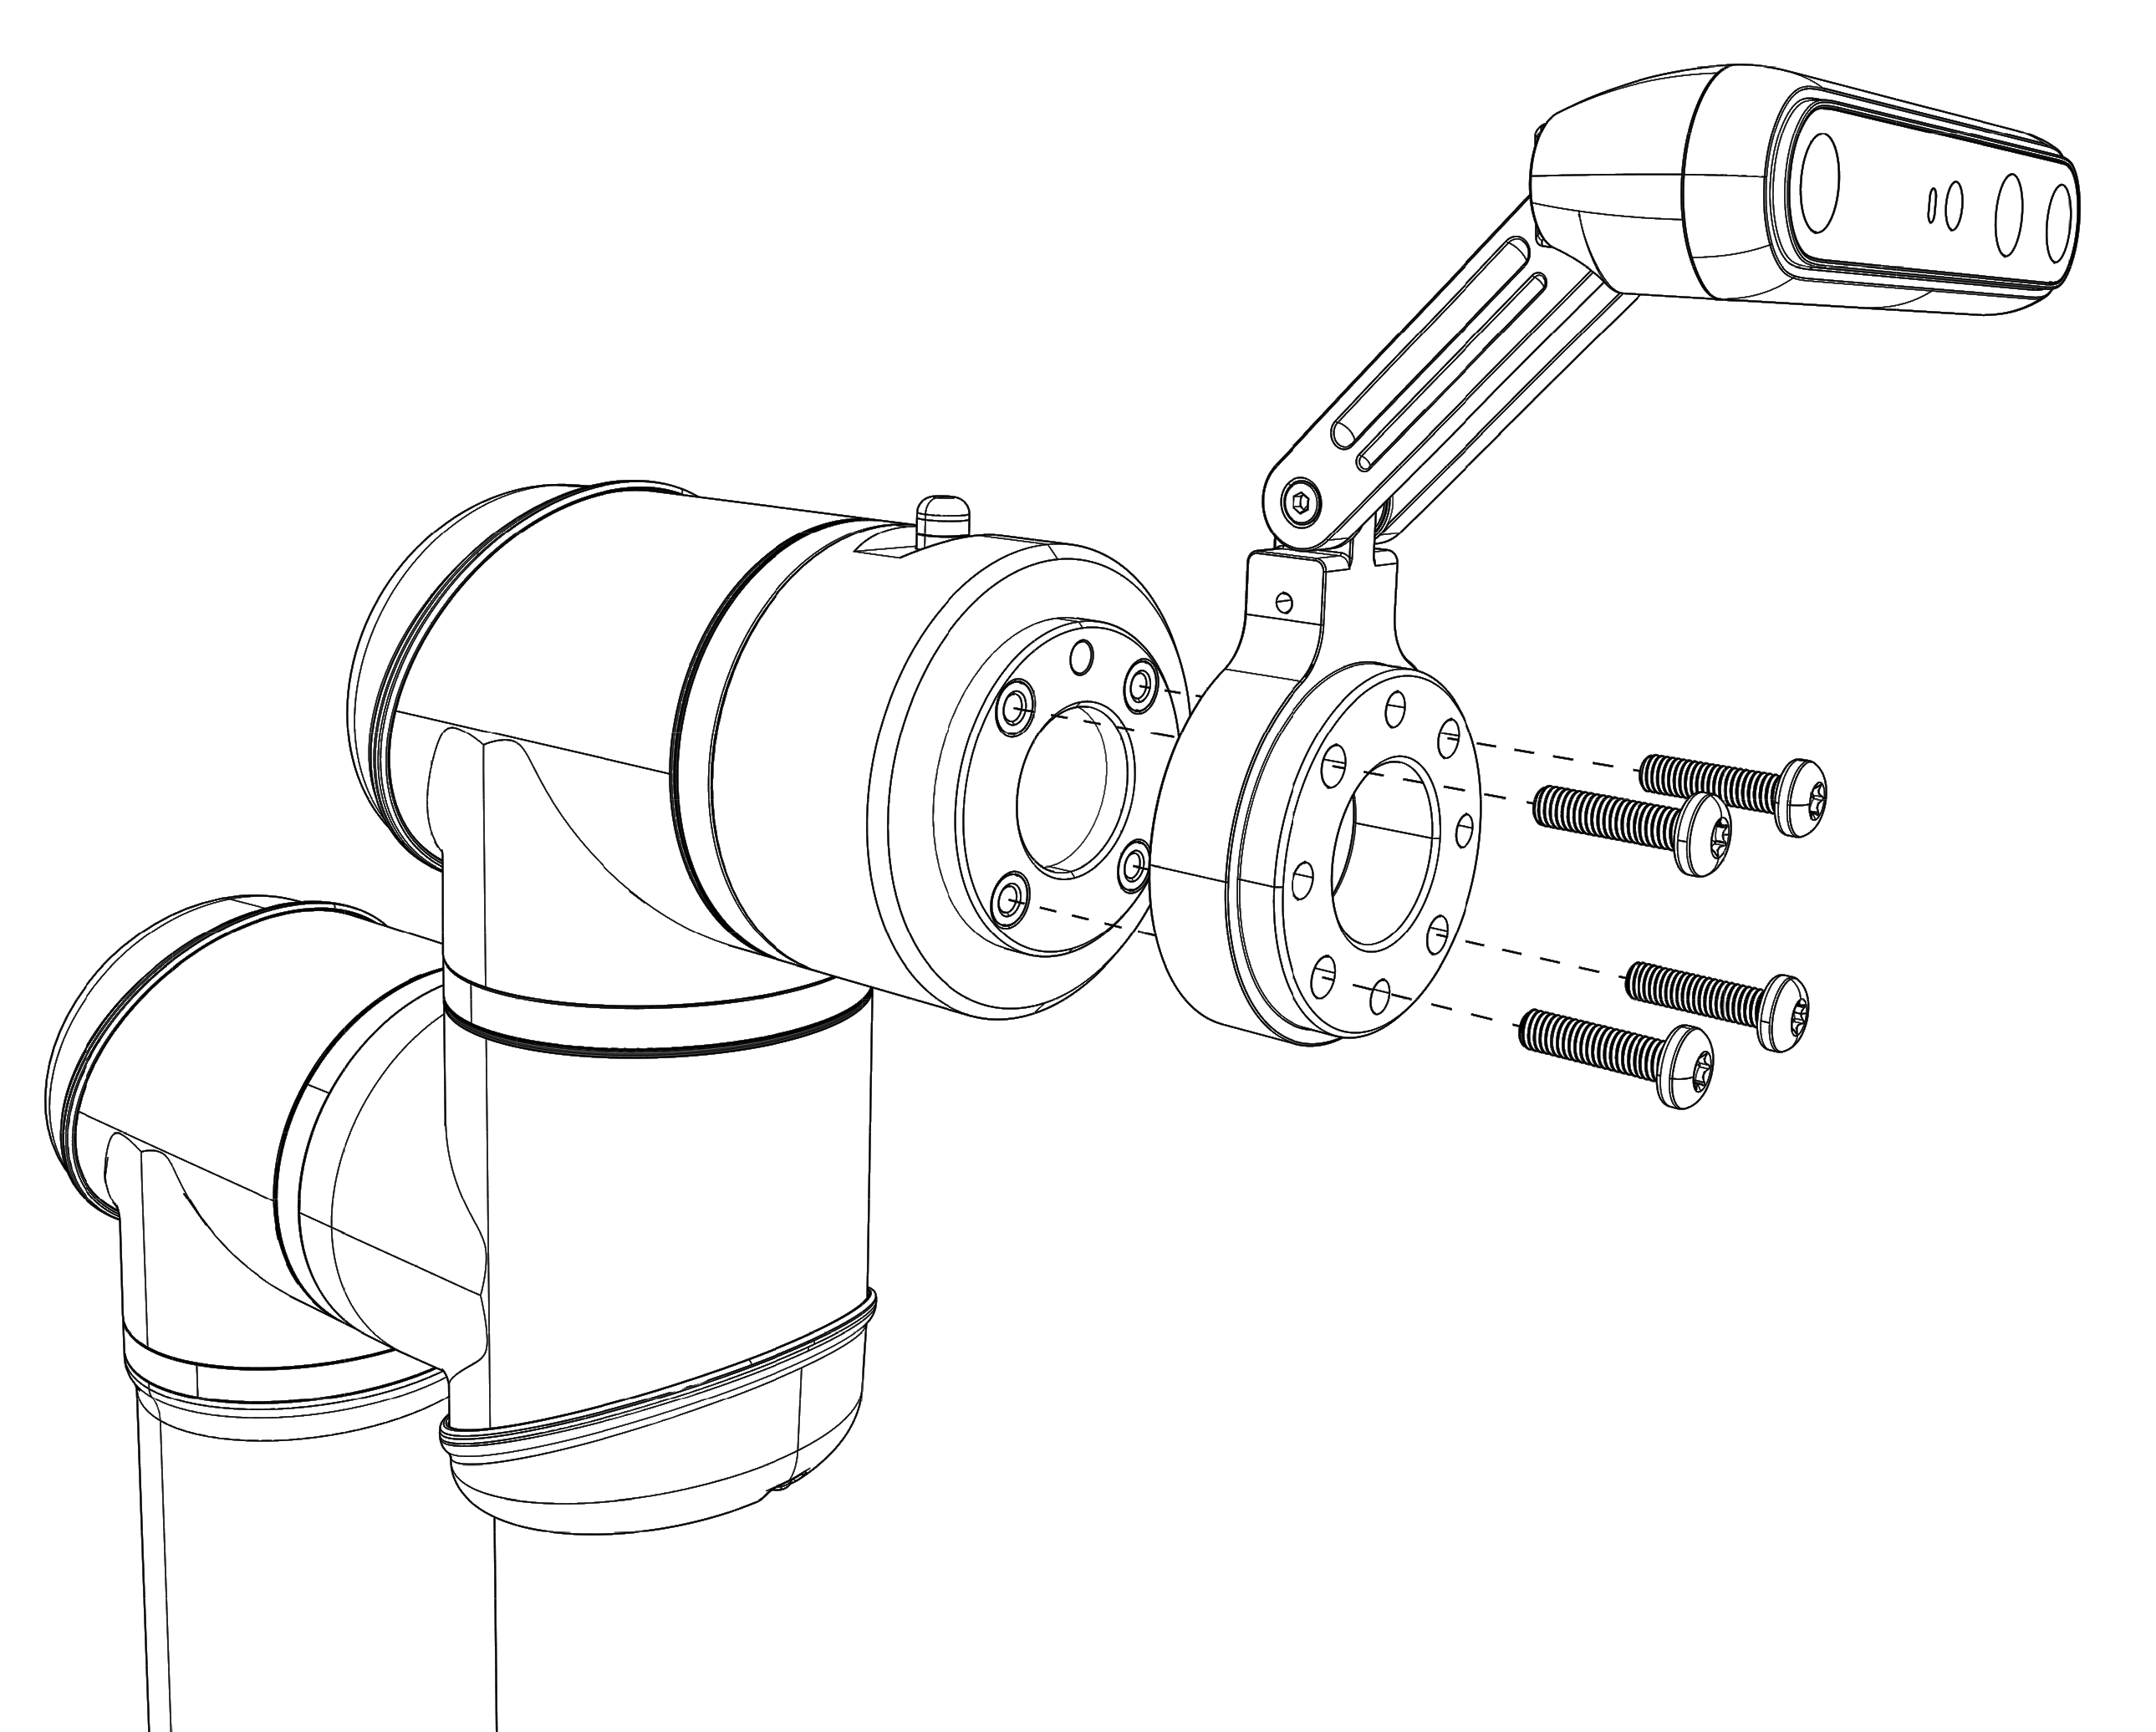
Attaching the Camera Mount
| Securing the Robot Arm |
Read the Mechanical Interface section in robot User Manual.
Before attaching the camera you should mount the robot arm according to the requirements specific to your robot model as described in Securing the Robot Arm chapter in robot User Manual. You can test the robot movement without any attachments.
|
| End of Arm |
Read the Securing Tool chapter in robot User Manual.
Supplied with the kit you will find four M6 bolts. Bolts in the kit are suitable for attaching the camera mount without an end effector.
Camera mount could be inserted between the robot tool flange connector and an end effector using longer bolts.
Very long M6 bolts can press against the bottom of the tool flange and short circuit the robot.
|
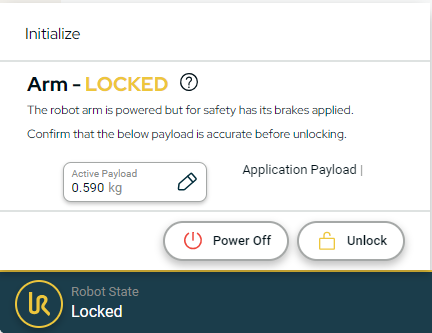
| Correct payload |
Incorrect payload can result in unexpected robot movement when entering Freedrive.
As a guidance, assembled camera mount, camera and mounting bolts weight approximately 480 gr.
|
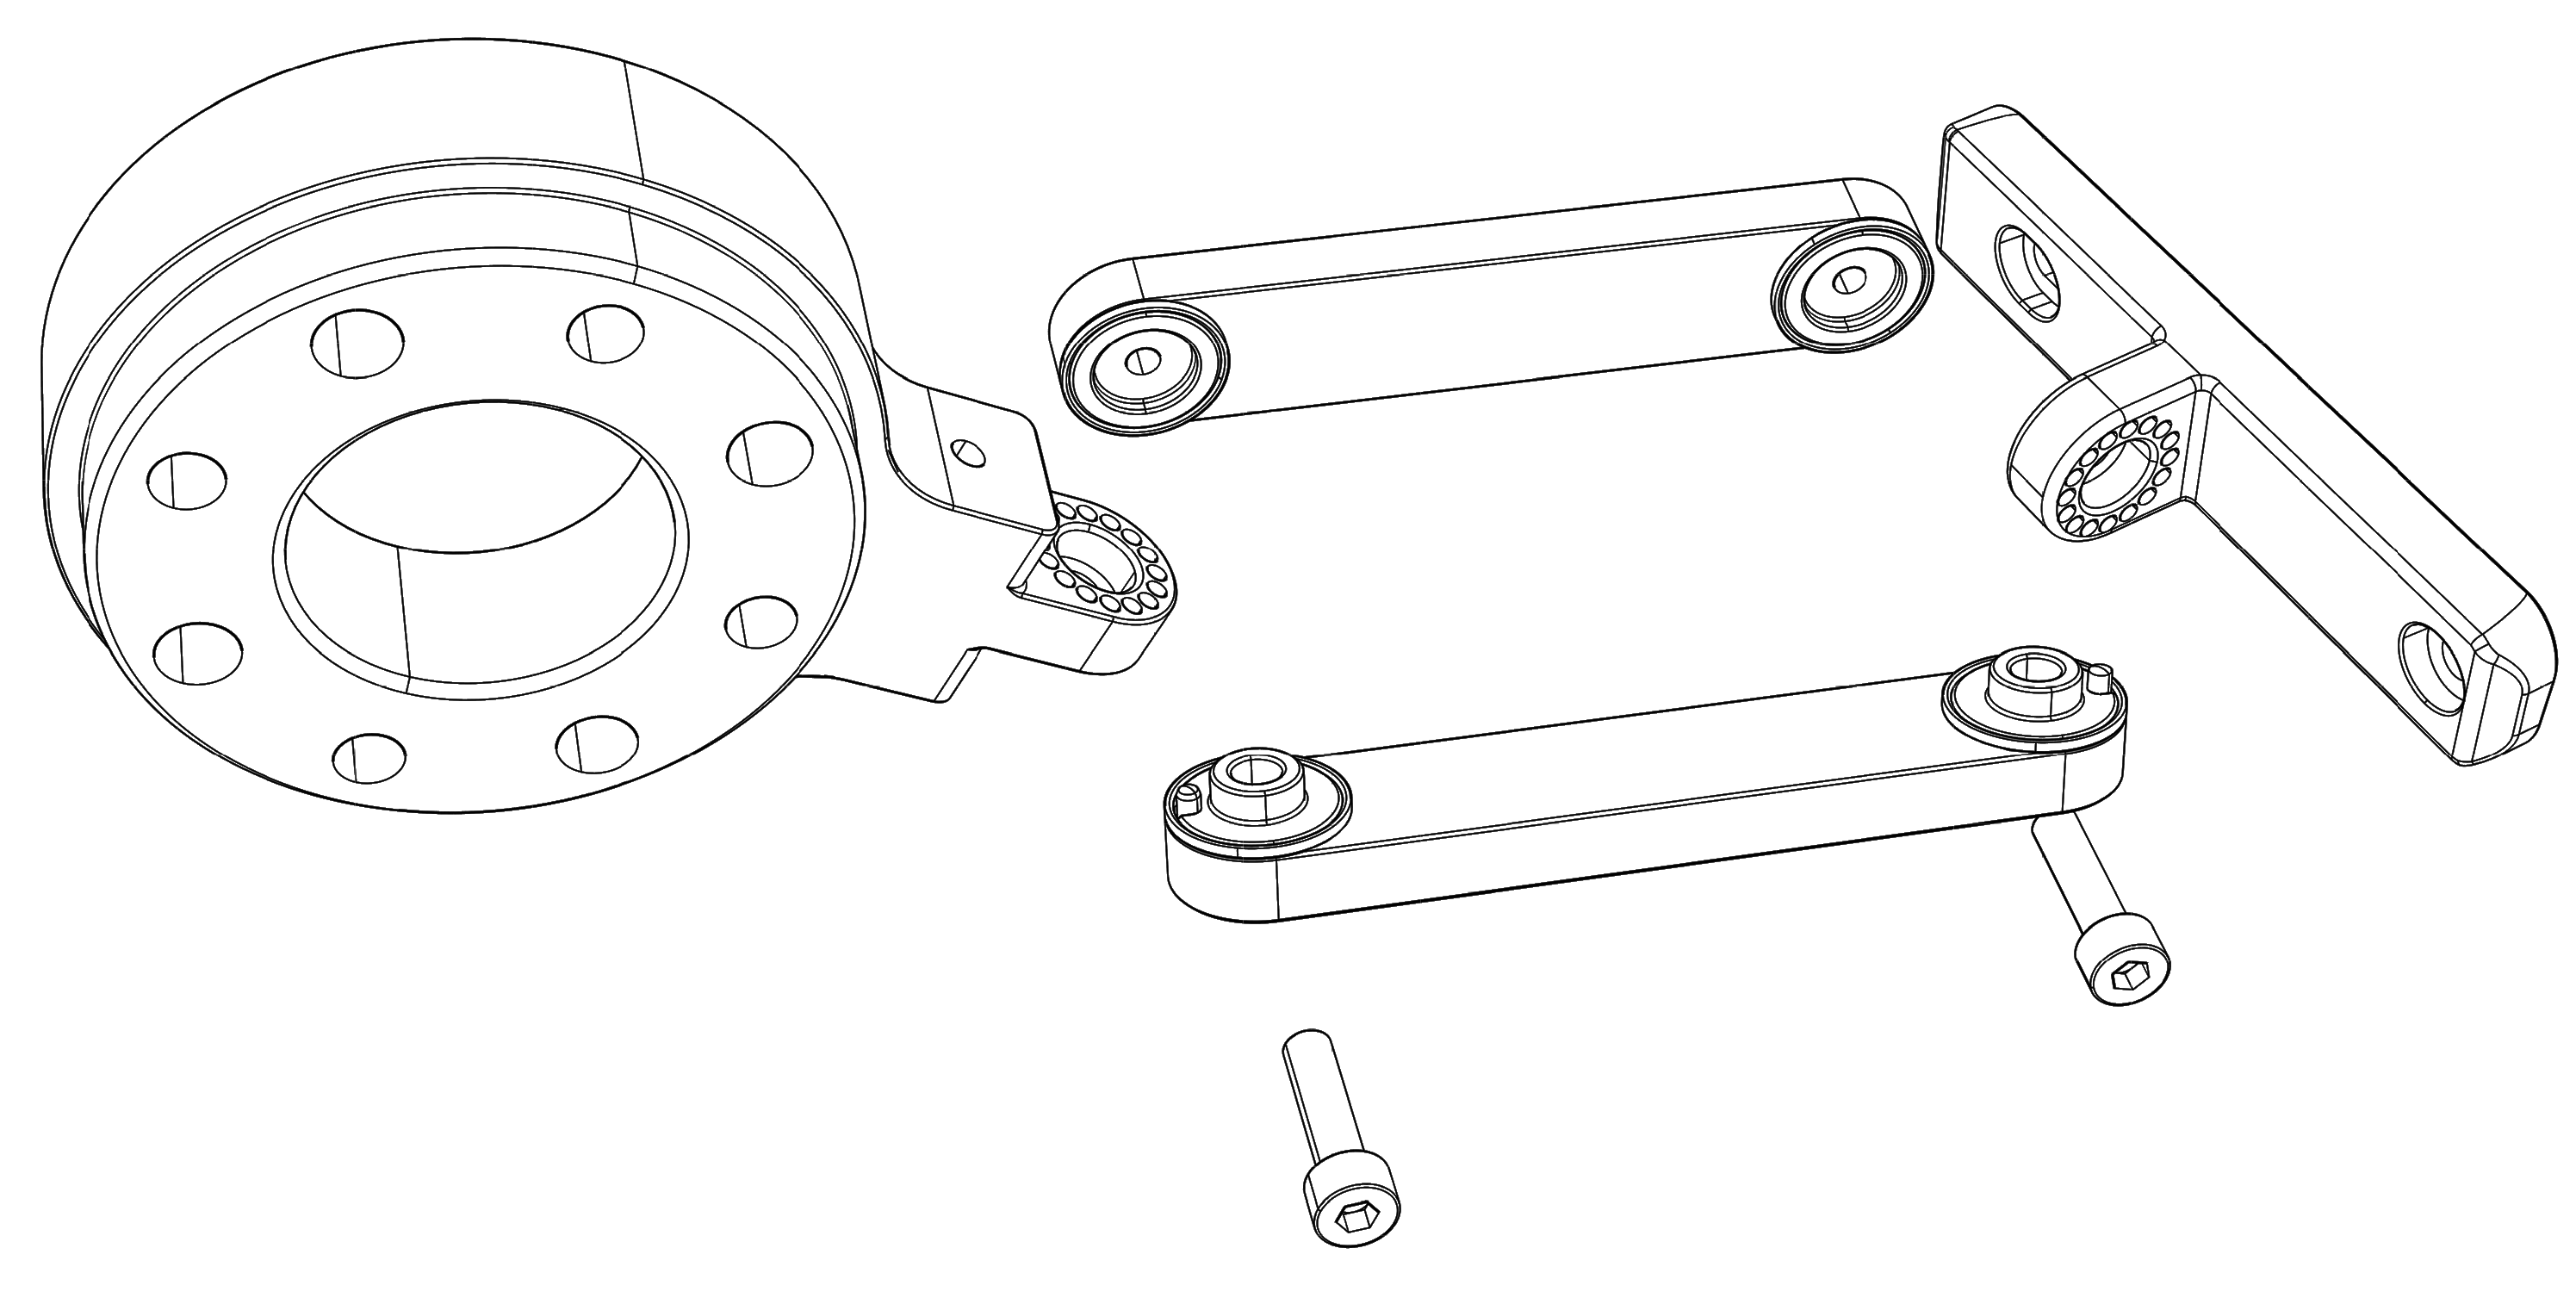
| Adjusting the camera mount |
Robot vision applications require consistent camera positioning, either fixed to the robot arm or static relative to the robot base.
To ensure the necessary rigidity, camera mount parts are secured with locking pins, which prevent accidental changes to the camera position. Adjusting the camera position requires disassembling the camera mount, realigning the parts, and reassembling them.
Do not attempt to adjust camera position by forcing camera mount parts. Repeat camera calibration after adjusting camera position. See Camera Calibration.
|