Certificate Handling

Description

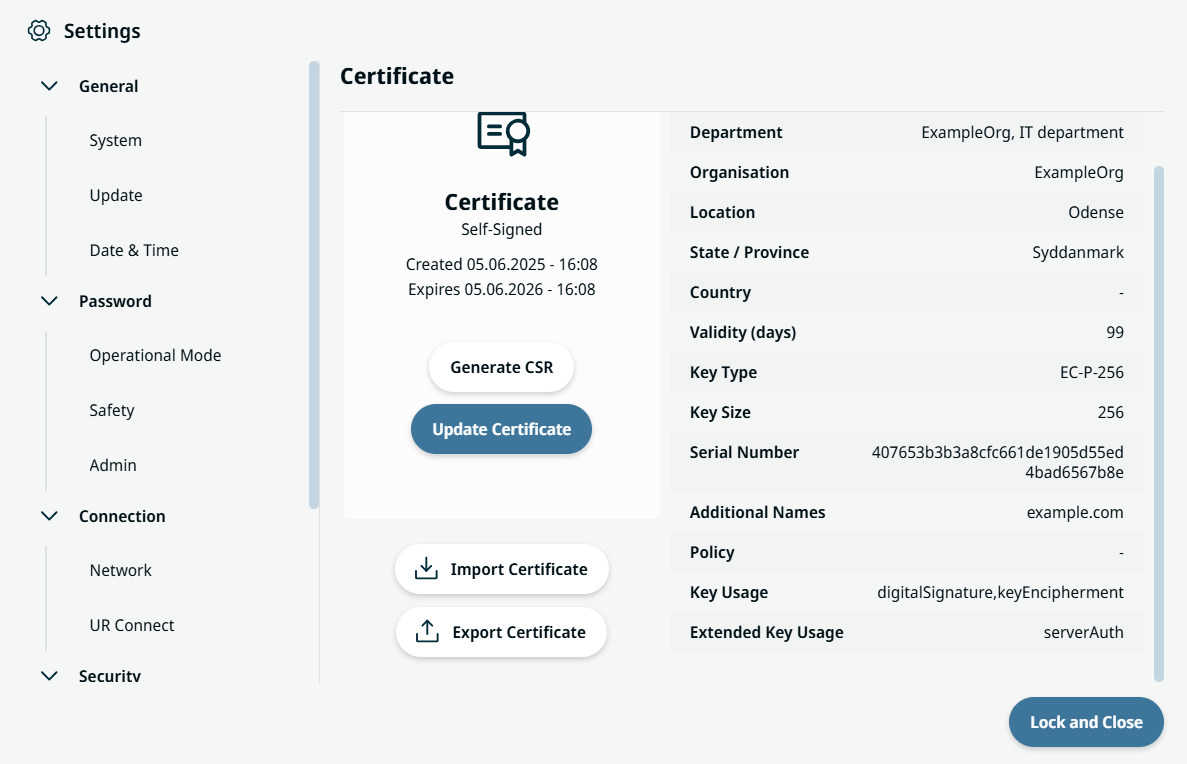
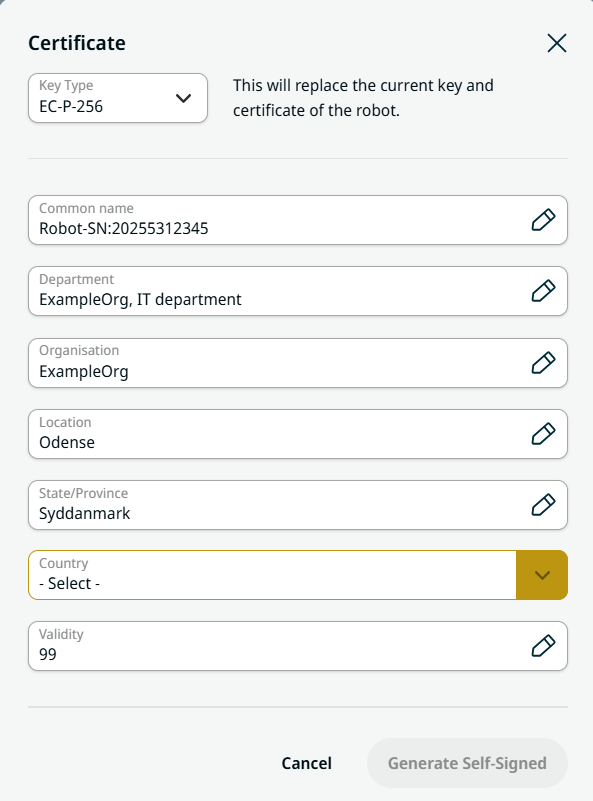
Digital Certificate Handling lets you view, edit, and import or export privacy enhanced mail (PEM) files, generate certificate signing requests (CSRs), and create self-signed certificates.


Purpose and benefits

This feature ensures secure robot identification and enables encrypted communication. It supports workflows for both self-signed certificates (for quick setup) and CA-signed certificates (for stricter trust requirements).

These are the key benefits:

  • View and verify certificate details.

  • Import and export certificates and CSRs in PEM format.

  • Generate self-signed certificates with configurable options, subject fields, and validity period.

  • Resolve expired certificate warnings.


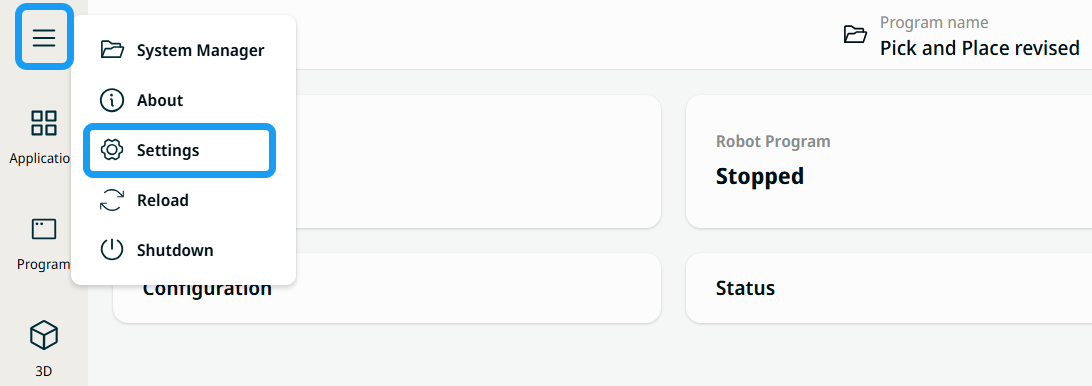
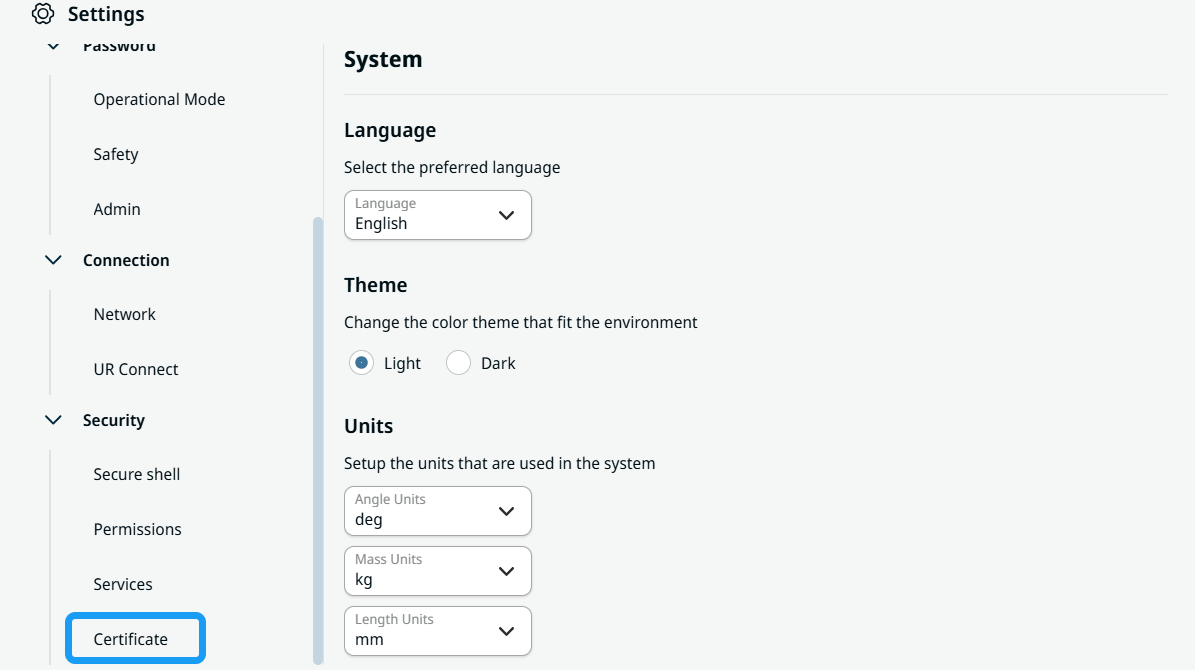
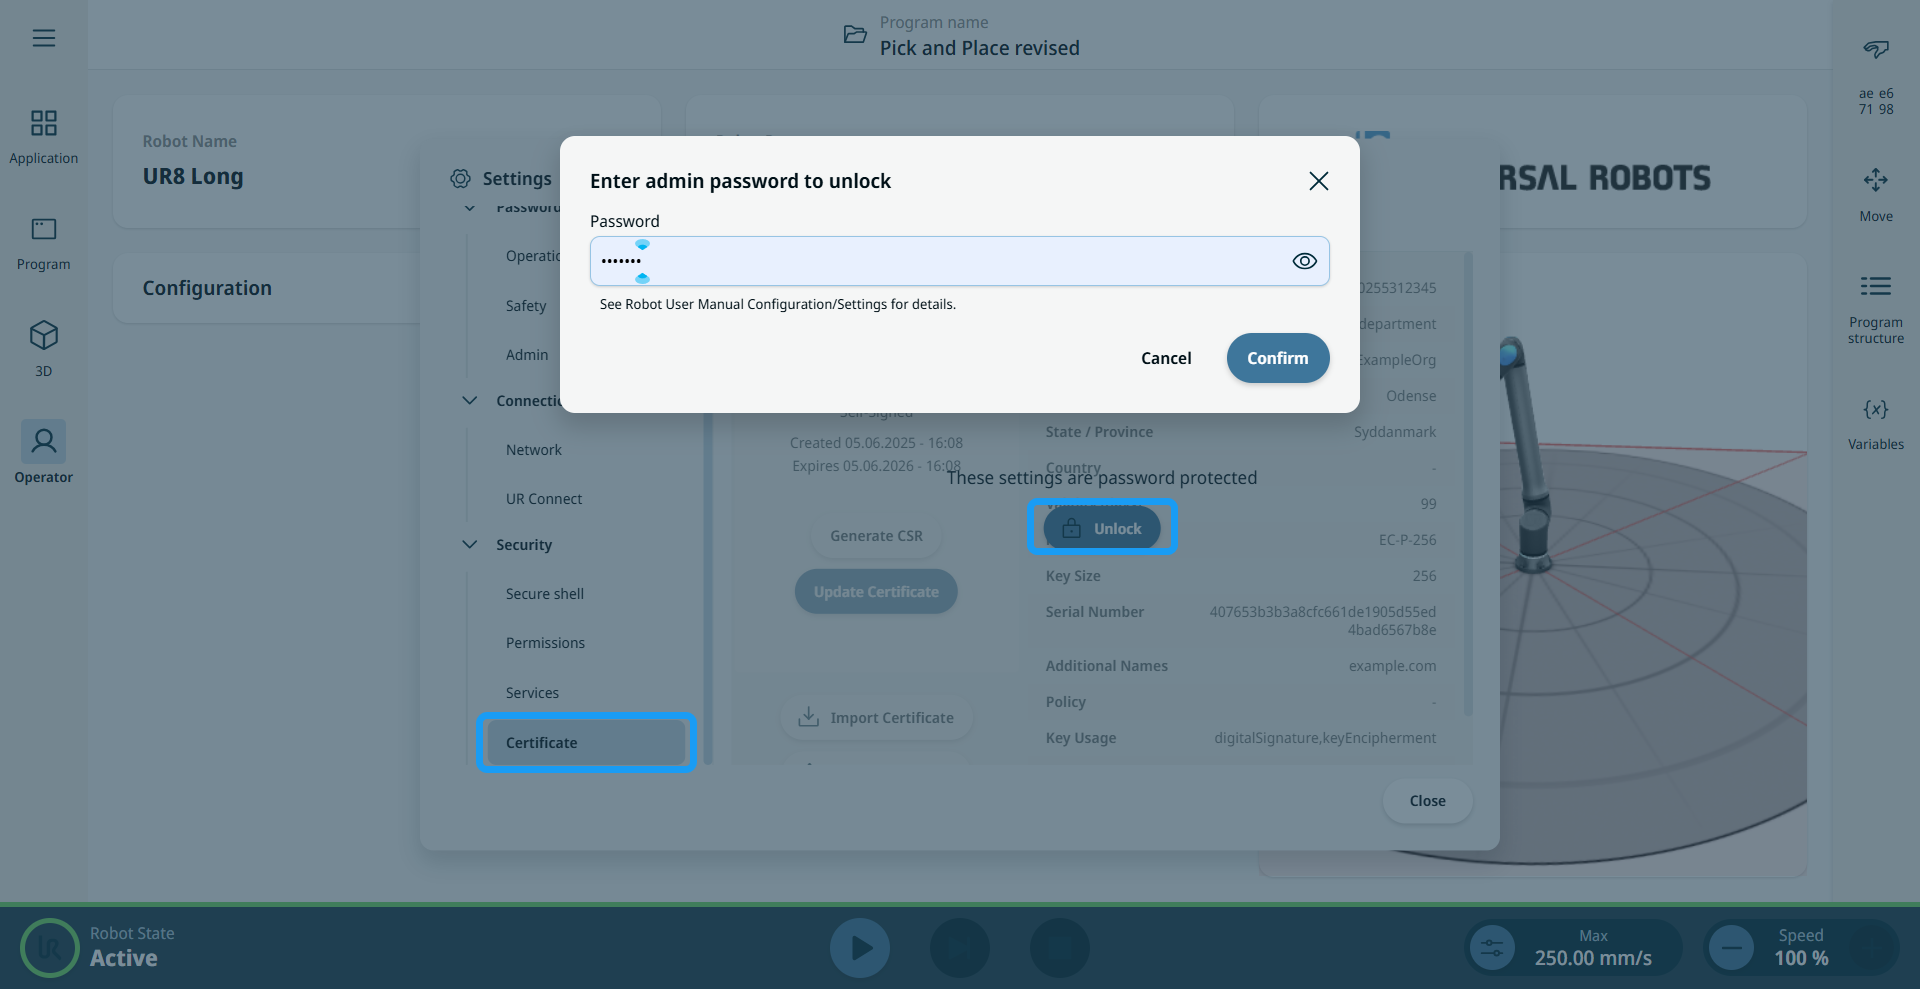
To locate Certificate Handling

  1. Tap the hamburger menu in the Main Navigation and select Settings.

  2. Scroll through the Settings options to find Certificate in Security.


  1. Tap Certificate and Unlock to view the certificate details.

  2. The Certificate screen shows the details and the four buttons:

    • Generate CSR

    • Update Certificate

    • Import Certificate

    • Export Certificate


To update a certificate

  1. Tap the Update Certificate button.


  2. Configure the certificate details in the eight fields.

  3. Tap Generate Self-Signed to create and install the new certificate.

    The current key and certificate are replaced. A success message is displayed, and the details are refreshed.


To generate a CSR

Make sure a certificate is already present. The Generate CSR button is disabled if no certificate exists.
  1. Tap the Generate CSR button.

  2. An export dialog opens where you can select external media. The CSR is saved as csr.pem.

  3. Use the CSR to obtain a CA-signed certificate from your Certificate Authority, which is the company’s IT department.

  4. Import the CA-signed certificate.


To Import a certificate

  1. Tap the Import Certificate button.

  2. Select a PEM certificate file. Use the file browser to locate the file.

  3. After a successful import, the system displays a success message.

    The certificate details are updated. If the format is invalid, an error message appears.


To Export a certificate

  1. Tap the Export Certificate button.

  2. An export dialog opens. Tap Check for Media to detect external media (SD card or USB).

  3. Select the destination and tap Export.

    The certificate is saved as certificate.pem on the selected media.


Handling expired certificates

When a certificate expires, the page displays an Expired message with the expiration date instead of the usual creation/expiration details.

You can resolve the issue in two ways:

  1. Use Update Certificate to generate a new self-signed certificate.

  2. Use Import Certificate to install a valid PEM certificate from your CA or backup.