Grids Application

Description

The Grids application is used to set up a grid, such as for palletizing, where you define four corners and the number of positions between them. This is like the palletizing wizard in PolyScope 5.


Using the Grids application functionality
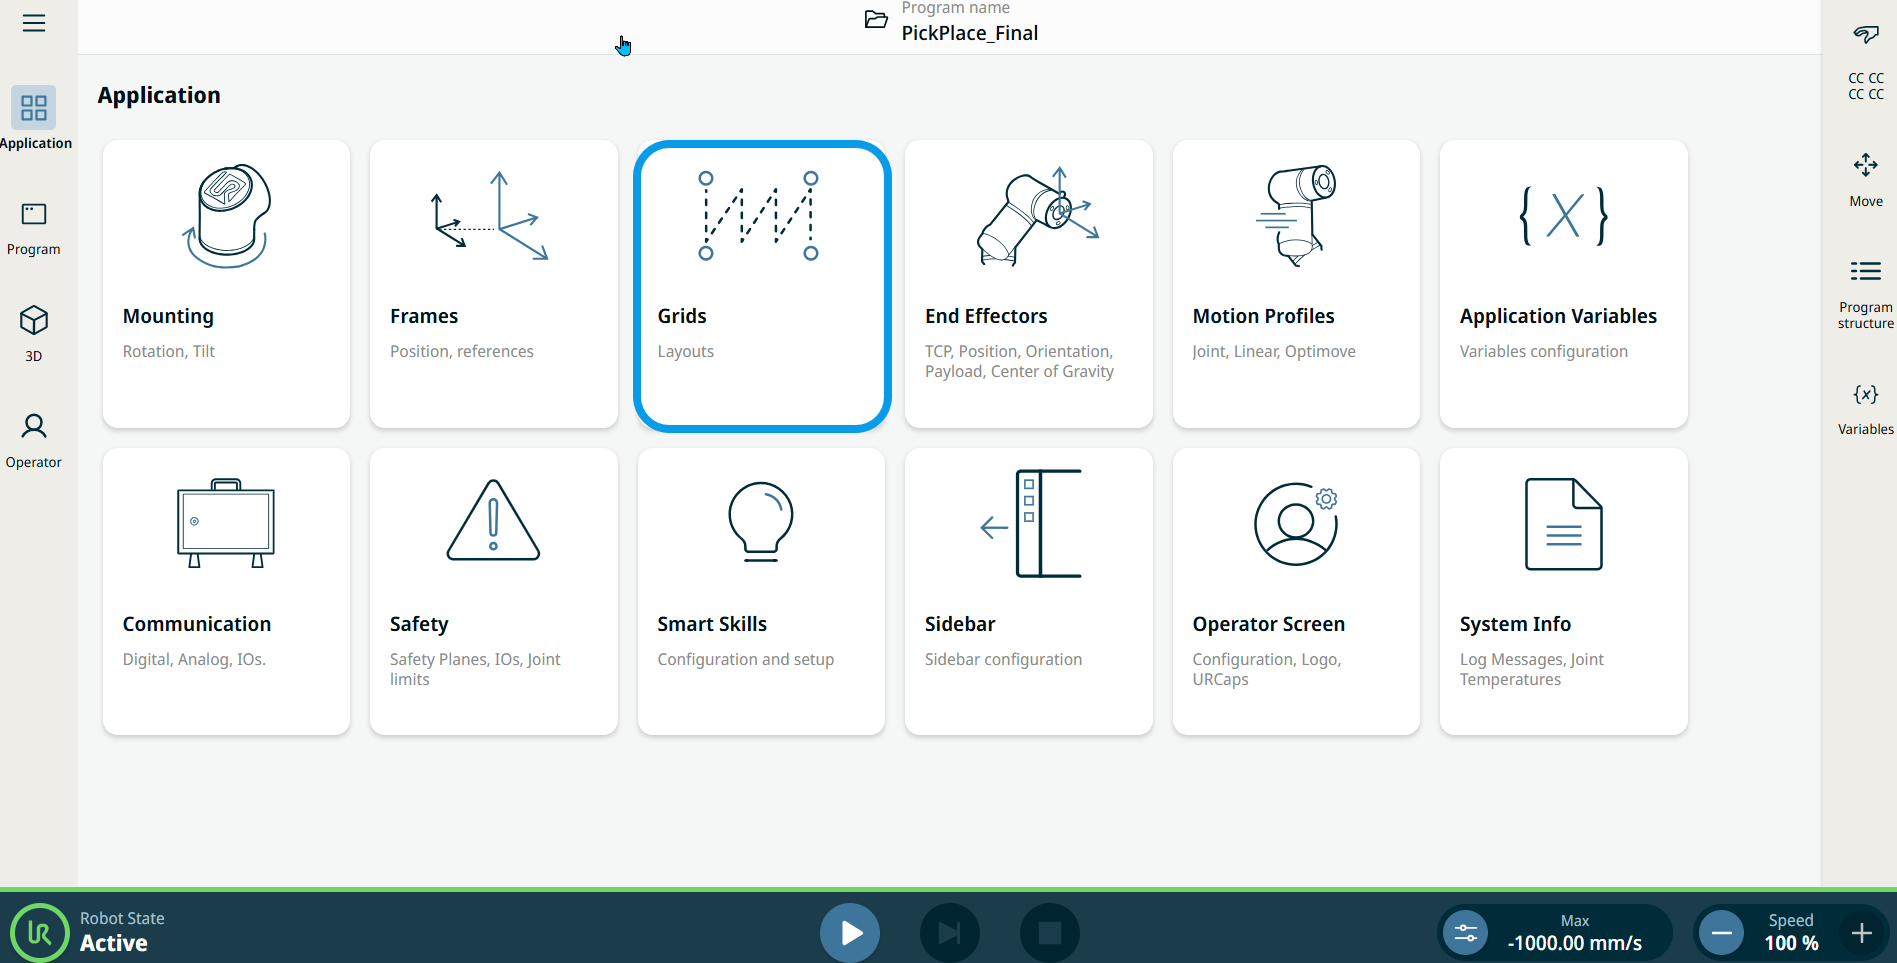
  1. Go to the Application menu screen. See Application Tab.

  2. Tap the Grids icon.

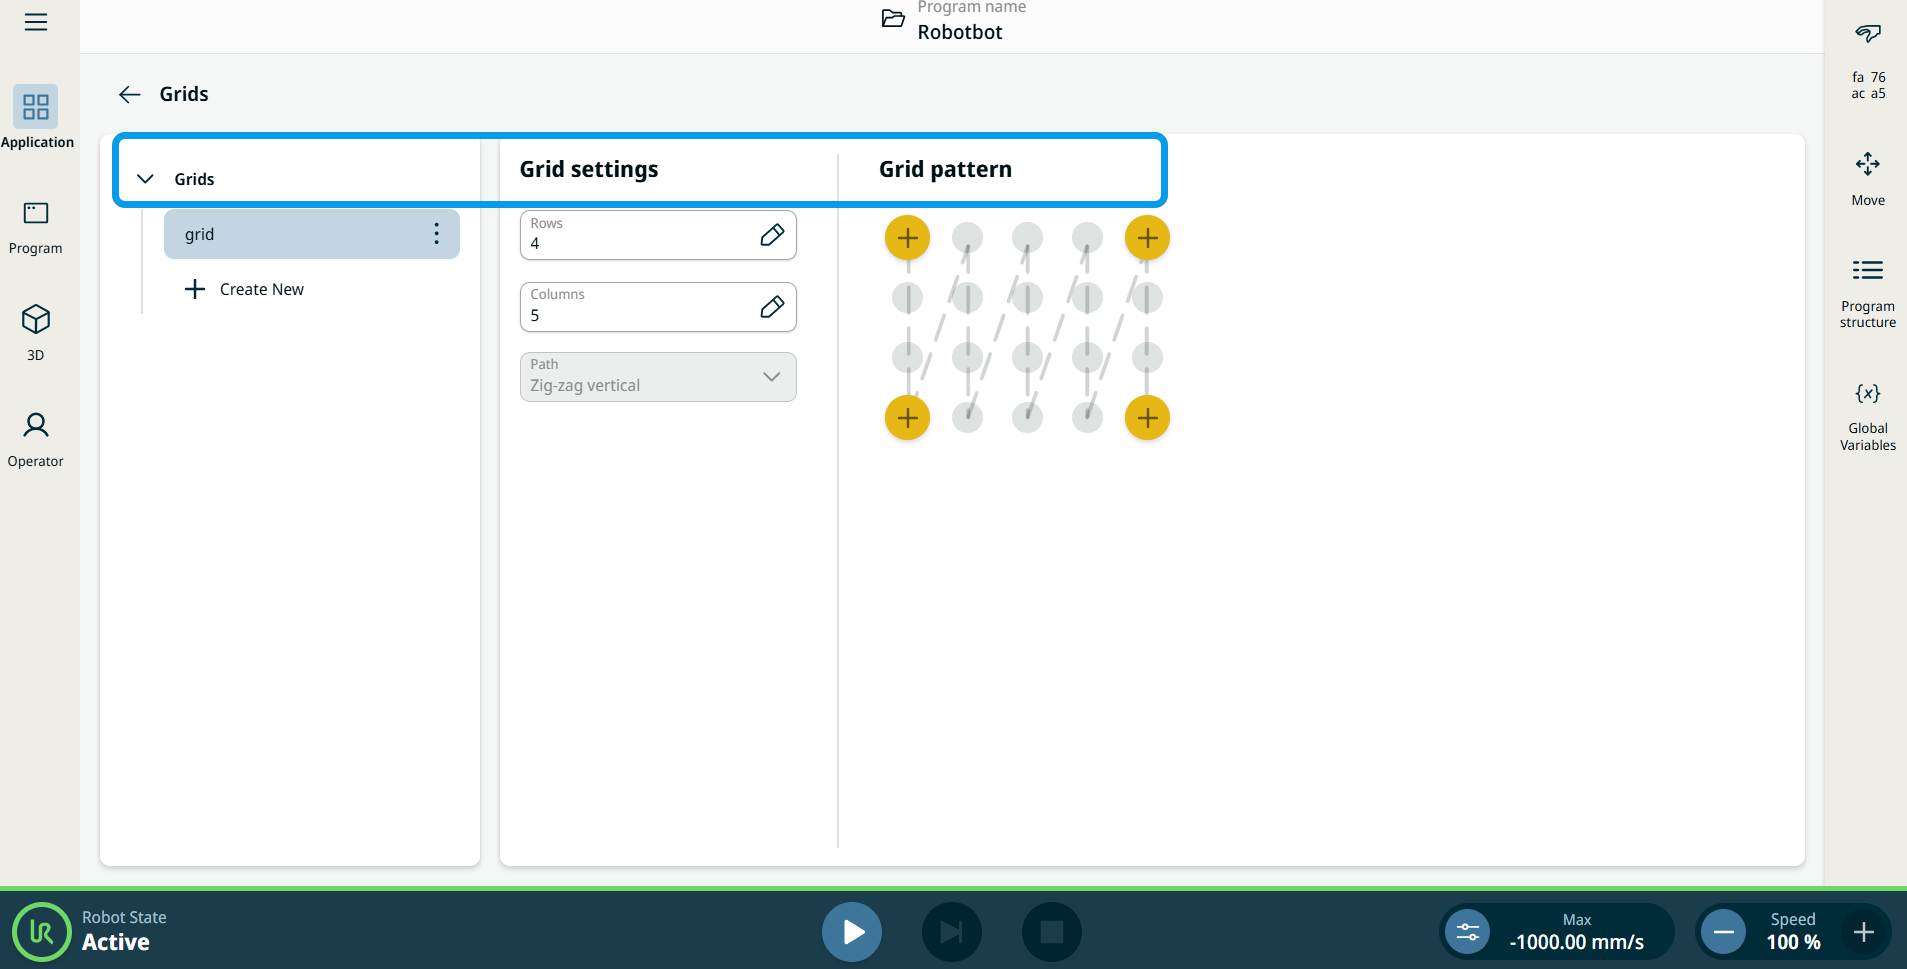
    In the main screen, you can see the grids tree on the left panel, and the grid settings and grid pattern on the right panel.

  3. Tap Create New on the grids tree.

  4. Enter the grid name in the create new grid field and Save.

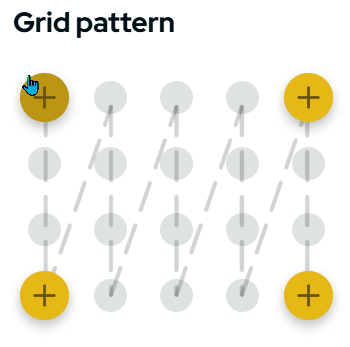
  5. Enter the number of rows and columns in the fields provided under the grid settings and tap Confirm. The grid pattern corresponds with what you input in the grid settings.

 
  1. In the grid pattern, tap the first corner (in yellow circle).

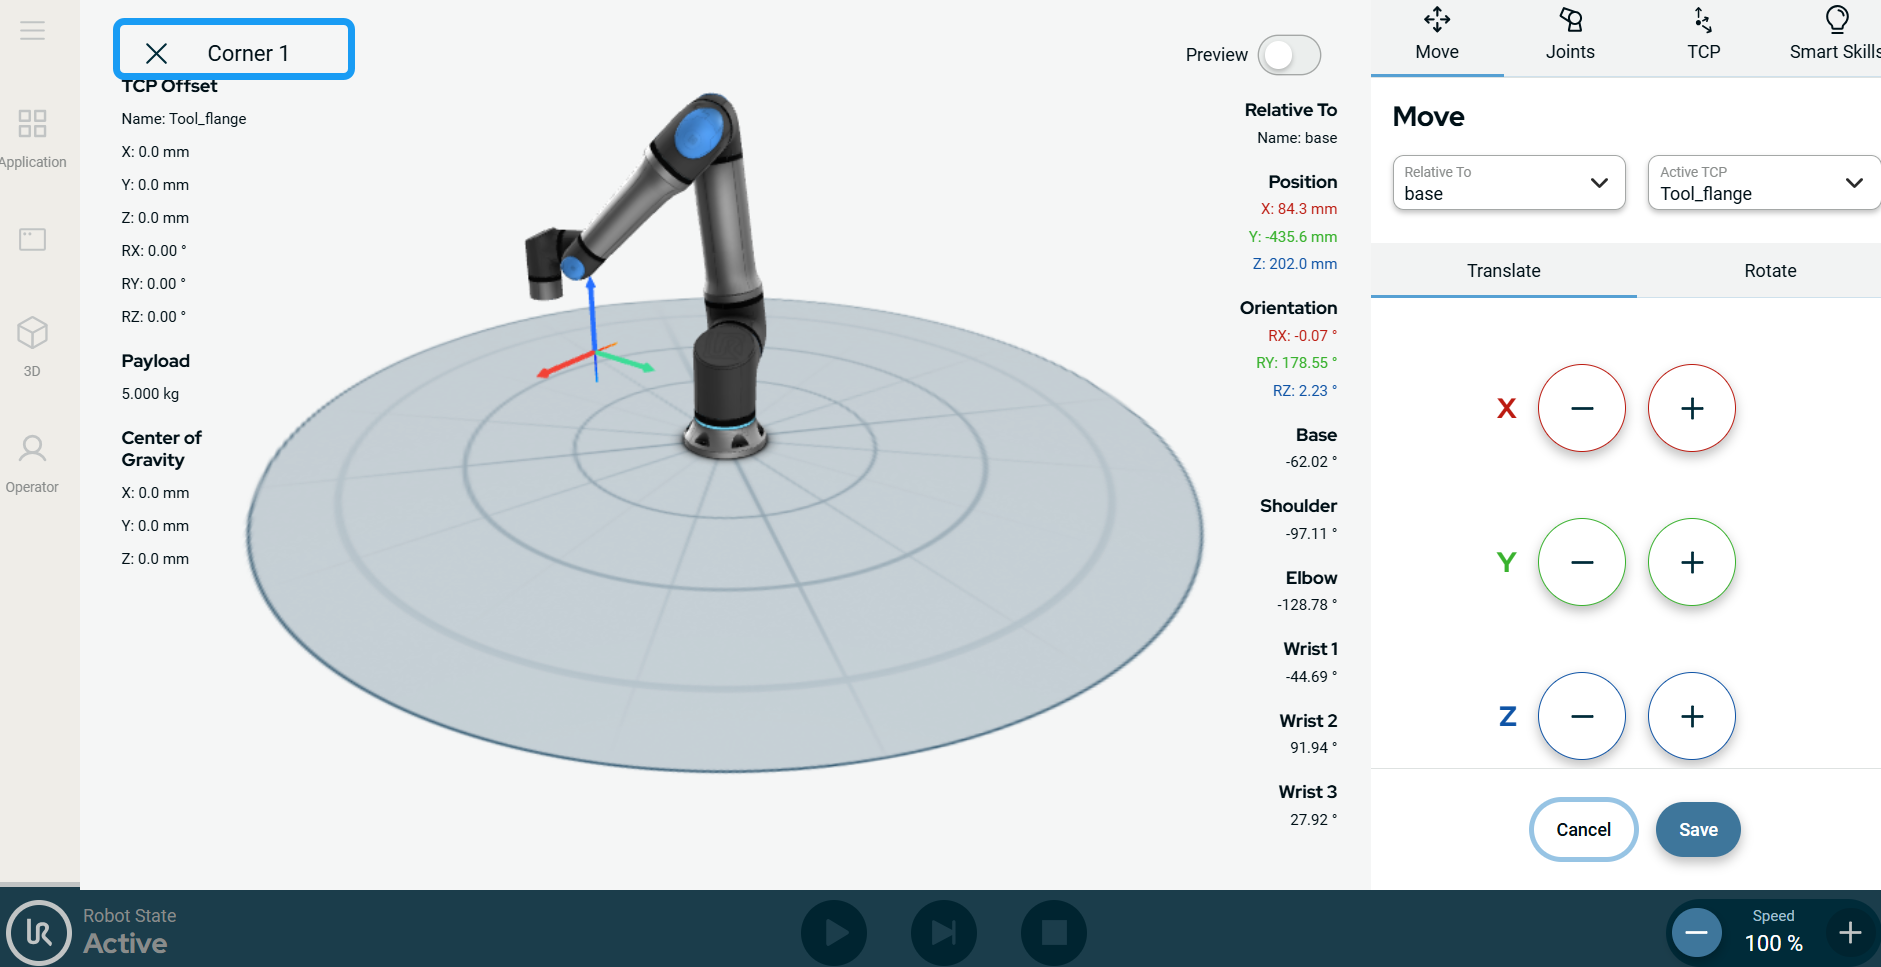
    You will be directed to the 3D viewer of the robot arm in X, Y, Z coordinates.

  2. On the right side of the screen, tap the minus-plus button in each coordinates to translate and rotate. Tap Save.

  3. Press and rotate, pinch and spread the 3D screen to zoom in or zoom out the robot parts, take a close-up view, rotate sideways, and other viewing direction.

  4. Repeat steps 8–11 thrice to make a grid pattern for the remaining corners 2–4.

When your Grid is set up, you can implement it in your program.